I was asked to build two 1937 AAR Northern Pacific (NP) box cars, Yarmouth Model Works (YMW) kits 107 and 107.1, early this year by my friend Gary Wildung. I finally said yes; however, the cars would have to wait until I completed the Chicago Great Western (CGW) cars I wanted to add to my fleet. The CGW cars are built and in-service on the Minneapolis & Northland Railroad Company. Several of the CGW cars need new doors; however, I decided that could wait. Therefore the build of Yarmouth Model Works NP kits 107 and 107.1 was done.
The Northern Pacific had a large fleet of 1937 AAR box cars. The prototype for 17823 was one of 900 cars built by Pullman Standard in 1941 and assigned by the NP to series 17000-17899. The prototype for 17925, series 17900-17999, was one of 100 cars built in 1940 by the NP in their Laurel Montana Shops. Features of the two subject cars included wood running boards, Ajax power hand brakes, 4/5 dreadnaught ends and rode on AAR double truss trucks. In 1957 the NP rebuilt these cars adding a solid channel side sill as is seen on 17925. The rebuilt cars were repainted and received the 60” monad.
The YMW kit instructions have good photos of the prototype cars. And, a photo of NP 17672 can be viewed in Steam Era Freight Cars Reference Manual Volume one: Box & Automobile Cars (Speedwitch Media, 2006, 2007). In addition, I was provided builders photos of the cars available from the Collection of the Minnesota Historical Society.
 |
| Minnesota Historical Society Courtesy of Gary Wildung |
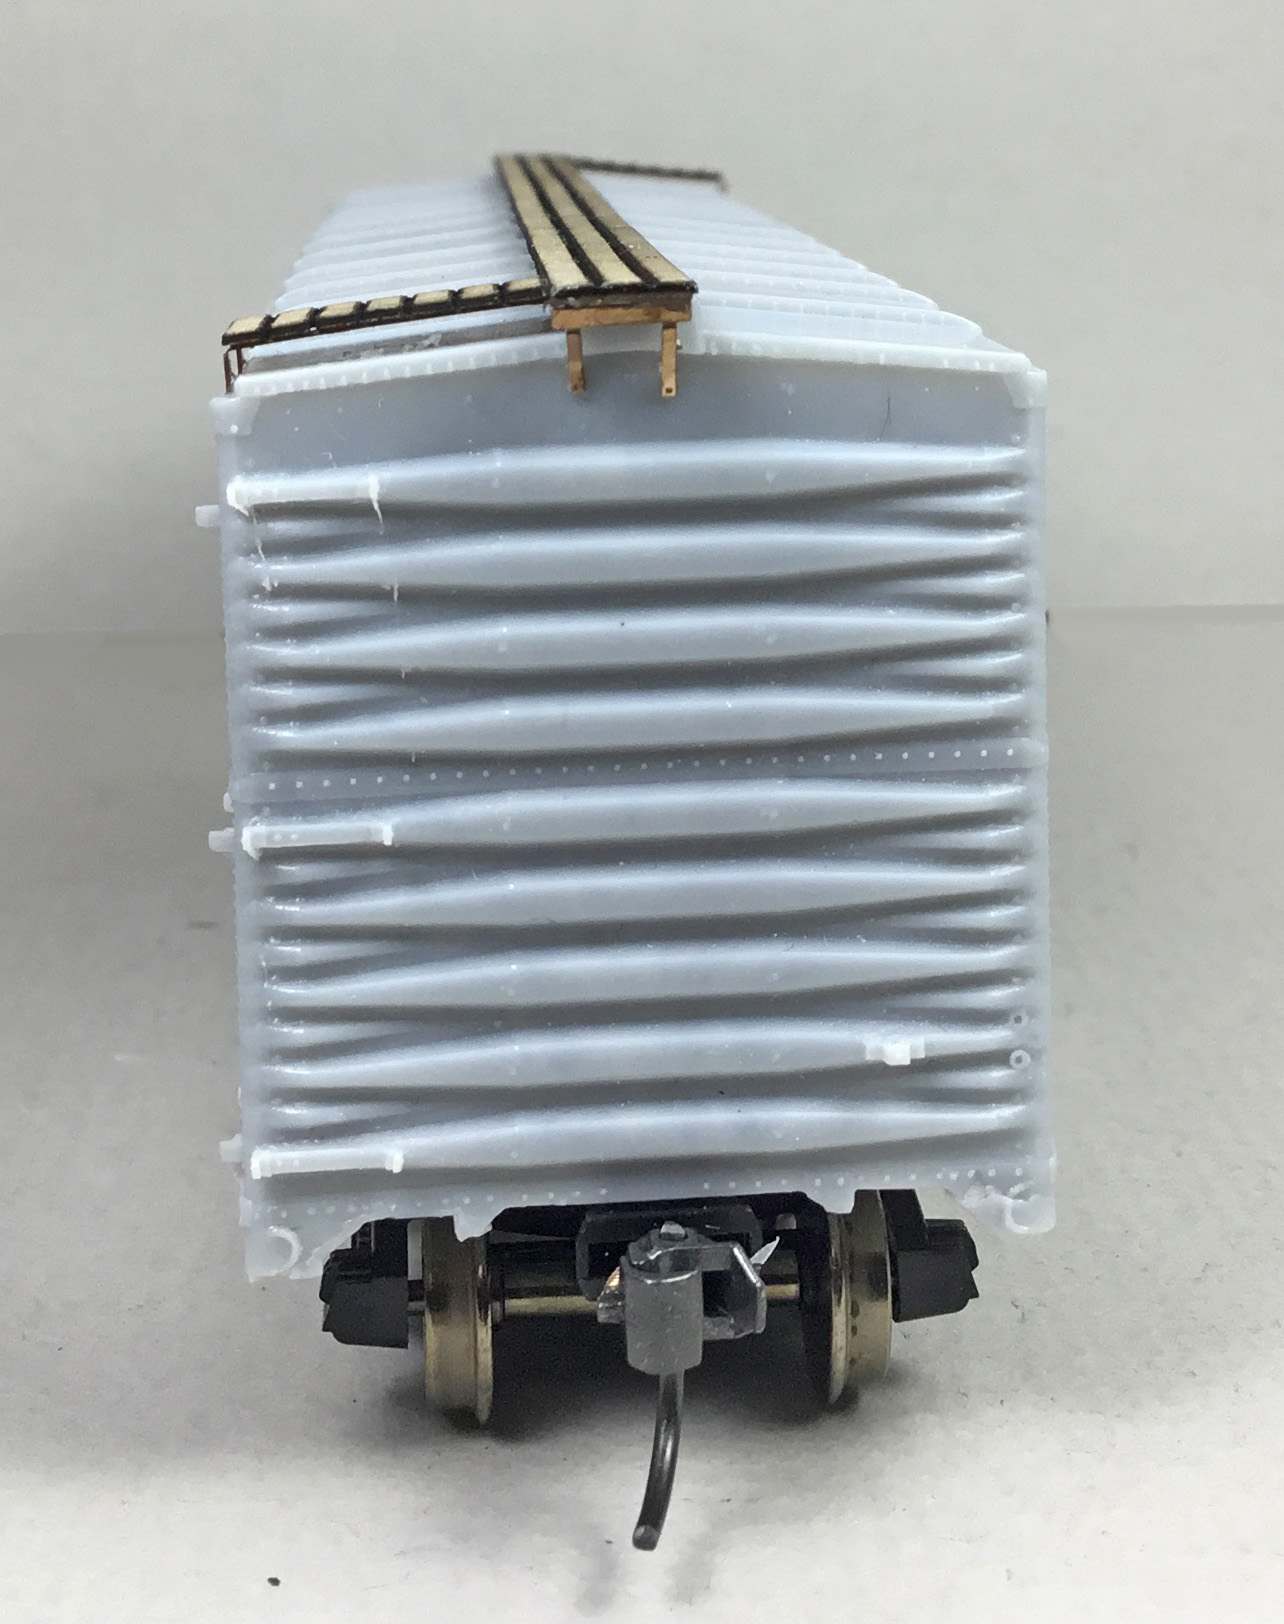
I began the build of the one piece body cars by removing flash including injection pins from the car body interior floor ledge and fitting the car floors to the car bodies. The one piece body has a nice interior feature of having a ledge for the floor to rest on; however, on one car body end it was poorly cast not allowing floor to rest on it when inserted. I reworked poor cast floor ledge with saw blade and carving tools to correct. Another option would be to shorten floor and not use end floor ledge. If this option is used one should keep bolster distance from both ends the same.
After bad floor ledge reworked and floor fitted the following steps were as follows:
- drill and tap bolster center plate for truck screws and floor for coupler pocket screws
- install Kadee #262 narrow coupler pockets with #148 couplers installed (not in kit)
- install crossties, bolster caps and crossbearer caps
- install Tichy Train Group (Tichy) kit provided brake components and brackets
- Brake components should predrilled for piping to be added later
- install Tahoe Model Works trucks. I used Fastenal 2-56 x 1/4” screws.
- car weighted to 3.8 ounces with tire weights
- underbody installed in car body with CA
 |
| Basic underbody work done. |
 |
| Car bodies ready for detail install. |
Letting underbody glue to really cure I moved to the roof. The laser cut running boards were installed with Formula 560 canopy glue. Photo etched kit provided brackets are provided for the longitudinal running board end mounts as are brackets to mount the latitudinal running boards. Both type brackets require bending to form brackets before use.
 |
| Running board install glue drying. |
 |
| Running board brackets. |
 |
| Running boards installed. |
Ladders were installed next. Rather than assemble the photo etched kit ladders, Tichy eight rung ladders, #3076, with attached step cut off were installed on sides and ends. With ladders in place the photo etched brake step was bent to shape and installed on photo etched brackets on the “B” end. I made the brake step brackets from the photo etched sill steps parts to match prototype photos. I used the sill step parts to make the brackets as the kit parts for the brackets when bent had legs that were too short to rest of the fourth rib from the top in prototype photos.
 |
| Ladders and brake step installed. |
I continued to work on the “B” end installing the kit provided Tichy #3013 vertical power hand brake housing and chain. The Tichy #3013 bell crank was installed next to coupler pocket on the underbody. A Tichy #3013 brake cylinder piston rod was installed on the bell crank and cut short for the brake rod clevis. A brake rod cut from Tichy #1102 .015” diameter phosphor bronze wire (PBW) was installed between chain and bell crank clevis. A kit resin retainer valve was installed followed by a retainer line and brackets cut from Tichy .008” PBW. End placard boards were installed. Now the sill 21” grab irons bent from Tichy #1101 .010” diameter PBW were installed. And, the special end grab iron was made by cutting the side bracket off a Kadee bracket grab to allow that end to rest on the cast on end bracket when glue was applied.
 |
| "B" end details installed. |
I continued install of Kadee bracket grab irons on the sides. And, the roof grab irons with Yarmouth Model Works (YMW) photo etched eye bolts without shoulder for corner legs were installed to complete install of grab irons. I moved on to the sill step install. The YMW photo etched sill steps in the kit were not used. Rather, A-Line #29002, style C, were installed.
 |
| Bracket grab irons and sill steps installed. |
To complete the work on the sides I installed the doors, door placard boards and eventually wire door handles (added door handles on photo above).
 |
| Door placard boards and doors installed. |
To complete the work on the car body I went back to the ends. A Kadee Ajax brake wheel was installed. And, the uncoupling levers bent from Tichy #1106, .012” diameter PBW with YMW photo etched brackets were installed.
 |
| Adjax brake wheel and uncoupling lever installed. |
Onto the underbody work. On the underbody the following details provided in the kit except where noted were installed:
- Brake cylinder lever, photo etched Yarmouth Model Works (YMW)
- Brake floating lever, photo etched YMW
- Royal Slack adjuster, styrene brackets from bits box
- Brake lever hangers, wire grab irons
- Brake piping from air reservoir to control valve, .010” diameter phosphor bronze wire (PBW)
- Brake pipe from brake cylinder to control valve, .0125” dia. PBW
- Brake rods, .0125” diameter PBW
- Brake rod clevises, Tichy turnbuckles #8021
- Chain, A-Line #29219, black 40 links per inch (not in kit)
- Dirt collector, Tichy set #3013
- Bell crank, Tichy set #3013
- Train line, .018” diameter flora wire (not in kit)
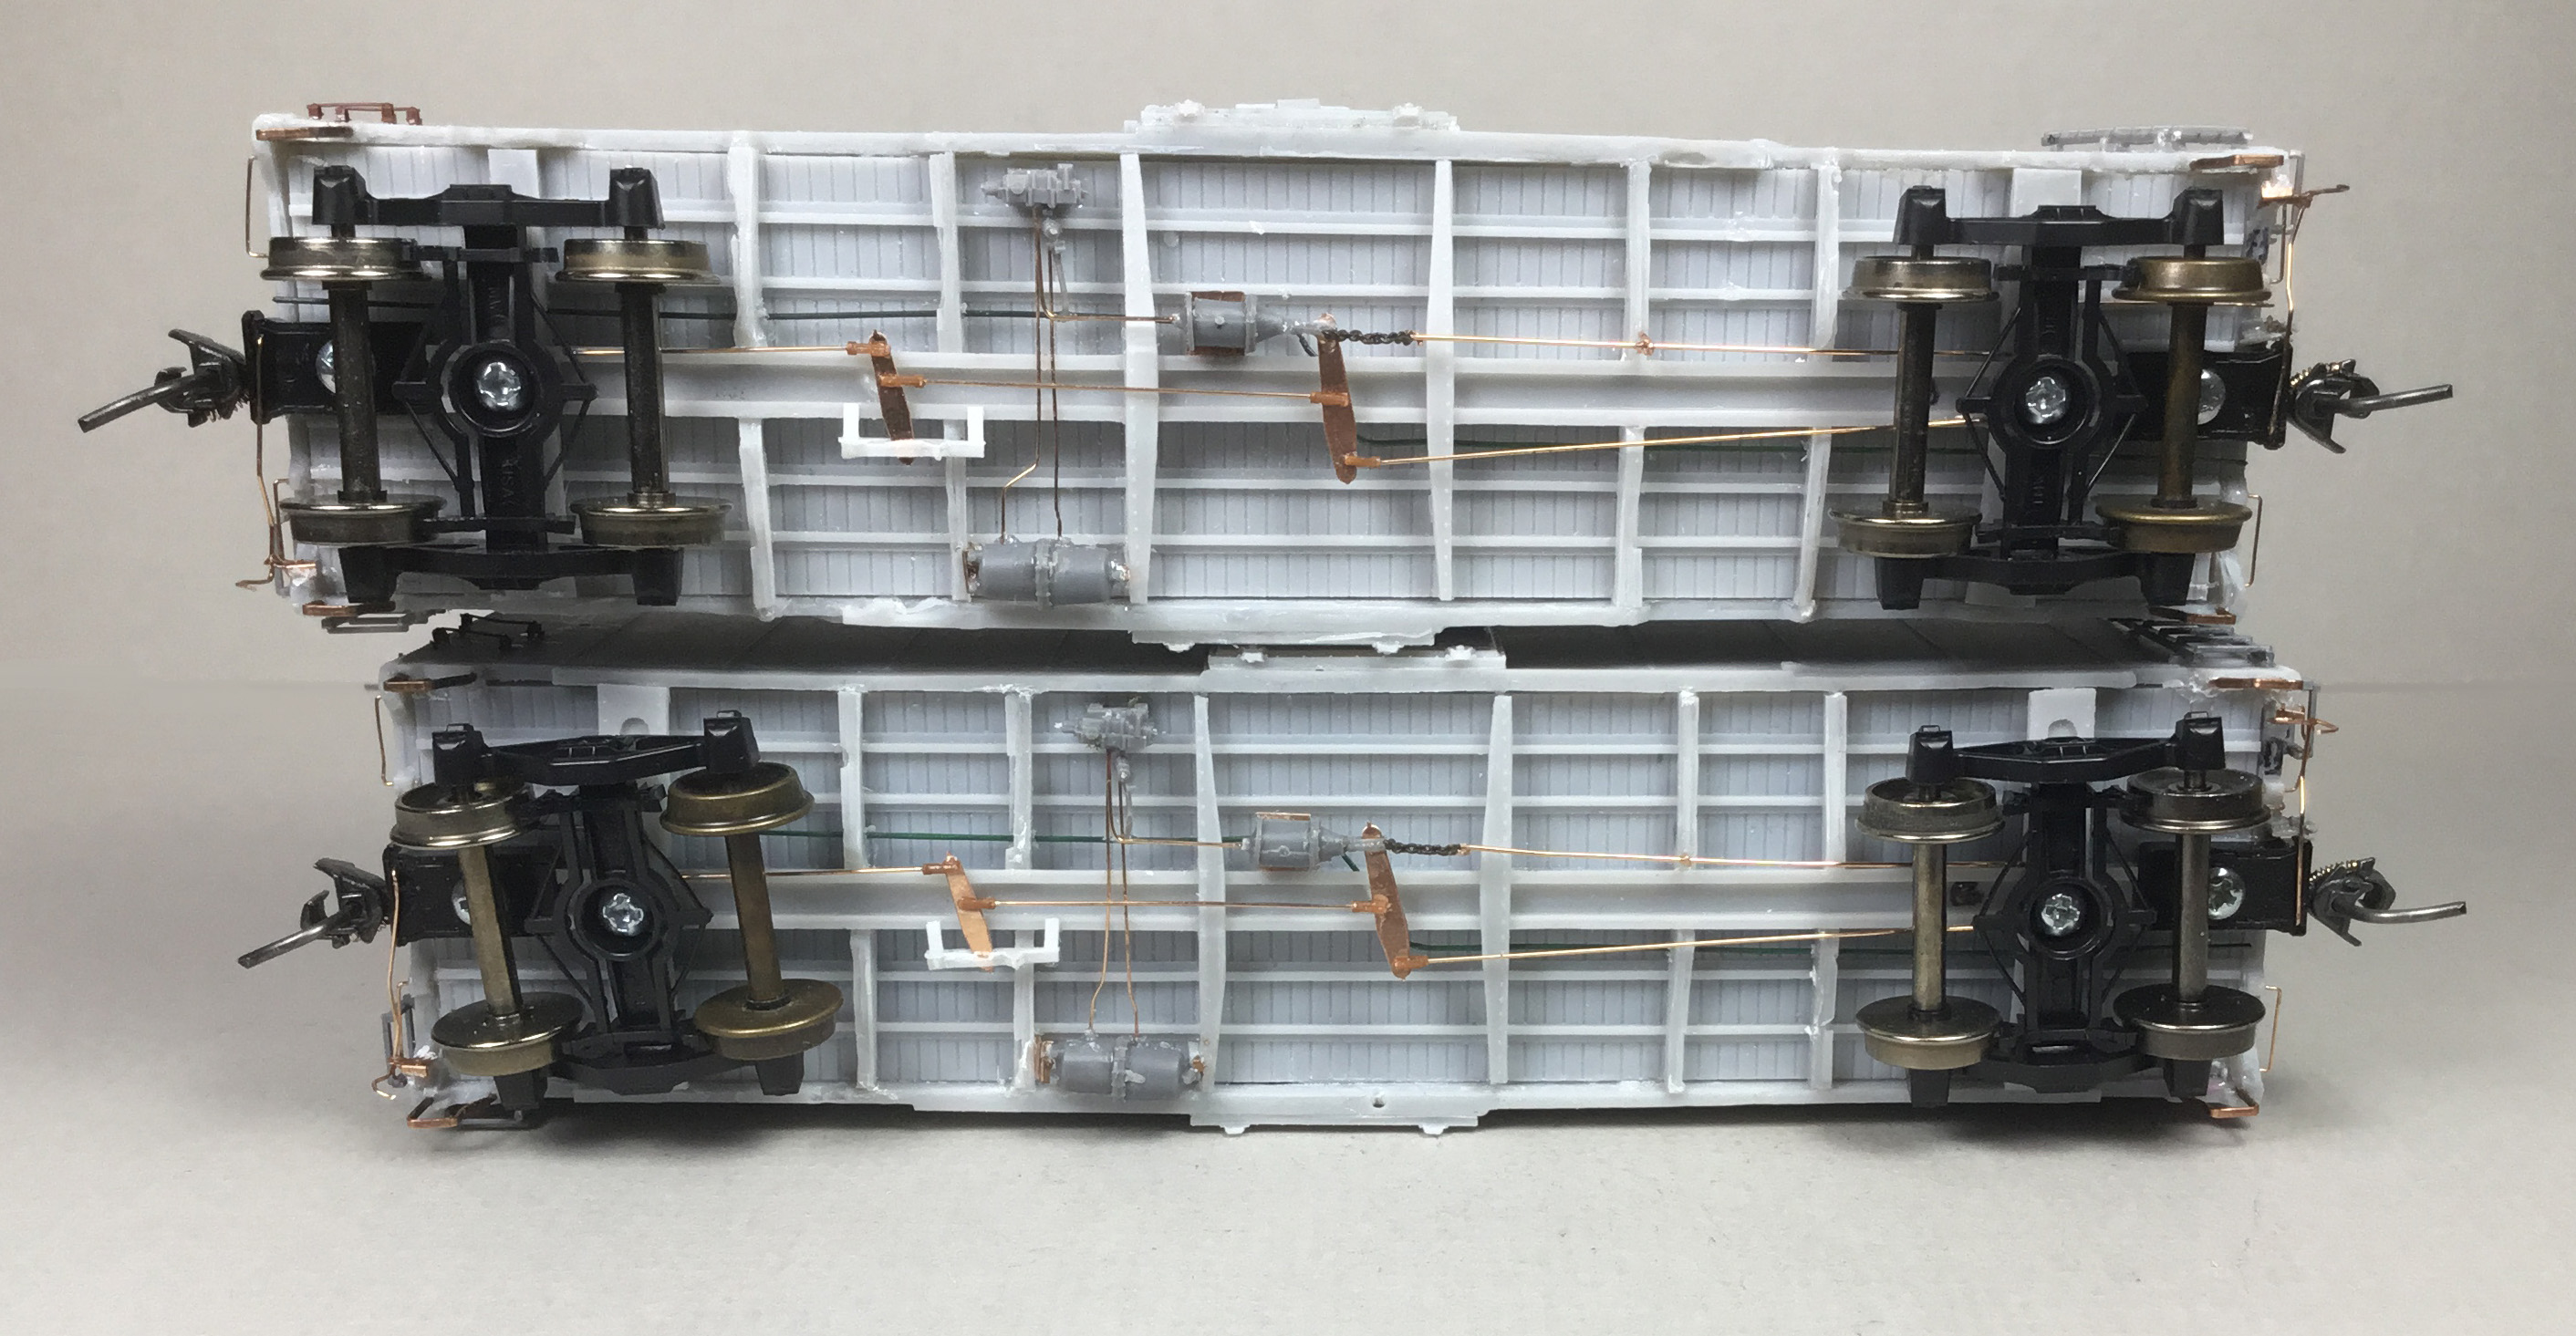 |
| Underbody work done. |
Next the car bodies, after color photo review, were airbrushed with a 50-50 mix of PollyScale Box Car Red, F414281 and Special Oxide Red F414354. The same color mix is suggested in the kit instructions except it calls for Floquil paints that as PollyScale are no longer available.
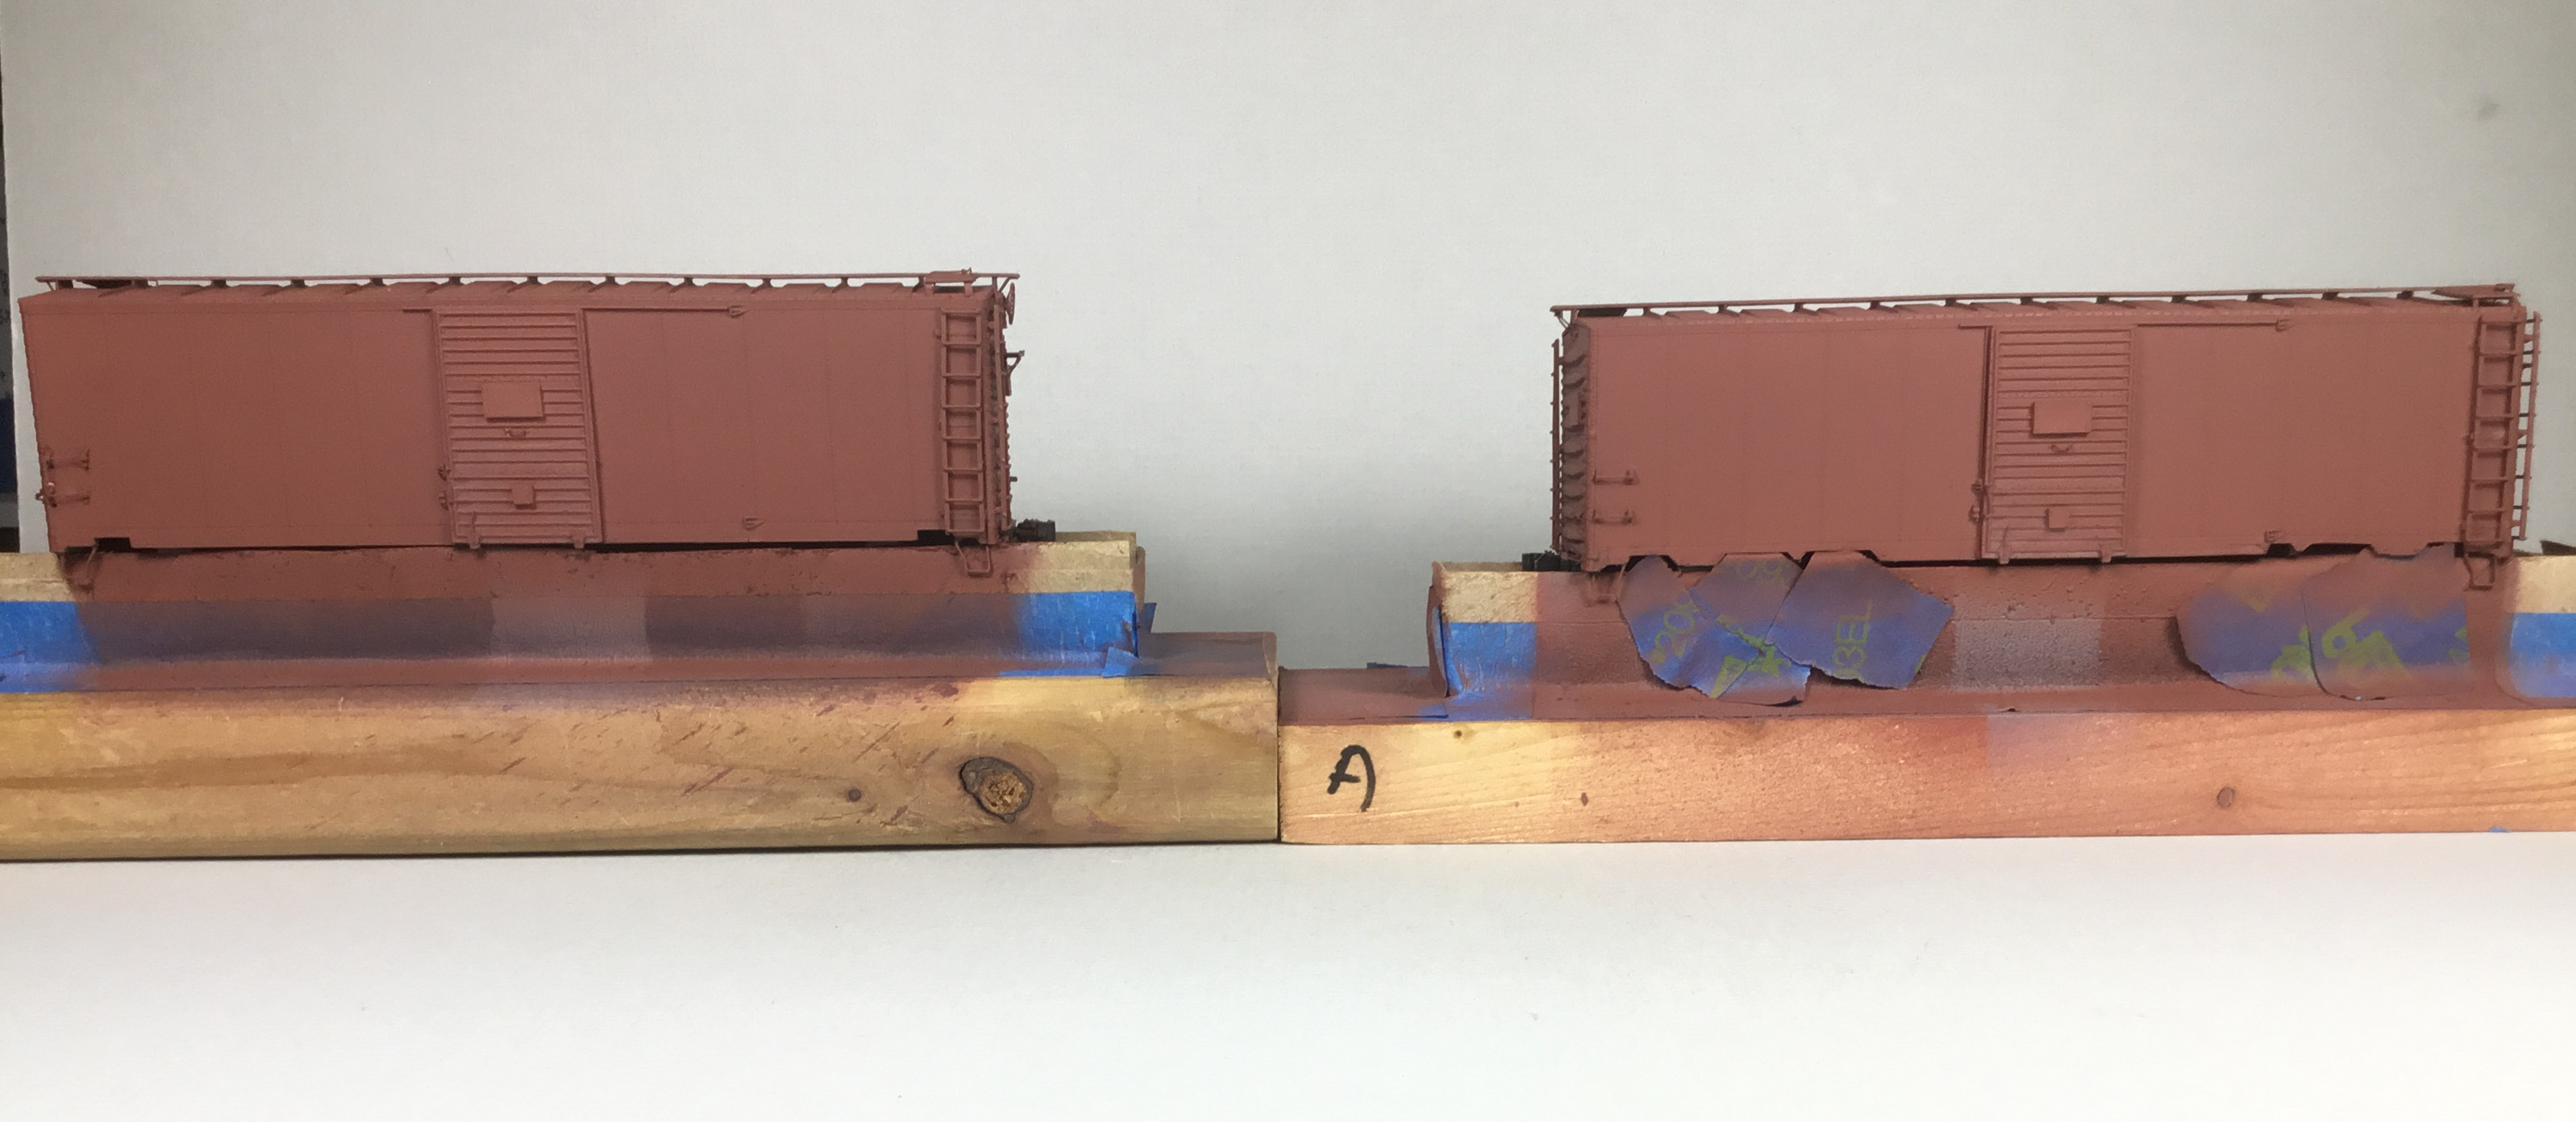 |
| Car bodies in paint jigs |
After drying, car bodies were sprayed with Vallejo Clear Gloss Medium 70.470 for decal base.
 |
| Car body airbrushed with Clear Gloss Medium. |
After drying overnight, decals provided in the kits were applied. The car number 17823 was done using extra numbers in decal set to have a number of a car that ran on the NP "Scally Line." I used prototype and kit instruction photos as a guide to apply decals. Decals were soaked off in distilled water and applied to the car body where MicroScale Micro Set had been applied with a brush. After the decal was applied in the Micro Set and positioned the edges had MicroScale Micro Sol applied. Any excess solution was sucked away with the torn edge of a paper towel. Again when dry, car bodies airbrushed with Vallejo Gloss Varnish 70.510 to better hide edges of decals and protect decals during handling. Again when dry, the car bodies were airbrushed with Model Master Flat Clear Acryl, #4636, to protect decals and provide a flat finish for weathering when applied.
 |
| Decals applied with Builders photo as guide. |
 |
| Decals applied to 17925 per 1957 repaint photo with 60" herald after solid channel side sill added. |
One more step before putting NP 17823 and 17925 box cars in service was to lightly weather the cars with Pan Pastels. Pan Pastels Burnt Sienna Shade 740.3 were brushed lightly over the entire car bodies with a soft makeup brush, Raw Umber 780.5 over rivet lines and sill areas, Paynes Grey Extra Dark 840.1 was used on the roof and lightly over safety appliances on car body.
Northern Pacific box cars 17823 and 17925 were ready to leave the Minneapolis & Northland Railroad Company Shops and serve customers on Gary Wildung’s NP "Scally Line" that operated from St. Paul to Duluth, Minnesota.
 |
| NP 17823 and 17925 ready to leave Minneapolis & Northland Railroad Company Shops. |
Thank You for taking time to read my blog. You can share a comment in the section below if you choose to do so. Please sign your comment with your name if you choose to leave one. Please share the blog link with other model railroaders.
Lester Breuer
No comments:
Post a Comment