At a new hobby shop, Big John’s, I found a Minneapolis & St. Louis (M&St L) Kadee hopper numbered 70333 with a new 1956 build date. Since my Minneapolis & Northland Railroad Company is set in late spring 1955 I should have passed on this car. However, my memory, if correct, told me the M&St L received a batch of these hoppers prior to 1956. And, since the car’s price was marked at half of its original price I purchased the car thinking I could change the build date and number if I found information to prove my memory was correct.
 |
| Kadee M&St L Hopper 70333 (Click on this or any image to enlarge) |
Not having data necessary to confirm the M&St L had obtained a batch of these hoppers prior to 1956, I contacted Doug Harding asking if he had information regarding these hoppers. Doug provided the following information compiled by Gene Green regarding these hoppers. Of course, I was pleased to find my memory was correct. A batch of these hoppers, series 70201 to 70279, came to the M&St L in 1955.
 |
| Doug Harding email |
In addition to this email, Doug provided a car diagram, a photo of the subject car and paint information. Paint information provided was the M&St L changed the hopper color from black to grey beginning with the 1955 hoppers.
 |
| M&St L 70333 Doug Harding Collection |
 |
| Car Diagram provided by Doug Harding |
When you compare the Kadee hopper 70333 to the prototype photo you can see Kadee produced an excellent hopper car. All I had to do to add the M&St L hopper numbered 70333 to my freight car fleet was to change the number to 70233 and build dates to 1955.
 |
| Kadee RTR M&St L Hopper 70333 |
Now knowing the number series 70201 to 70279 was correct for 1955, I chose to change the Kadee hopper number 70333 to 70233. In the past, I have been asked how I change car numbers. Since I was changing this hopper number, I am sharing my method of changing a car number with you here.
Before I changed the car number I changed the build date by using a sharp pointed dental tool to scratch parts of the number six (6) to look like a five (5). After the six was changed the top of the now five had to be increased in thickness. I used a Micron 01 pen to accomplish the task. The change was made to the “New” date (photo below) and later the build date under dimensional data on the right side of the car.
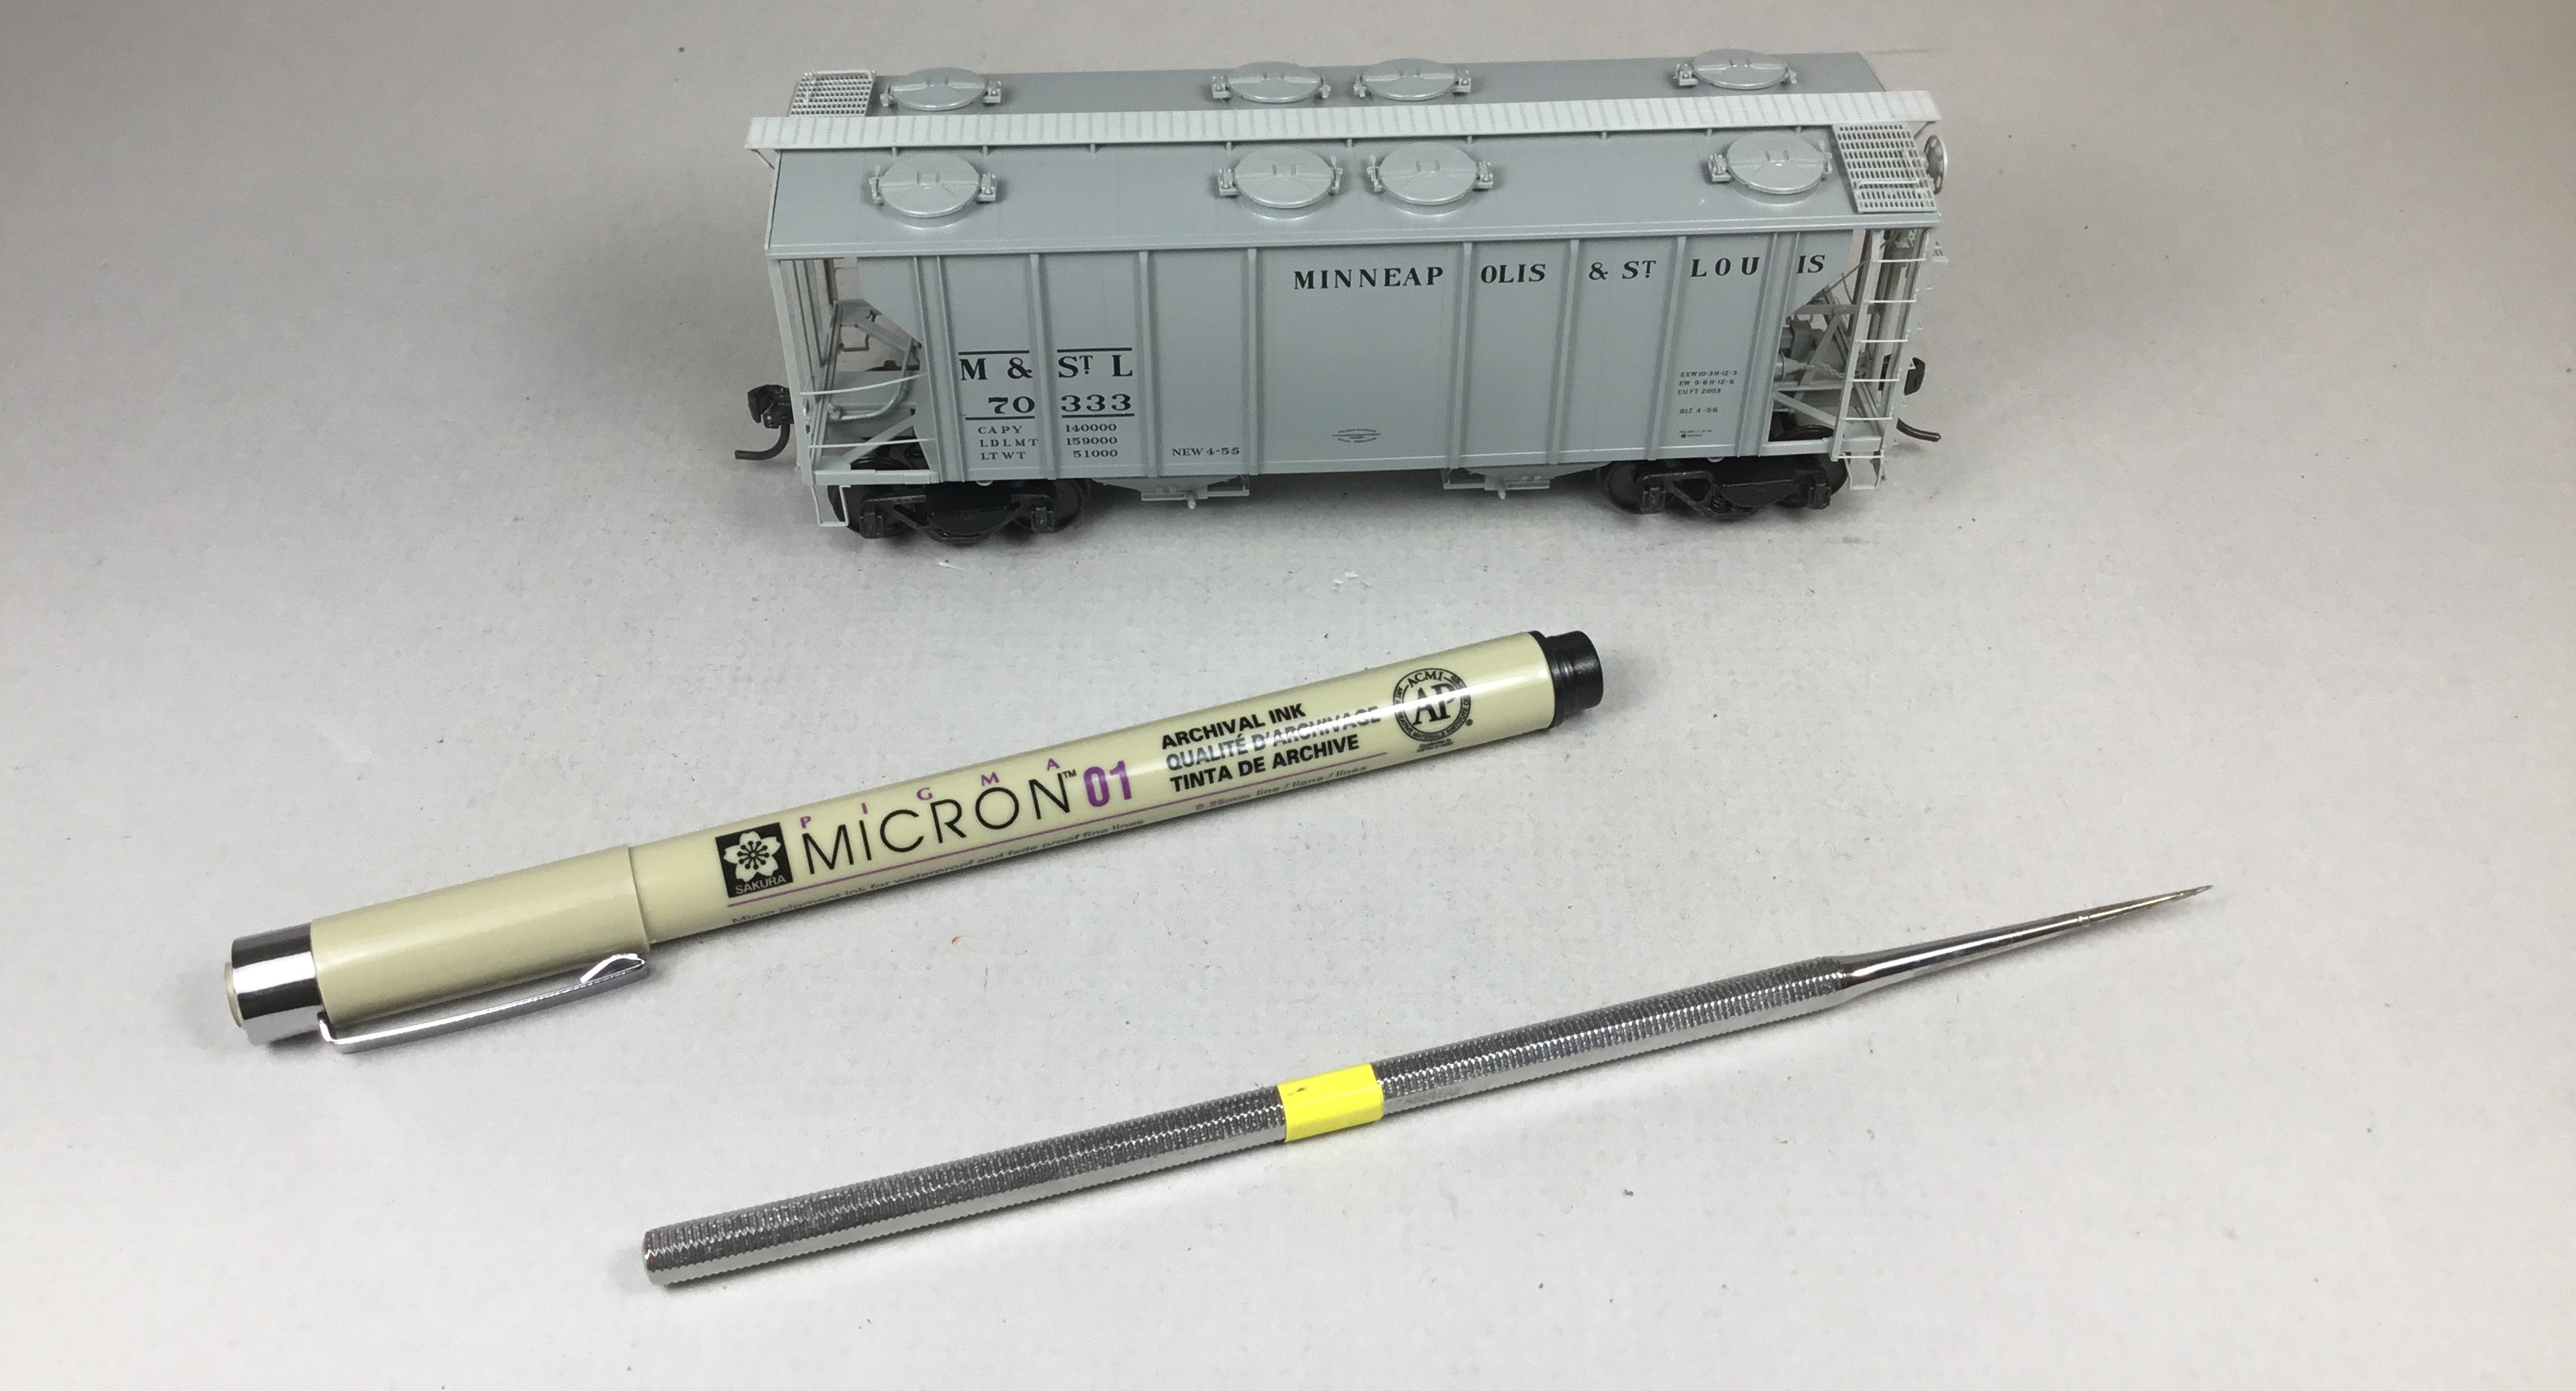 |
| Tools for changing build date. |
 |
| M&St L 70333 with New date changed. |
Now to change the car number, the “three” was removed from the car number on the sides and ends. The car number was removed with a scratch brush with a nylon brush. A few very light passes of the scratch brush over the “three” removed it.
 |
| Car number removed with scratch brush. |
After the “three” was removed I used a small tip cotton makeup swab dipped in 91% isopropyl alcohol to clean off any remaining residue.
 |
| Number "two" (2) removed from numbers. |
 |
| Alcohol used to removed residue. |
Next an old M&St L hopper decal set produced by Mark Vaughn under his Wabash Decals label was used to provide the “two” to replace the “three”. Gary Roe and Rob Adams now own the Wabash Decal line.
 |
| Mark Vaughn Decal Set |
A surgical scissors with straight tip (also have one with curved tip) purchased years ago from Champion Decal Company (no longer in business) was used to cut out the needed decal numbers.
 |
| New decal numbers cut out. |
Decals were soaked off in distilled water and applied to the car body where MicroScale Micro Set had been applied with a brush. After the decal was applied in the Micro Set and positioned the edges had MicroScale Micro Sol applied.
 |
| Decal setting solutions. |
Any excess solution was sucked away with the torn edge of a paper towel. When dry, car numbers were hand brushed with Vallejo Gloss Varnish #70.510 to better hide edges of decals and protect decals during handling. Again when dry, the car body was airbrushed with Model Master Acryl Flat Clear #34636, to protect decals and provide a flat finish for weathering if applied.
 |
| M&St L with new car number and build dates. |
 |
| M&St L with new car number and build dates. |
One more step before putting Minneapolis & St Louis hopper 70233 in service could be to weather the car with Pan Pastels or eye shadow makeup; however, since this was a new car fitting into my 1955 late spring time frame, no weathering necessary.
Even no weathering was required, I did paint the trucks and Kadee coupler glad hand Vallejo/MicroMark Model Air Tarnished Black #29022X2.

M&St L 70233 was ready for service on the Minneapolis & Northland Railroad Company, The Lakeland Route, “Serving today, Shaping tomorrow.” A car card was made for M&St L 70233 the final step to put the a car in service on the Minneapolis & Northland Railroad Company Railroad.
 |
| M&St L Hopper 70233 spotted at Schwenke Cement in Minneapolis, Minnesota |
 |
| M&St L Hopper 70233 spotted at Schwenke Cement in Minneapolis, Minnesota |
 |
| M&St L Hopper 70233 spotted at Schwenke Cement in Minneapolis, Minnesota |
 |
| M&St L Hopper 70233 spotted at Schwenke Cement in Minneapolis, Minnesota |
The above described method of changing a number or other data on a freight car works best for me. However, there are other methods to change numbers that I have tried including rubbing a cotton swab dipped in Walthers Solvaset over the number to be removed, Walthers Solvaset applied to the number and using a toothpick rubbing gently to remove the number and soaking a piece of paper towel with Walthers Solvaset and setting it on the number for a period of time until number can be removed. In addition to Walthers Solvaset other removal products have been suggested for number removal. For me, none of these methods have provided fast consistent number removal as the method I have described above.
I want to say, “Thank You” to Doug Harding for providing M&St L hopper data, car diagram and car photo to assist with my build. And, a “Thank You” to Gene Green for compiling the data regarding the Minneapolis & St. Louis (M&St L) hoppers.
Thank You for taking time to read my blog. You can share a comment in the section below if you choose to do so. Please sign your comment with your name if you choose to leave one. All comments are reviewed and approved before they appear. Please share the blog link with other model railroaders.
Lester Breuer
.


