At the RPM now called Chicagoland, a gift was given to a stated number of early registrants. Chicagoland 2023 carried on this tradition by providing a resin mini-kit to model a 1934 rebuilt Wabash 40 foot USRA clone steel box car. The mini-kit was made to be used with a Tichy Train Group (Tichy) USRA single-sheathed box car as rebuilt with steel-sheathed sides, plastic kit #4028. The build of the Wabash box car 82144 provides different methods George Toman and I used to build the car.
The build of the Wabash 1934 rebuild box car 82144 car body assembly, underbody and roof detail upgrade were discussed in Part one. Now the upgrade work done on sides, B end, paint and lettering to complete Wabash 82144 will continue here.
Side Details
Both George and I continued by attaching ladders to the plastic car body. We both agreed the Tichy Train Group (Tichy) kit ladders matched the prototype spacing well. Therefore, I chose to use them; however, the .020” molded ladder rungs needed replacing and the ladders needed special mounting brackets as can be seen in the prototype photo in Part One. Tichy ladder rung holes were drilled with a #80 drill bit and holes enlarged with a #79 drill bit. A plastic ladder rung was cut off with a PBL nipper and replaced with one bent from Tichy .010” diameter phosphor bronze wire (PBW). I bent the special mounting brackets from Detail Associates .010” x .030” flat bar stock. On the side the lower ladder bracket was mounted on the side of car due to sill depth on which installed. On the end the upper resin cast on ladder bracket used.
 |
| Kit ladders with grab irons and brackets install in progress. (Click on this or any image to enlarge) |
 |
| Kit ladders with wire rungs installed. |
George chose to use etched Yarmouth Ladder Stiles with .010” diameter rungs fashioned from Tichy .010” phosphor bronze wire (PBW). The mounting bracket at the top was formed from .005” x .030” wide strips that he cut from K&S Brass shim stock.
 |
| Etched ladders and mounting brackets. George Photo. |
To mount the ladders to the side and ends, holes were drilled and Model Motorcars, LTD .4 mm brass rivets were used to pin the brackets to the sides and ends.
 |
| Ladder mounted on car. George Photo |
After ladders were installed, grab irons on the left side of each side were installed. George and I both bent the grab irons from Tichy .010” diameter PBW. George added grab iron fasteners (discs), .005” styrene, using an RP Toolz from UMM-USA punch.
 |
| Grab Irons with fasteners (discs) George Photo |
I installed the bent grab irons in #79 drilled holes. I followed the grab irons install with the sill steps install using A-Line #29000 steps bent outward as prototype.
 |
| Grab irons and sill steps installed. |
George made his sill steps (stirrup steps) from Yarmouth curved leg, face mount, YMW #216 ones. He modified them by cutting them a bit shorter and bending an outward for mounting to the bottom of the side sill.
 |
| Sill steps installed. George Photo |
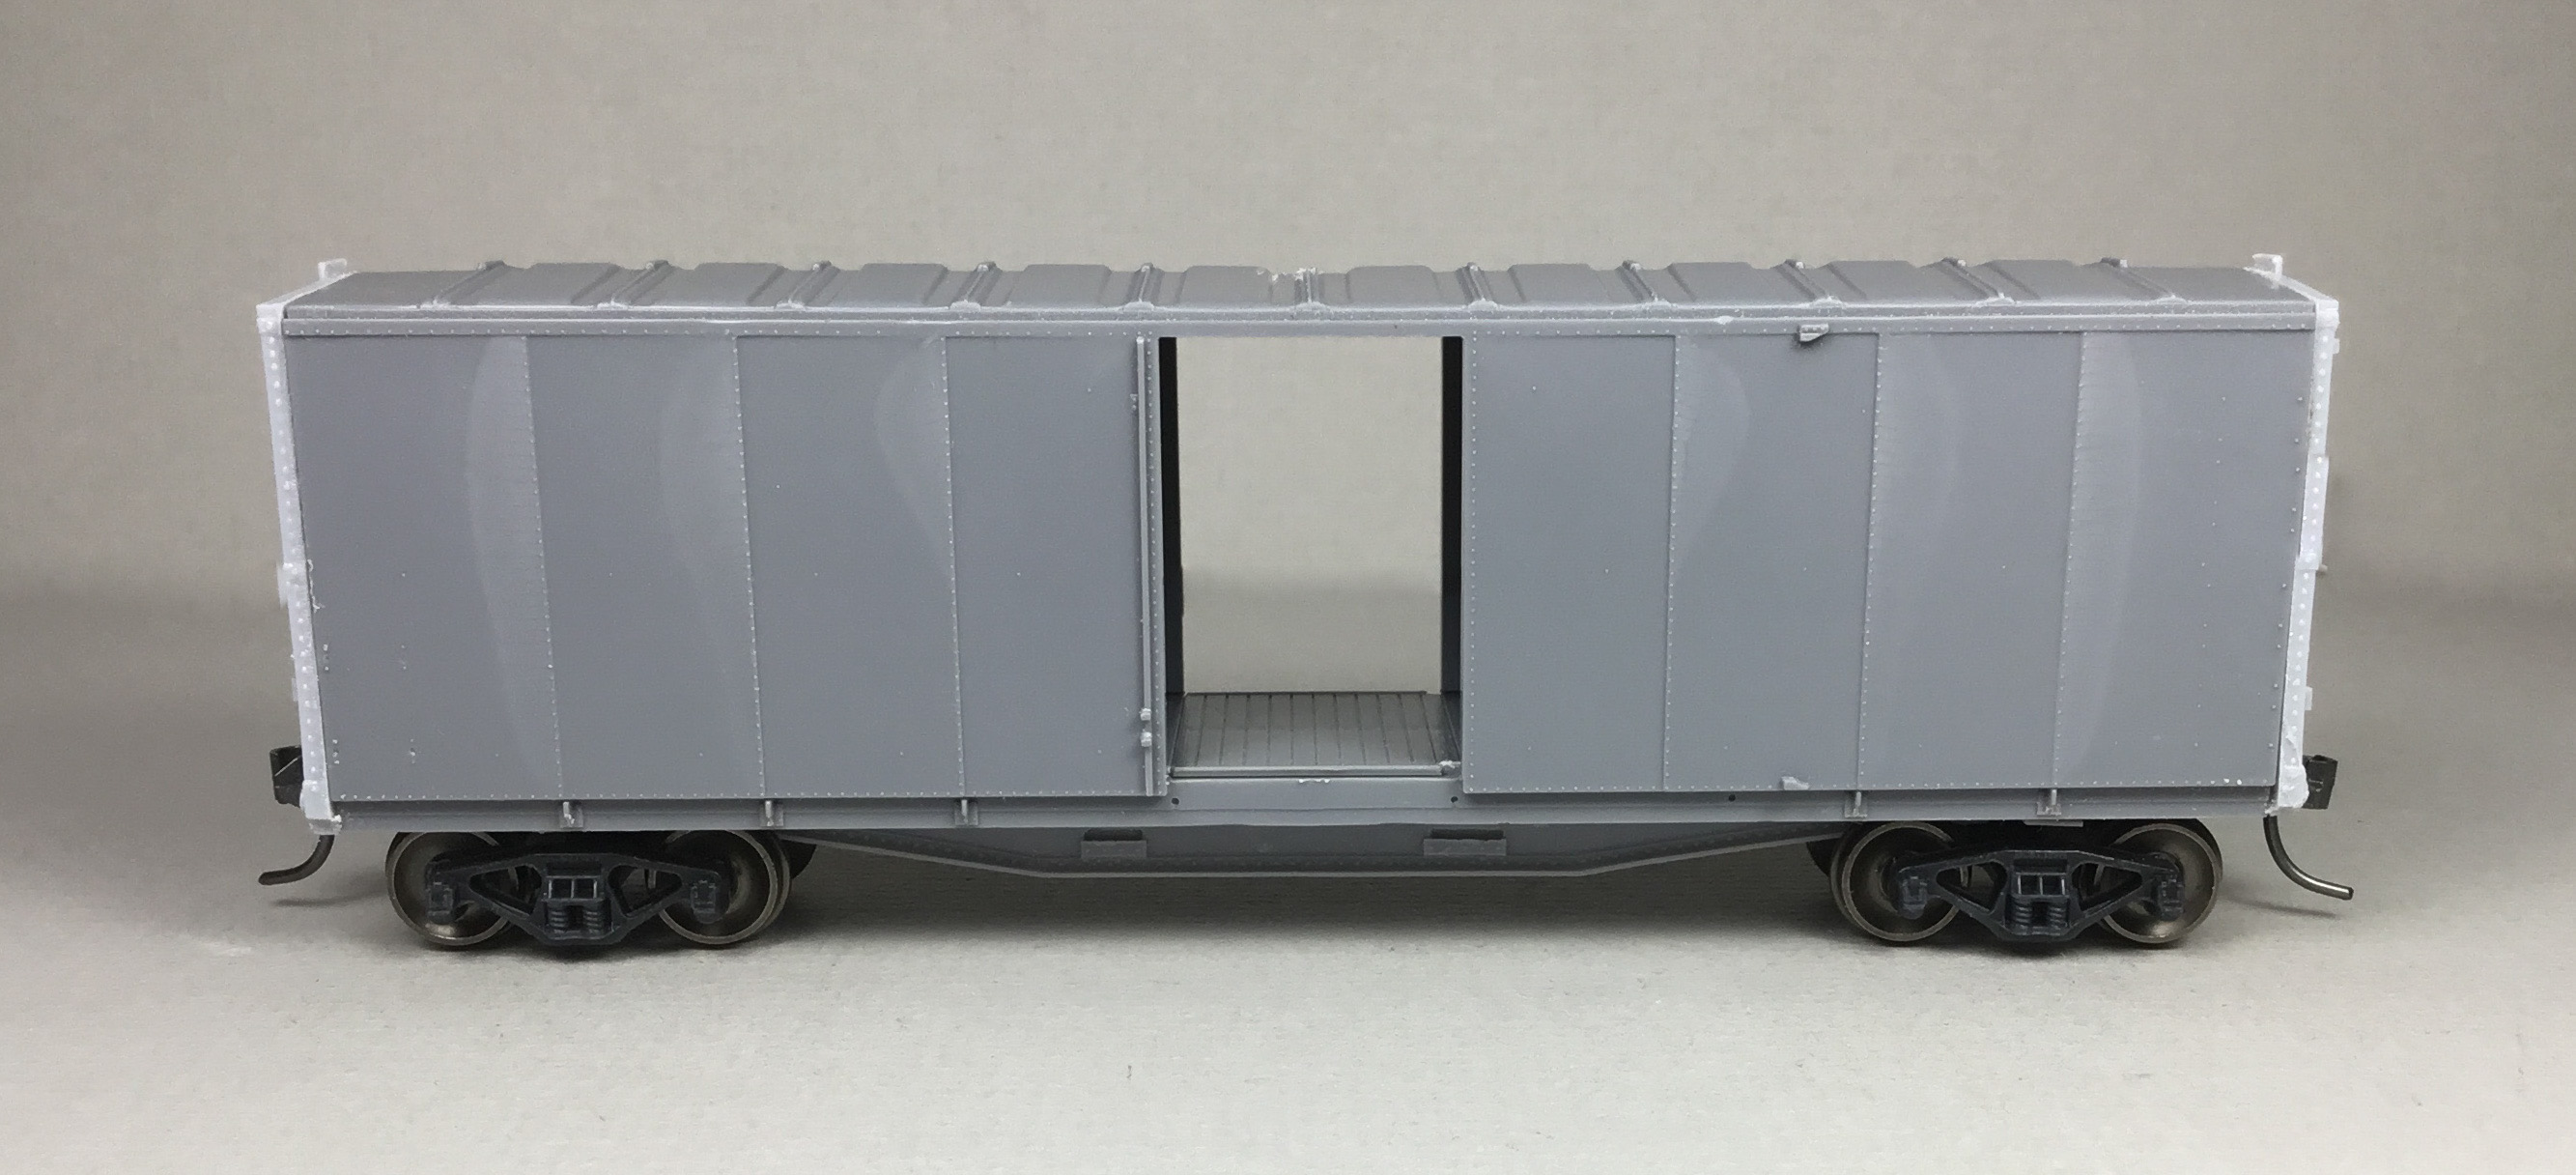
Next George and I installed the doors. We both carved off the molded on door latch parts on the car body before installing doors. We both modified the door latches, replaced the molded on door handle with a wire one, Tichy .010” diameter PBW , installed door placard boards and door tracks. I did not install upper door track until later.
 |
| Modified doors installed. |
I installed an Evergreen #8106 1” x 6” strip styrene on the underside to attempt to get the bottom curved part of the door track against the sill to achieve a look somewhat like the prototype.
 |
| Lower door track from strip styrene installed. |
After George installed the modified door.
 |
| Modified doors installed. George Photo |
George modified the lower door track. He glued the kit door track in place; however, lowered from the bottom of the side by a couple of thousands to give the appearance of an air gap for the door track. Beneath the Tichy door track he used .010" x .100" styrene to fashion 5 door track supports. These were installed and trimmed at an angle.
 |
| Modified lower door track. George Photo. |
B End Details
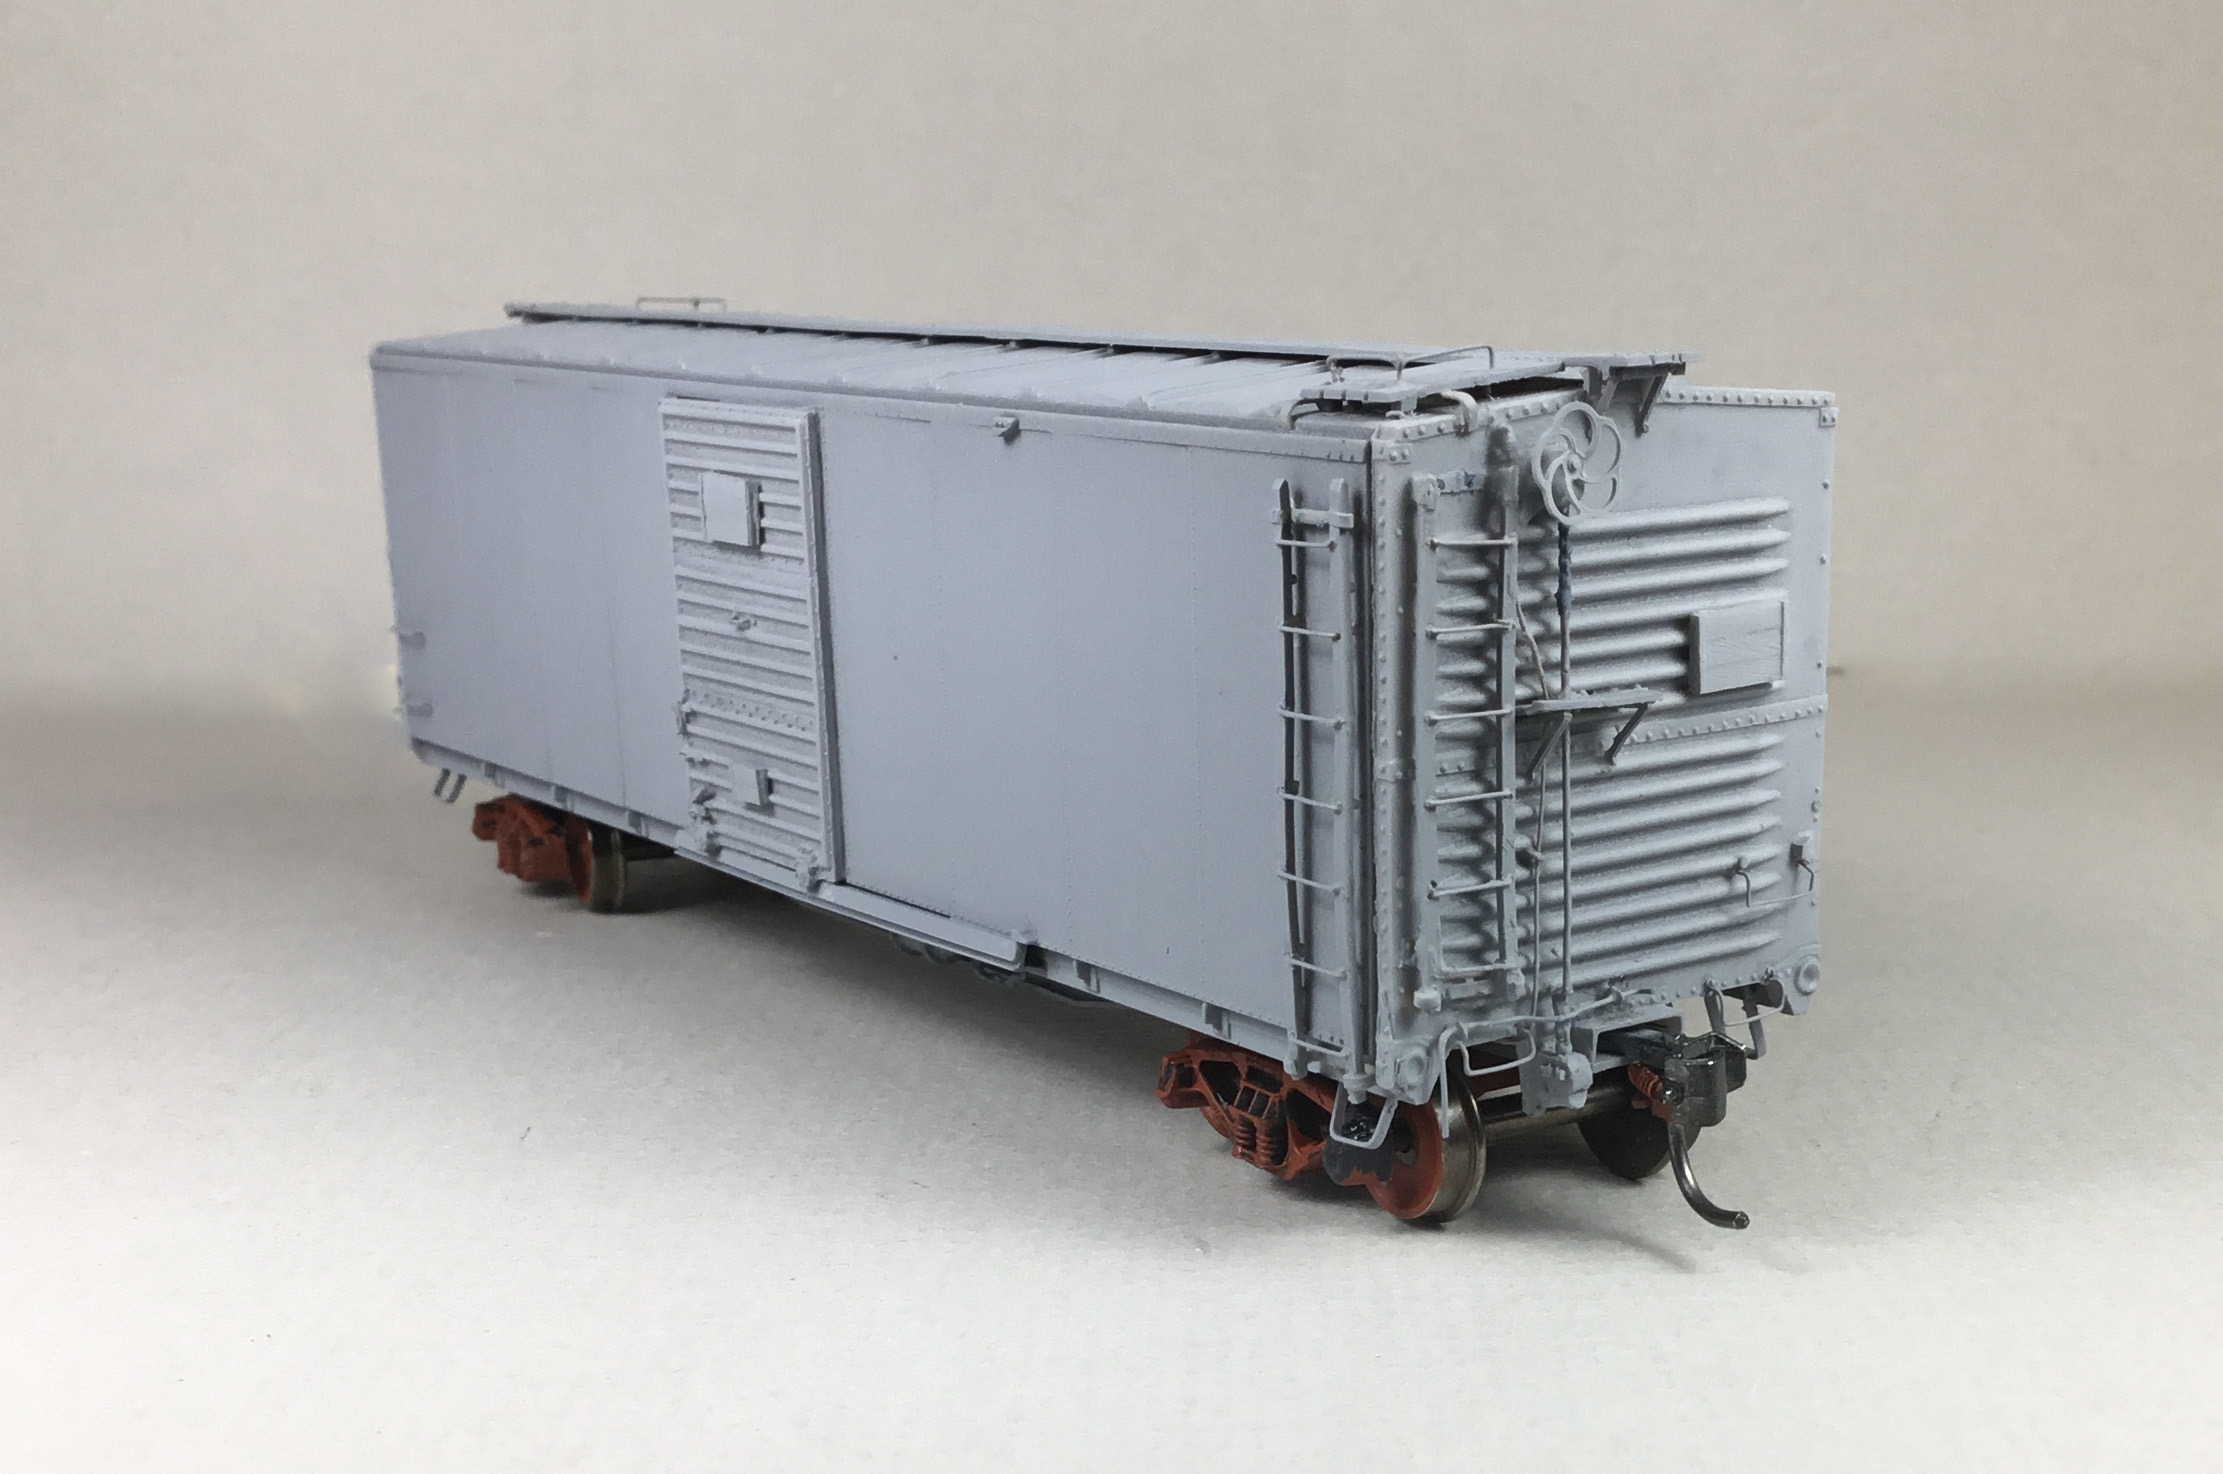
On the B end George and I both installed drop type grab irons bent from Tichy #1101, .010” diameter PBW. And, uncoupling levers (cut levers) were bent from Tichy # 1106, .0125” diameter PBW were installed. I bent and installed eye bolts from Tichy #1101, .010” diameter PBW for uncoupling lever brackets. George used Yarmouth Model Works photo etched (PE) eye bolts for brackets. On the drop grab iron on the end for the special mounting bracket on the right side I kept the molded on bracket whereas George made a new bracket from brass.
I installed the Tichy brake step brackets and brake step. The brake step was too narrow per safety appliances standards so another Tichy brake step used to cut a 4” scale board to add to it. Mini-kit resin retainer valve and retainer line, Tichy #1100, .008” diameter PBW were installed. The mini-kit resin Miner brake housing with a brake rod cut from Tichy #1102, .015” diameter PBW and Tichy chain on each end was installed. The chain on the brake rod end enters the brake drum (ratchet inside), a resin part in mini-kit, installed below sill prior to install of brake rod with chains. Since the kit 3D printed brake appeared too bulky, the brake wheel installed was a resin cast one from parts box (do not know manufacturer). A resin mini-kit placard board was installed.
 |
| Details on B end installed. |
For the brake step brackets George cut .005” x .030” brass shim stock bent and formed to fit as on the prototype. For the brake step he cut a .010” thick piece of styrene to size. He used a Tangent Miner Brake housing with chain and brake rod. He installed the mini-kit 3D printed old style Miner brake wheel. It looked too bulky and was later replaced with a Tangent Miner brake wheel until a source for an older style is found. He used a Tichy retainer valve and .008” PBW wire for the retainer line. For the fulcrum (brake drum at sill) he made a brass cover as he viewed in the photos of this car. Later he discovered that the fulcrum was probably incorrect and a chain roller was covered up by sheet metal and there should be some chain visible above the brass guard he installed. Therefore, later he added the lower chain. National Scale Cars 3 board tack boards were installed on the ends and the doors. Yarmouth PE air hose brackets were used to mount the Moloco Rubber air hoses.
 |
| Detail on B end installed. George Photo |
 |
| Grab iron bracket and air hose details. George Photo |
Paint
Now I airbrushed the car body and underbody with Vallejo/Micro-Mark Model Air Undercoat Light Grey #29013X2.
 |
| Car body airbrushed Undercoat Light Grey. |
 |
| Car body airbrushed Undercoat Light Grey. |
When the Undercoat Light Grey was dry, the car body and underbody were airbrushed with Vallejo Model Color Cavalry Brown 70.982 thinned with a custom thinner mix. The custom thinner mix: distilled water 50%, Vallejo air brush thinner 25% and Vallejo flow improver 25%. Trucks were also hand painted with the Vallejo Model Color Cavalry Brown 70.982.
 |
| Underbody airbrushed. |
 |
| Car body airbrushed. |
George primed his car with Badger Stynylrez Neutral Yellow acrylic primer. His primer coat as all coats that followed were sprayed with a Grex Tritium with a .5 mm nozzle at 20 psi.
 |
| Underbody airbrushed. George Photo. |
 |
| Car body airbrushed. George Photo. |
George airbrushed his car with Mig Ammo Acrylic Rail Center Paint part # R-0031 Boxcar Brown.
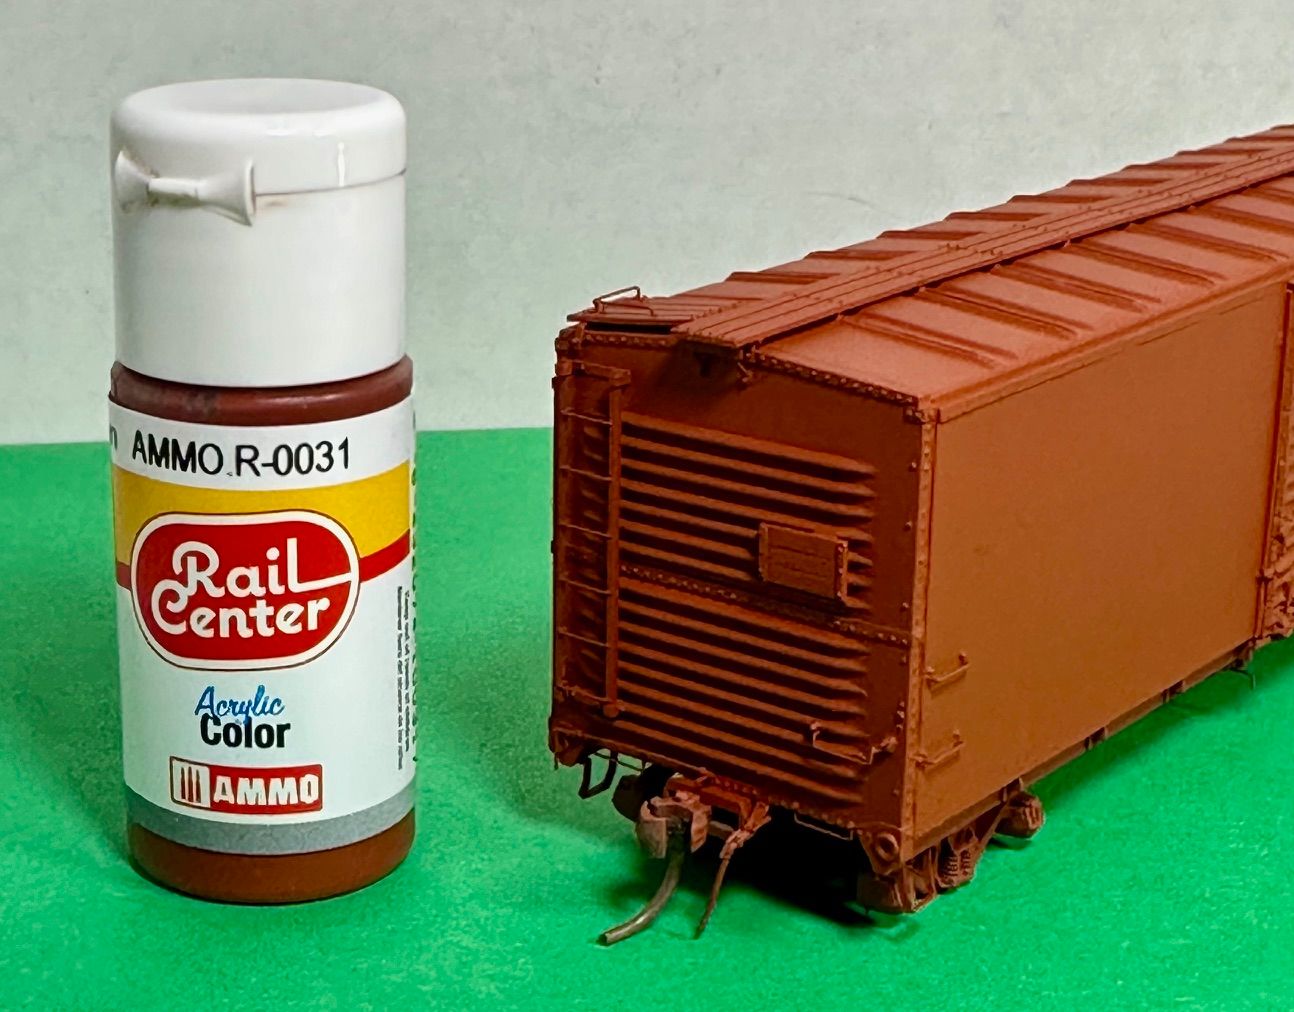 |
| Mig Ammo Acrylic Rail Center Paint George Photo. |
Lettering
After review of the numbers in the Precision Design decals set, both George and I chose number 82144 for the car number. In reviewing the decals to choose the car number I found that additional data in the decal set best matched data on the Bill Welch photo of Wabash 82144 in the Sunshine Models Data Sheet.
 |
| Sunshine Models Data Sheet |
Once the paint coat was dry, I airbrushed car body with Vallejo Gloss Medium 70.470 to provide a decal base. After drying overnight, decals were applied. Mini-kit Precision Design decals were used except for the end lettering which is not included in the provided decals. I made the end decals using Clover House Railroad Roman Alphabet Condensed Bold-White Dry Transfers, #9600-1, applied to decal paper and coated with Microscale Liquid Decal Film. I used Bill Welch’s photo of Wabash 82144 in the Sunshine Models Data Sheet as a guide to apply decals.
 |
| Mini-Kit precision Design Decals applied. |
 |
| End decals made with Clover House Dry Transfers applied to decal paper. |
Decals were soaked off in distilled water and applied to the car body where Microscale Micro Set had been applied with a brush. After the decal was applied in the Micro Set and positioned the edges had Microscale Micro Sol applied. Any excess solution was sucked away with the torn edge of a paper towel. Again when dry, car body sprayed with Vallejo Gloss Varnish #70.510 to better hide edges of decals and protect decals during handling. Again when dry, the car body was sprayed with Model Master Acryl, #4636, flat to protect decals and provide a flat finish for weathering when applied.
 |
| Car body ready for weathering. |
After the paint coat was dry, George used Holloway House Quick Shine Multi Surface Floor Finish as a gloss coat to provide a decal base. After letting the gloss coat dry for 24 hours he applied the decals.
 |
| Gloss coat applied. George Photo |
George applied the kit included Precision Design decals to the sides also using the Bill Welch photo of 82144 as a guide. And, National Scale Cars chalk marks decals were used for the chalk marks.
 |
| Mini-Kit Precision Design Decals applied. And, National Scale Chalk Marks Decals. George Photo |
Since the mini-kit supplied decals did not include lettering for the ends, George purchased a set of K4 decals and used their end decals to finish end lettering. The decals were gloss coated with another coat of Quick Shine to protect decals.
 |
| K4 Decals applied. George Photo |
Next, George applied a flat coat of Mig Ammo Lucky Ultra Flat Acrylic to the car to further protect decals and prepare the car for weathering.
 |
| Flat coat applied. George Photo. |
 |
| Flat coat applied. George Photo. |
Weathering
One more step before putting Wabash 82144 in service on the Minneapolis & Northland Railroad Company was to weather the car Pan Pastels. Pan Pastels Paynes Grey Extra Dark 840.1 was applied over the entire car body and underbody with a large makeup brush. And, a micro brush was used to darken the weathering over rivet seams and safety appliances on car body.
 |
| Car weathered with Pan Pastels. |
 |
| Car weathered with Pan Pastels. |
For weathering George tired a new approach using a product called Shaders from Mig Ammo. An acrylic very thin product that is airbrushed on. He used a Grex airbrush with a .3 mm nozzle at 18 psi to airbrush these Shaders. After the Shader coats dried, he applied some Pan Pastes. Pan Pastels Paynes Grey Extra Dark 840.1 and Raw Umber 780.5 were applied lightly on the underbody.
 |
| Shaders from Mig Ammo. |
 |
| Underbody weathered. George Photo. |
 |
| Car body weathered. George Photo. |
 |
| Car body weathered. George Photo. |
Now both George’s and my Wabash rebuilt box cars numbered 82144 were ready for service except for trucks. The temporary trucks were replaced with trucks to match the prototype with Kadee #573 Vulcan Double Truss “HGC” trucks painted to match the car body.
 |
| Wabash 82144 ready for service. George Photo. |
In addition to weathering, my Wabash rebuilt box car 82144 needed a car card made to put it in service on the Minneapolis & Northland Railroad Company, The Lakeland Route, “Serving today, Shaping tomorrow.”
 |
| Wabash 82144 on Bass Lake Jct. Team Track. |
 |
| Wabash 82144 on Bass Lake Jct. Team Track. |
 |
| Wabash 82144 on Bass Lake Jct. Team Track. |
Again as in Part 1, a “Thank You” to George Toman for the Wabash mini-kit and sharing his modeling methods. A “Thank You” to Frank Hodina for creating the masters and mini-kit. A “Thank You” to Ted Culotta, Chet French, Jerry Hamsmith, Richard Hendrickson, and Bill Welch that provided historical data and photos in references listed above.
Thank You for taking time to read my blog. You can share a comment in the section below if you choose to do so. Please sign your comment with your name if you choose to leave one. All comments are reviewed and approved before they appear. Please share the blog link with other model railroaders.
Lester Breuer
.