As I was writing my last blog I described a custom mixed paint I used in my airbrush to paint a freight car. I started to describe the process there; however, I quickly realized it would be better to describe the process in a blog post by itself. Therefore, I wrote this blog post to describe how I paint freight cars, locomotives, vehicles, structures and other.
Before describing my method for choosing a paint color or creating a custom color mix for a freight car I want to provide some background regarding how I gained my paint experience. I began painting with Floquil and Scalecoat, both solvent based, in early 70’s and used them for years. At the time I began with a double-action, internal-mix Badger 250 airbrush that was replaced with a internal-mix, double-action, Paasche VL, as more comfortable in my hand, and a small piston compressor with added water trap for an air supply.
 |
| Paasche VL used for solvent base paints. (Click on this or any image to enlarge) |
 |
| Small piston compressor with water trap removed for air supply. |
After the small piston air compressor failed, I setup and used a CO2 tank for a number of years. The upside of the CO 2 tank was dry air, no water trap, humidity not a problem and no noise. The downside of no noise when finishing airbrushing means remembering to close the tank valve or having an empty tank the next time you need to use it. Another downside was the need to fill the tank periodically and the cost to do so. Finally, I went back to a compressor, my choice a Badger tank compressor. All of the mentioned compressors produced air pressure (psi) of 15 - 25 lbs. of which I normally use the upper side, 20 - 24 lbs. for my airbrushing.
 |
| Badger comproessor in front and other backup compressors and tank used for air supply. |
When acrylics that are water-based paint, specifically PollyScale and Model Master, came onto the modeling scene I ignored them for a time. However, I began to read articles stating models were painted with water-based paint and decals applied in just a day or two. I was waiting seven days for the just solvent paint to dry so I decided to give PollyScale and Model Masters a try. I began by thinning Polly Scale with tap water and attempted to use it in my Paasche VL with very poor results. Of course, I was not happy; however, if others could get results with water base paints I wanted to learn how and proceeded to do so.
At the local hobby shop I purchased a copy of Jeff Wilson’s book Basic Painting and Weathering For Model Railroaders (Kalmbach Publishing Co., first printing 2003). In Wilson’s book he covers many of the subjects I will cover here and more. In the tools chapter, he showed the Paasche H as an example of a single-action external mix airbrush as simple to operate , clean and master. I purchased a Paasche H and airbrushed with it for a while. However, I missed my double-action airbrush and having learned not much paint was needed to paint a HO Scale freight car, I purchased a Paasche TG Talon double-action, internal-mix, gravity feed airbrush that I am still using today. In the Paasche Talon I have installed a #3 (.66 mm) needle.
 |
| Paasche Talon and Paasche H below. Both in their custom bent holder from coat hanger. |
 |
| Badger airbrush holder with Badger Patriot airbrush. |
If my airbrush should clog while painting a model I do not want to stop and clean it. Therefore, I have a spare airbrush to continue working. And, over the years I have also purchased and sprayed with a Badger Patriot (one size needle only) and an Iwata Elipse (.3 mm needle) for which I just purchased a .5 mm needle, nozzle and nozzle cap. When you change needle size you should change the other two parts. In addition, I have quick change hose connections on my airbrushes to make quick airbrush changeover easy.
 |
| Badger Patriot in front and Iwata Elipse in rear. Note quick change hose connector. |
In my opinion a large needle size with matching nozzle and nozzle cap is best for spraying acrylics/water base paint. My choice for the water base paint is Vallejo Model Air, airbrush ready or Vallejo Model Color, brush ready; however, Model Color can be thinned to Model Air consistency. I have found that the Model Air from the hobby shop or that I have had stored for a period of time may need thinning to make it airbrush ready. Another neat feature of Vallejo acrylics is their dropper topped bottles. I am a fan of the dropper bottle as it acts as a eye dropper (pipette) to put drops into a measuring spoon I use for mixing paint.
 |
| Vallejo Model Color, Model Air and extra bottle. |
As I still have PollyScale and Model Master paints in stock to use, I use a plastic disposable eye dropper to put drops in a measuring spoon.
 |
| Plastic eye droppers. |
Time to start mixing paint. First you need to choose a color for that freight car or locomotive. The railroads use drift cards to match colors on prototype equipment. When I used to hang around the Minneapolis, Northfield & Southern Shops I was told that sometimes when out of a specified drift chart color a run was made to the local paint store or body shop to obtain the closest color available. Therefore, I am not concerned that I get that “perfect” match to the railroad’s color.
For Vallejo colors there are no drift cards and their colors are not specifically named with railroad colors as PollyScale and Model Masters were. So what to do? A good place to start to choose a color for a railroad project is a Paint Conversion Chart. A good one showing Floquil - PollyScale and Model Master conversion to Vallejo colors can be found in Joe Fugate’s book, The Model Railroad Hobbyist’s Guide to Acrylic Painting (MRH Media, 2016). Again as in Wilson”s book many of the subjects covered here are covered in greater detail in the book.
I have made my own drift cards by hand painting Vallejo Model Color and Air paint and custom mixes I have mixed onto squares drawn on styrene plastic cut to make a 3” x 5” card. The squares after being marked on the cards are first hand painted with Vallejo Surface Primer Grey 70.601.
 |
| My paint cards I have made and use. |
Originally for my drift cards I used 3” x 5” card stock that did not hold up as well. I found it interesting, a color painted on styrene or paper provide very close results.
 |
| My original 3 x 5 paper paint cards. |
For the paint to properly flow through the airbrush The paint must be thinned. After reading, attending painting clinics and trial and error experience I have found it best to use distilled water rather than tap water, the manufacturer’s paint thinner or a custom mixed thinner. I began using a custom mixed thinner with Polly Scale and Model Masters after reading an article in Model Railroader suggested distilled water into which Liquitex Airbrush Medium and Liquitex Flow-Aid were added. My custom thinner mix began with distilled water with drops, then more and more drops added and finally each becoming 25 % of the mix. When Polly Scale and Model Masters were no longer available, I moved to Vallejo water-based paints thinned with a custom mix of distilled water 50% Vallejo Airbrush Thinner 71.161 25% and Airbrush Flow Improver 71.562 25%. Now I also use my custom mixed thinner to thin PollyScale and Model Master as well.
 |
| Vallejo Airbrush Thinner and Flow Improver and Liquitex Airbrush Medium and Flow-Aid. |
My custom thinner mix is also mixed in a Vallejo paint bottle with the eye dropper tip and marked on the sides with a black marker at the half and three quarter area to know how much to add of each item to make my custom mix thinner.
 |
| Vallejo bottles with custom mixed airbrush thinner. Plastic cups to hold distilled water for airbrush cleaning with eye dropper. |
Once you have chosen the thinner and paint you can start mixing the paint. What mixing ratio do I use. The most common I have heard for water-based paints is 50% paint and 50% thinner. With Vallejo Model Color I add 30 drops (60 %) and 20 drops (40%) of custom thinner when thinning one color. With a two color or more mix I still attempt to keep the total drops around 60. I mix my paint by counting drops from the Vallejo paint bottles into a metal baking measuring spoon to which I have added a handle cut from foam core. I never mix in the paint cup as the paint will run around the needle in the bottom not allowing added thinner to mix with the paint that flowed there. The eye dropper tips on Vallejo paint bottles are very convenient for my method of mixing matching color and custom paint mixes by counting drops.
 |
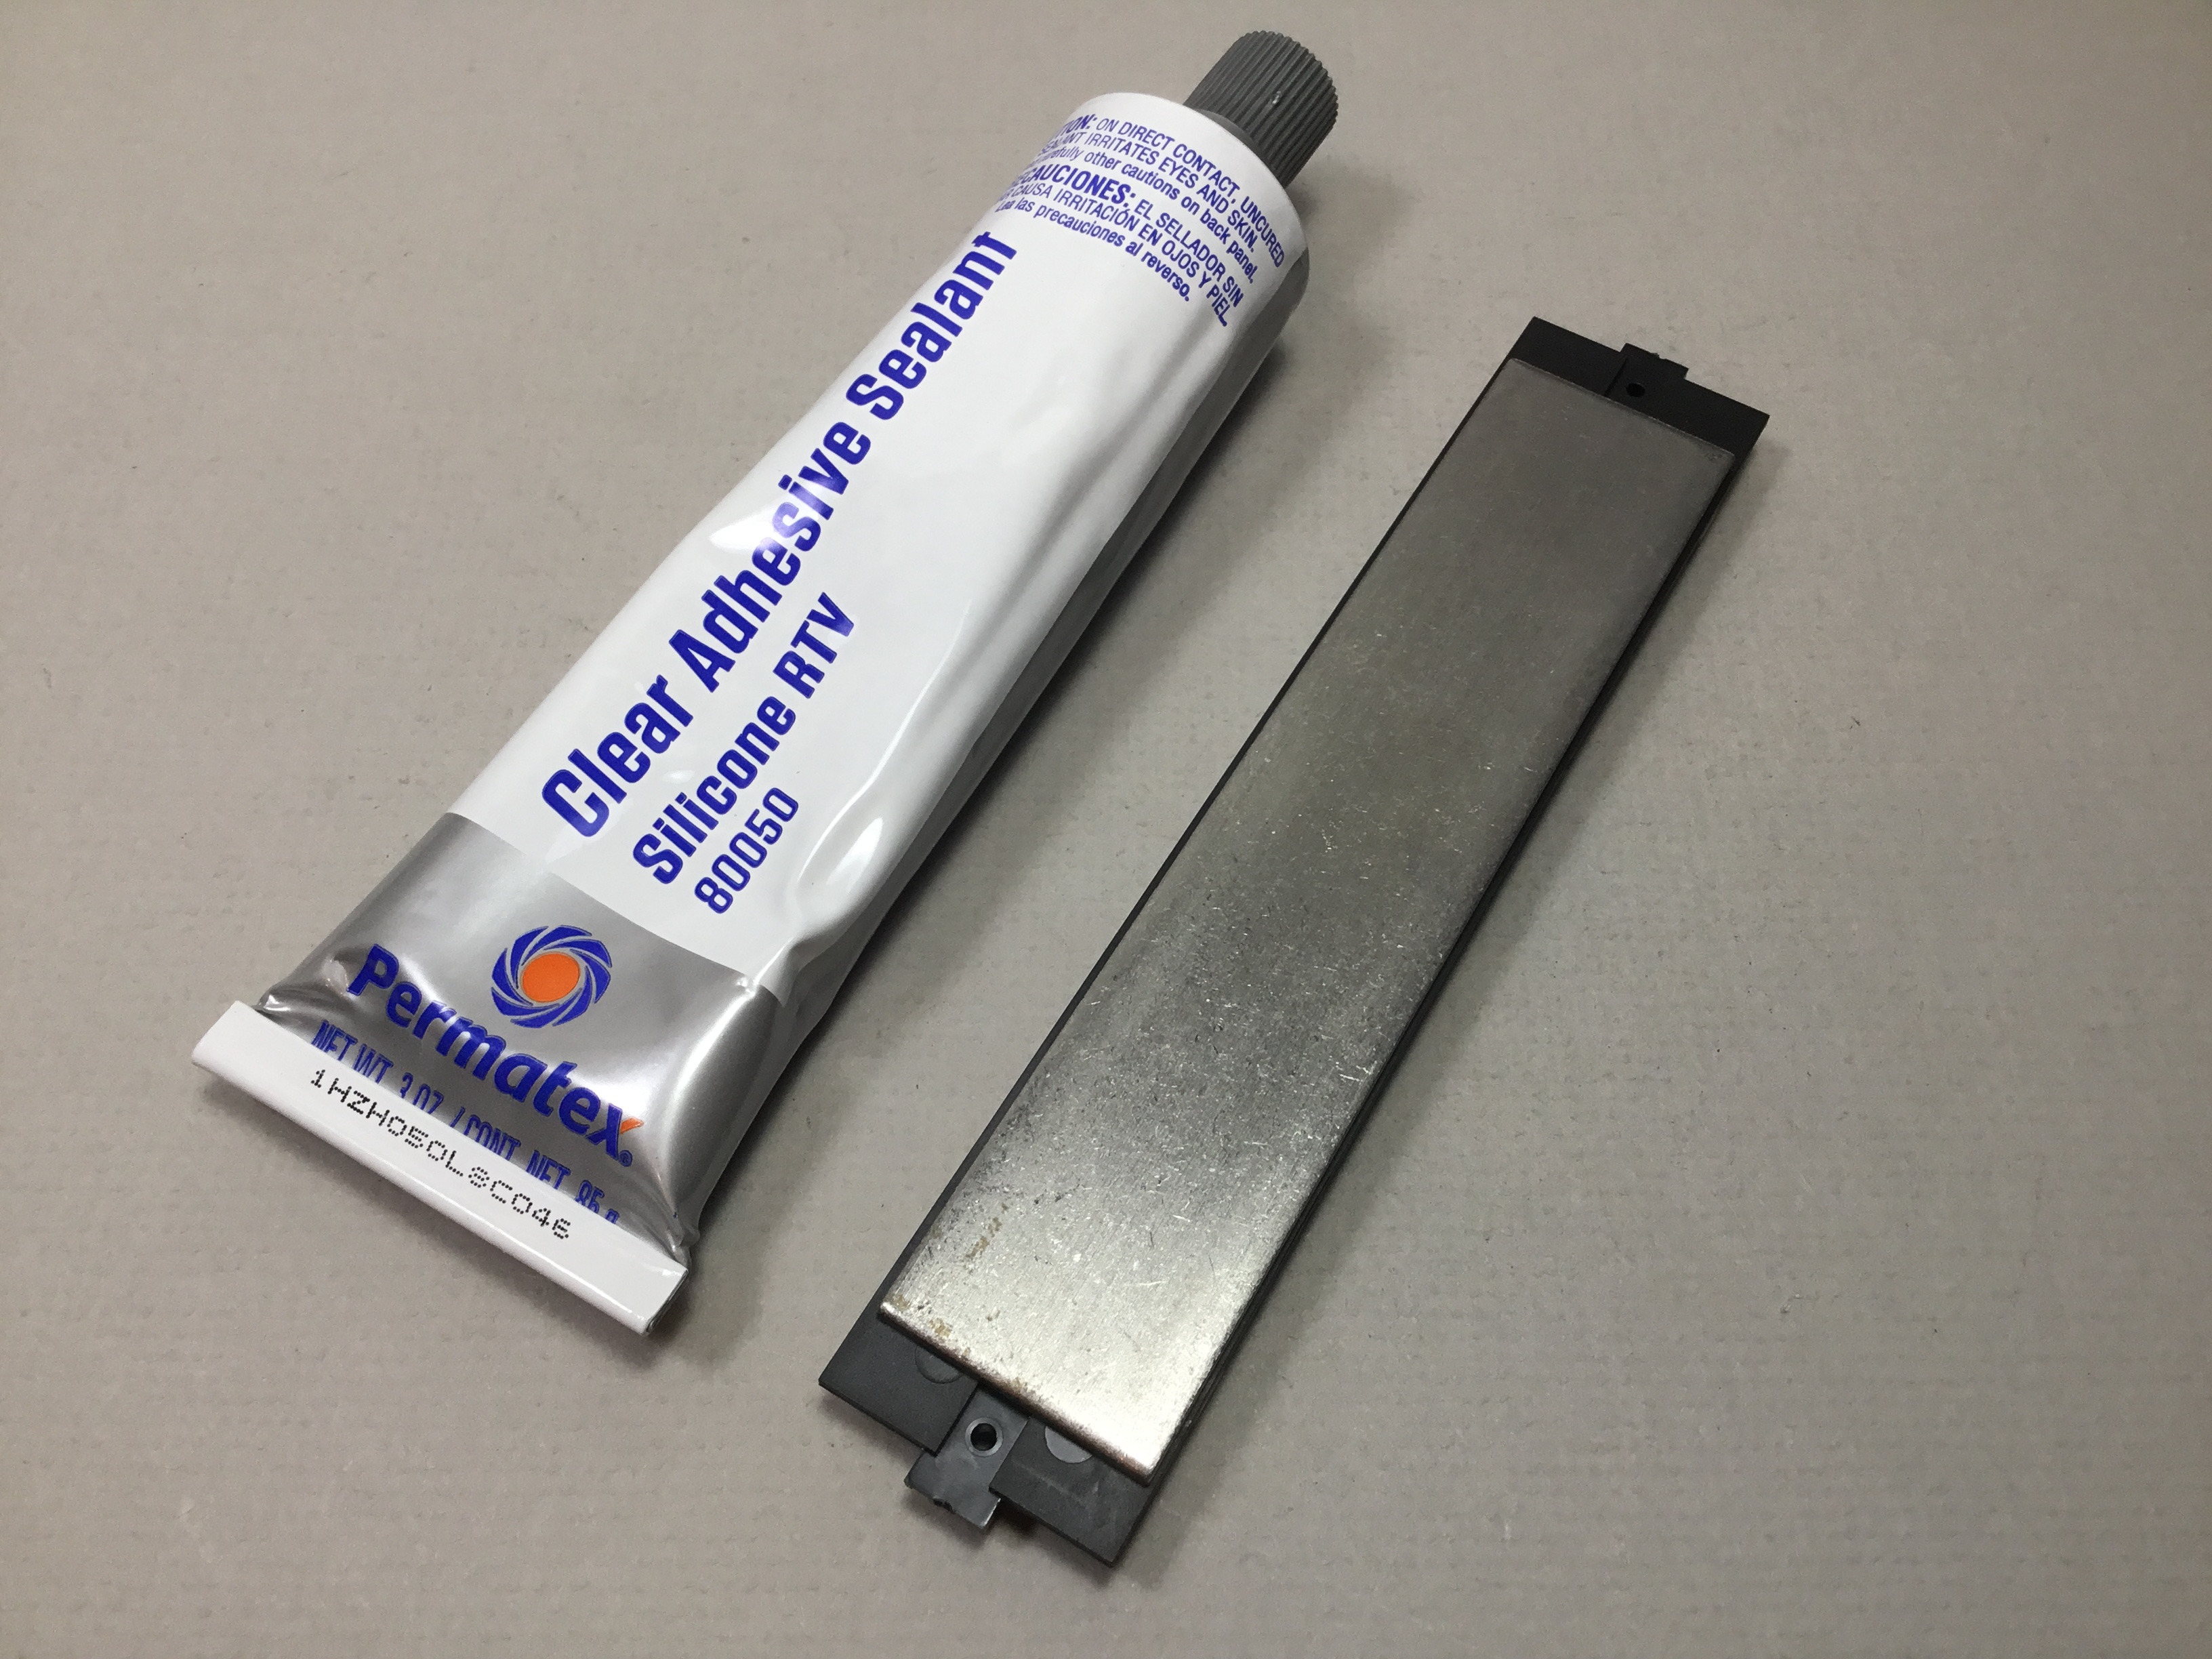
| Measuring spoon and piece of rail. |
My normal Model Color mix of 30 (60%) and 20 drops (40%) of custom thinner when using one color may not provide adequate coverage of the model. A second or third mix if necessary is prepared the same way.
In-between each mix I rinse out the cup on the air brush with distilled water using an eye dropper. I place the eye dropper with distilled water in the paint cup and squeeze the bulb on the eye dropper with the distilled water to force the distilled water around the needle and suck it back into the eye dropper. I do this several times and remove the eye dropper from the paint cup and dispose of the dirty water sucked into the eye dropper. I fill the eye dropper with clean water and repeat the process. I do this several times until the water being sucked out stays fairly clean. I use this same method to clean the airbrush when airbrushing is finished. In addition, when cleaning the airbrush when finished I remove the nozzle cap and wipe off the needle tip with a makeup swab dipped in distilled water.
I mix the paint portions and thinner with a piece of rail that also act as my consistency measuring tool. After mixing paint and thinner with a piece of rail, I hold the piece of rail used to mix the paint and thinner in a vertical position. If the paint drips off I know the mix consistency will flow well through the airbrush.
 |
| Mixing spoon and piece of rail. |
How do I choose a Vallejo color for a freight car? I use my drift cards to find a color match to a manufacturer applied color, color photos or color photos in books if available. If I can not find any photos I ask other modelers for color suggestions. And my last resort is “box car red” the most used color in my 1955 time frame for my Minneapolis & Northland Railroad Company.
 |
| Color match using my paint charts/drift cards. Best match for this Mather box car is Vallejo Model Color Brown RLM26. |
Even with the many different colors available from Vallejo you may not be able to find a suitable color. What to do? You mix your own custom paint to match a color needed. I make my mix by choosing the basic color and adding other colors. Helpful tools to accomplish the task are a Color Wheel. The color wheel tells one what color to add to change hue, the tint when white added, the tone when gray added and shade when black added. Keep in mind that a color mix will lighten when thinner is added. Custom color mixing can take a lot of time to mix a color. There times I have spent days creating a color mix to match a manufacturer’s factory paint.
 |
| Color Wheel front side. |
 |
| Color Wheel back side. |
There are other paint mixing charts available. One example is below.
 |
| Paint Mixing Guide. |
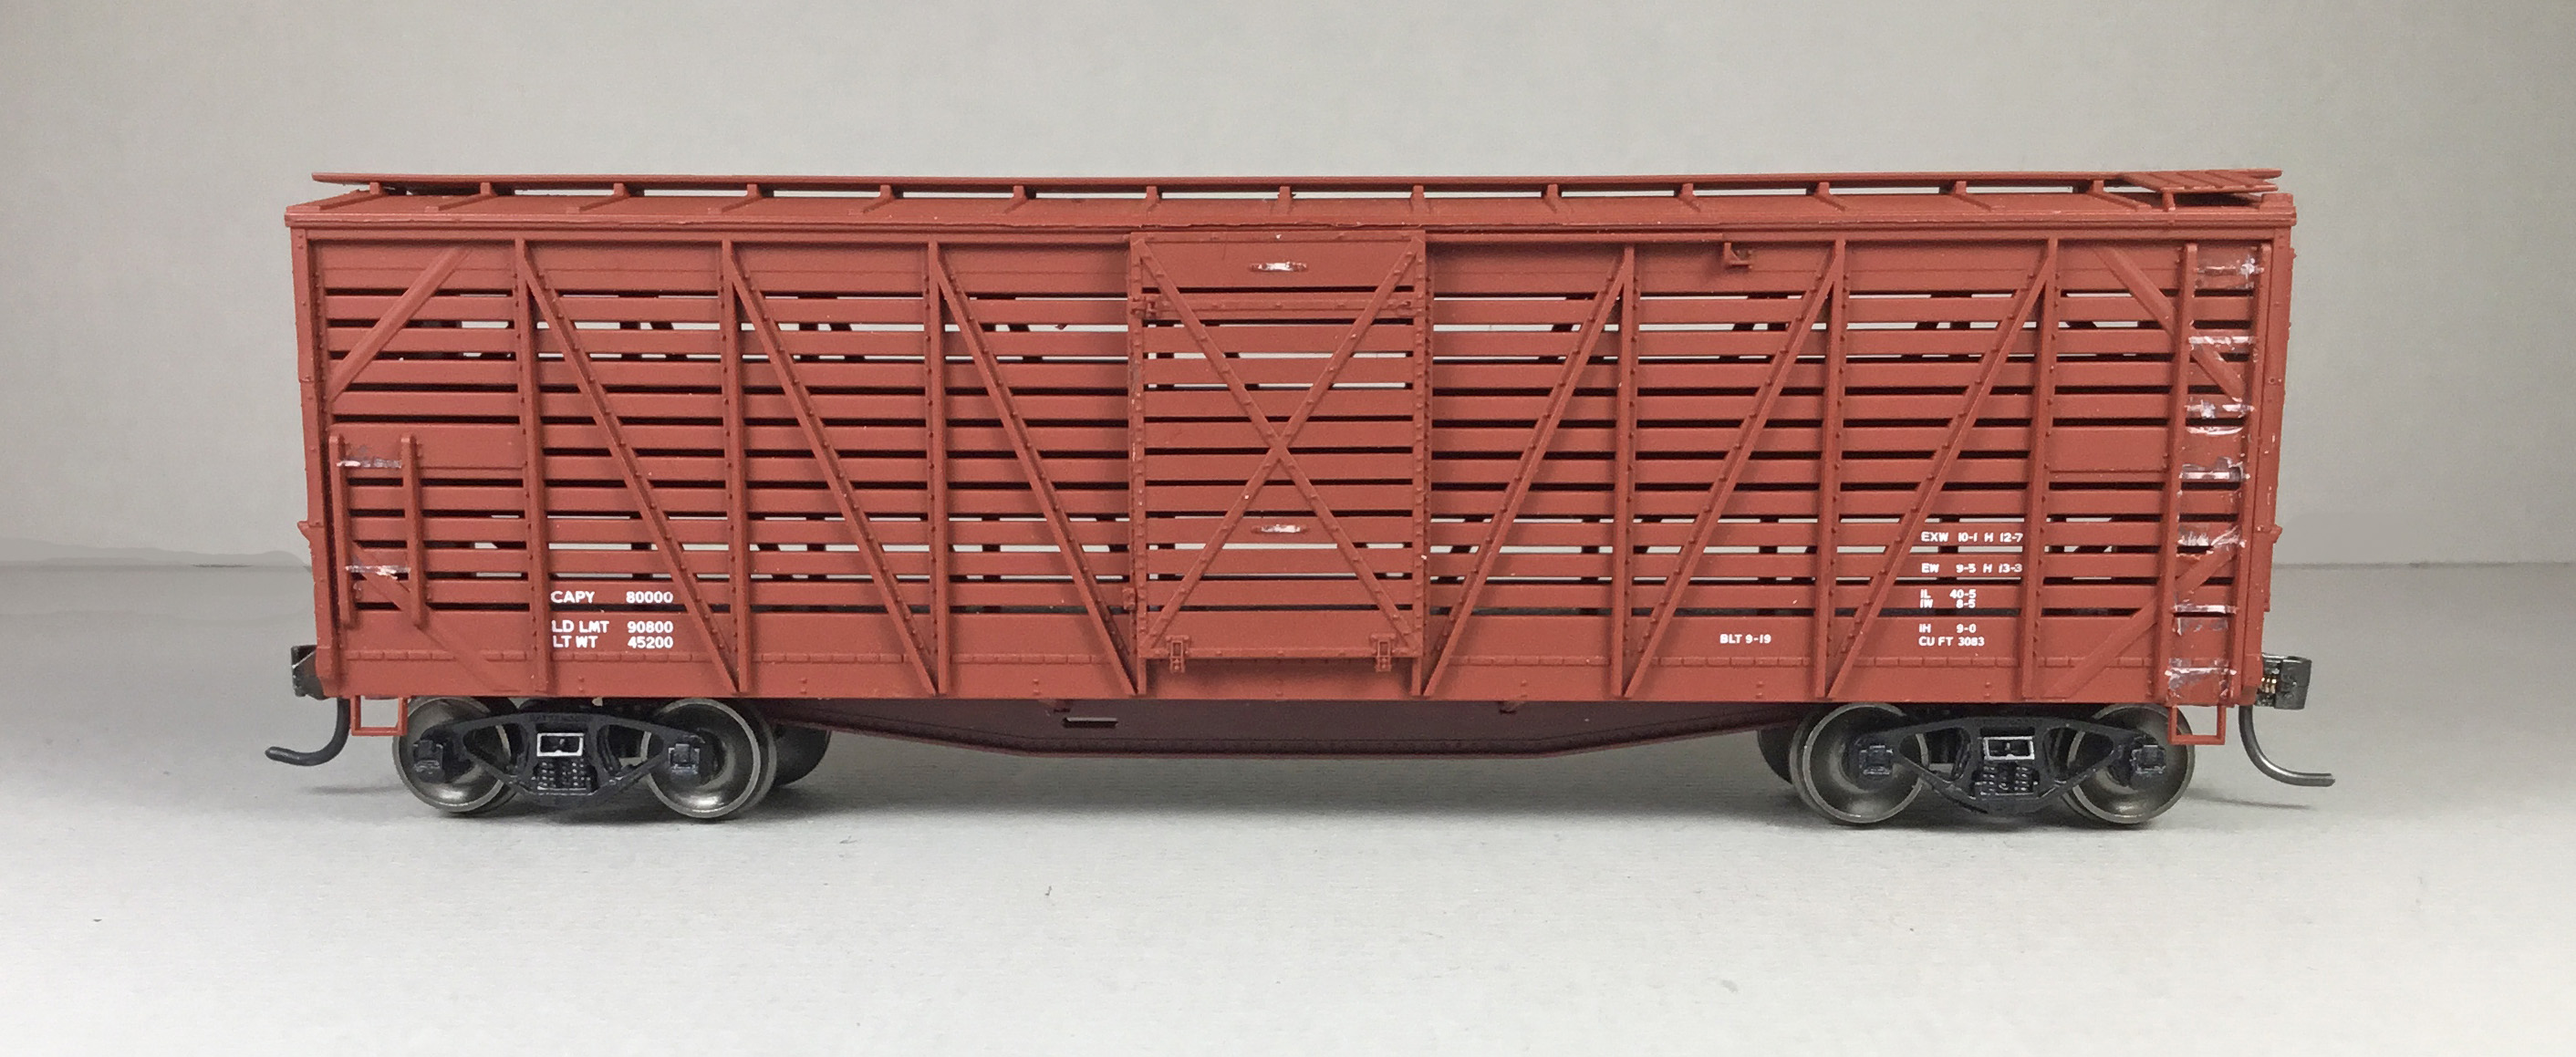
On a previous freight car build, after Santa Fe Stock car 60347 was ready for paint, I checked the Model Railroad Hobbiest paint conversion chart for Vallejo color suggested for Santa Fe Mineral Brown. The suggested color was Vallejo Model Air Rust 71.080. When I applied the Rust color to a part on the underbody I thought it did not look right. It did not look brown enough, to my eye. Therefore, I created a Vallejo Santa Fe Mineral Brown airbrush mix: Model Air Rust 71.080, 30 drops (57%), Model Color Cavalry 70.982, 3 drops (5%) and custom mixed thinner 20 drops (38%).
 |
| Car painted with custom mixed color Santa Fe Mineral Brown. |
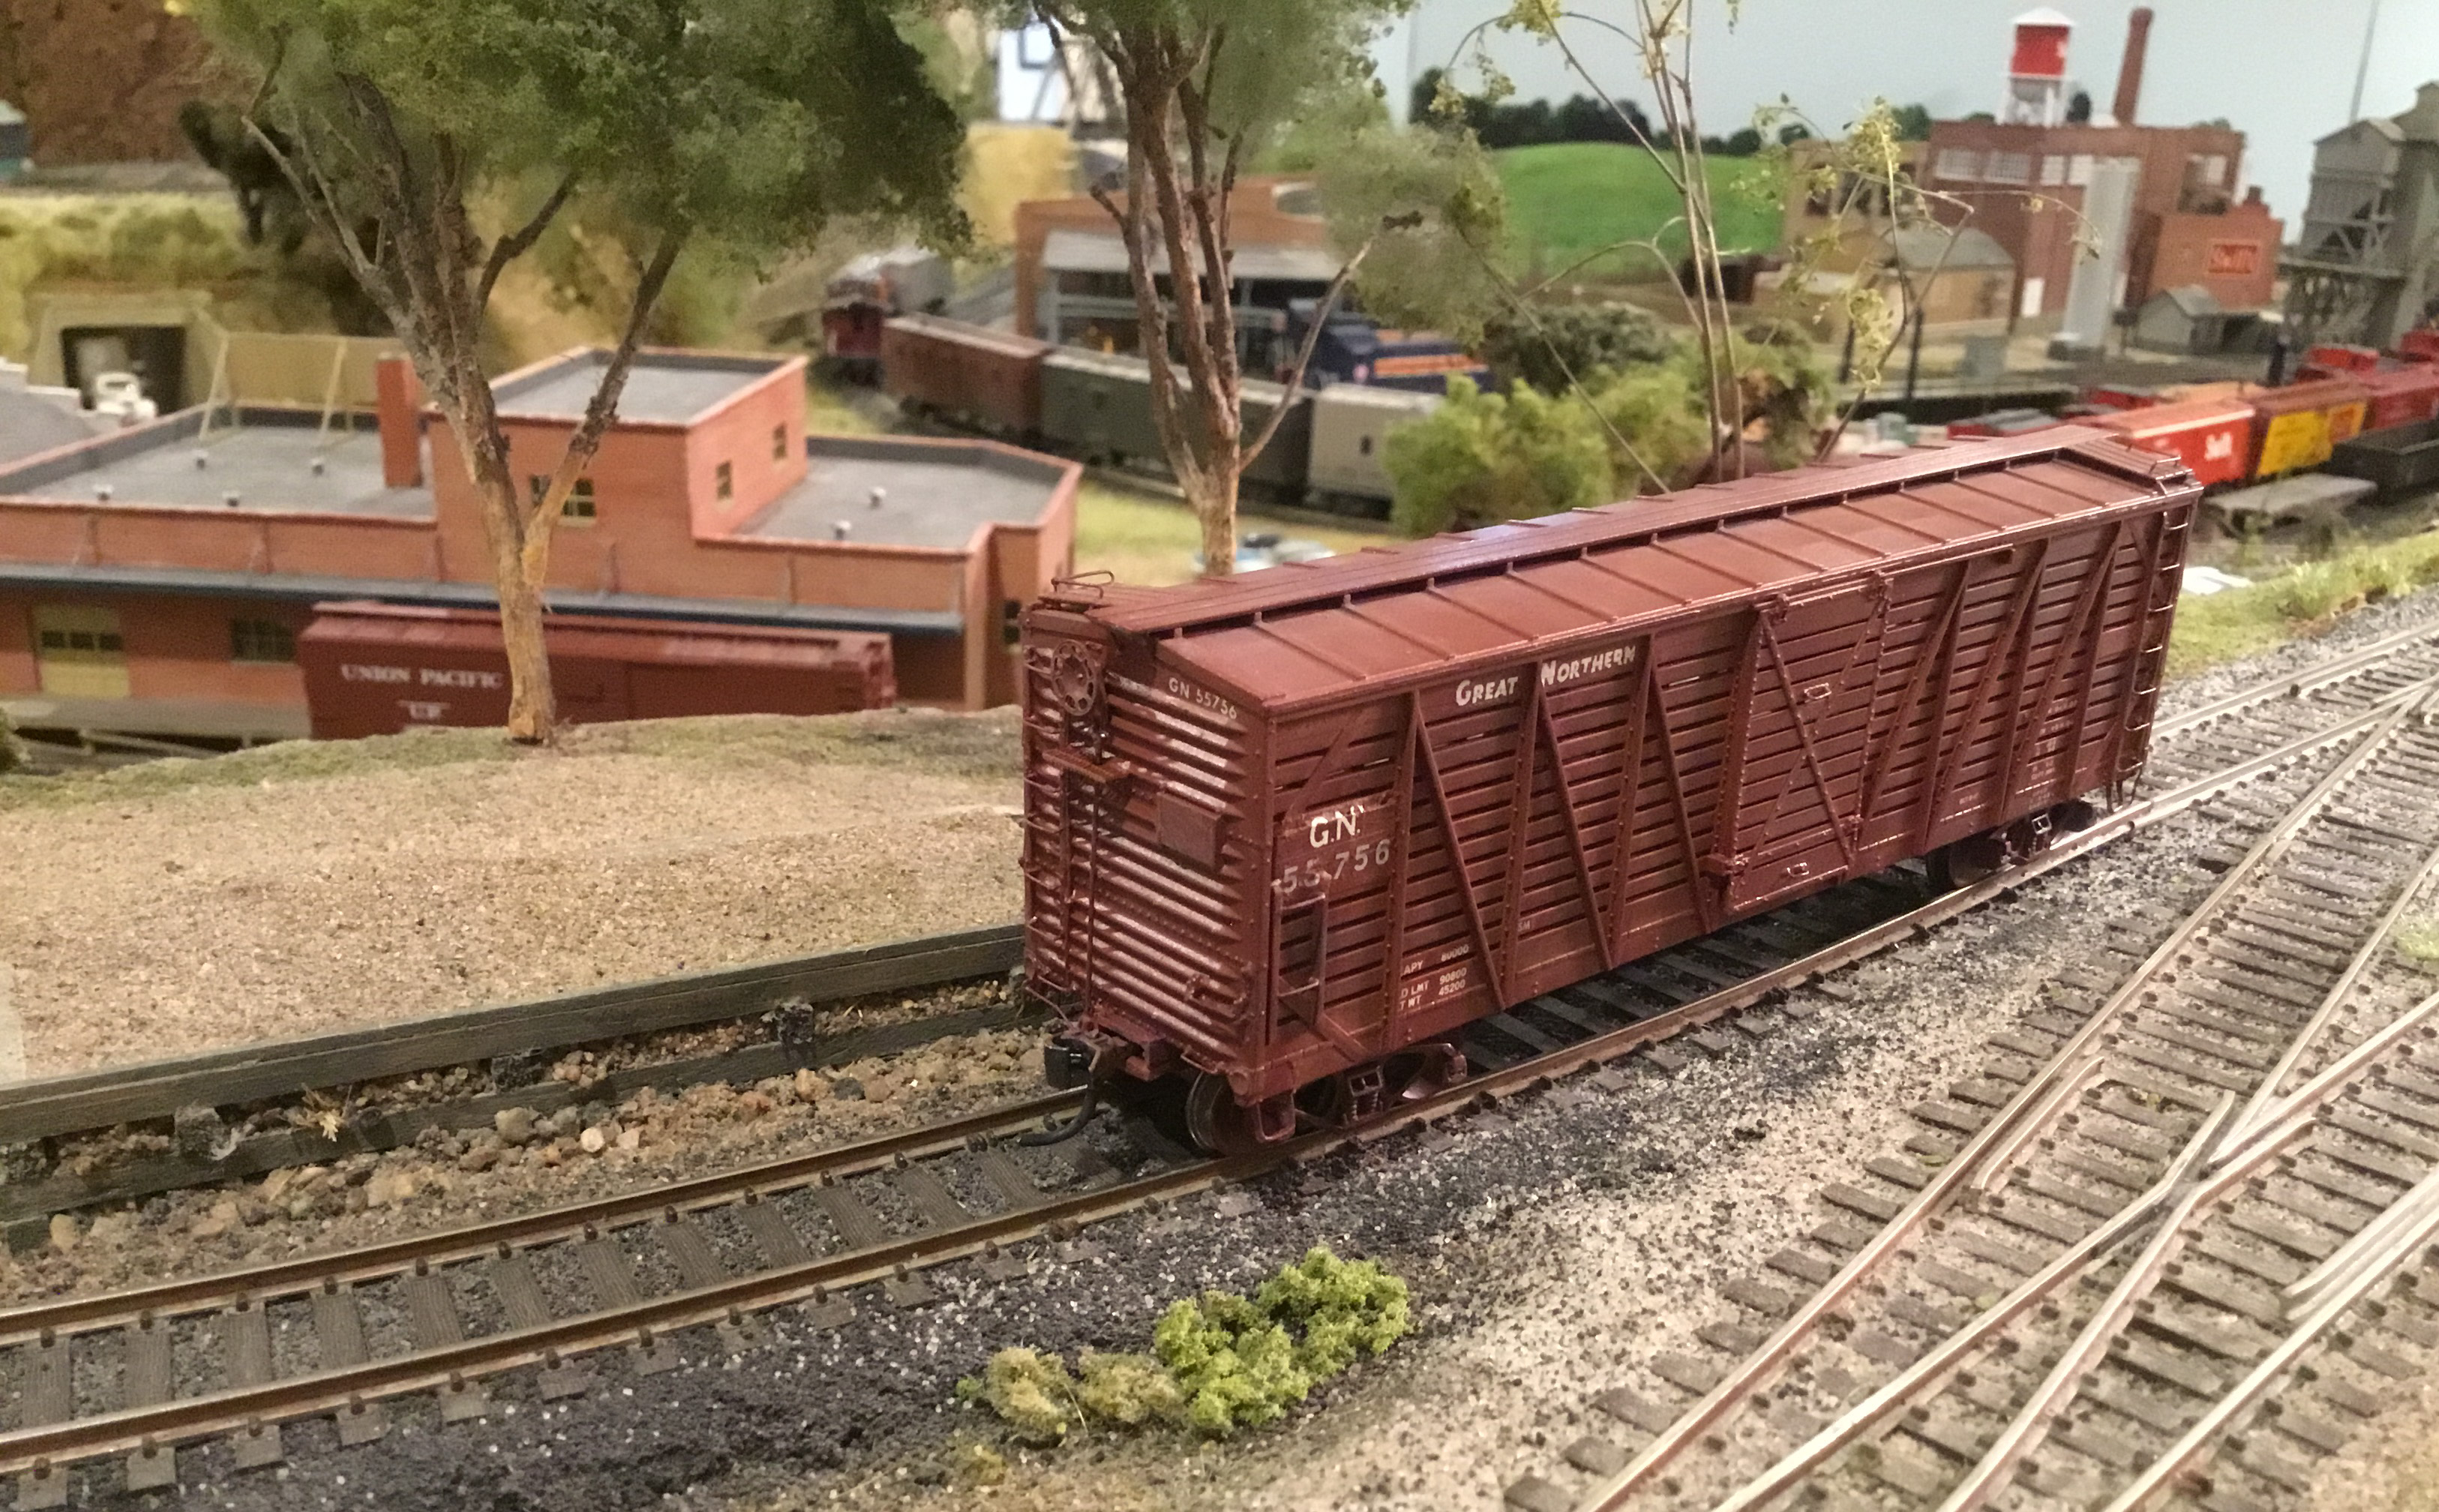
At M&N Shops spray booth with the compressor running and a thinned color or color mix poured from my mixing spoon poured into the airbrush color cup I am ready to spray. To spray the freight car I start spraying off to one side and move across the freight car side to the other side and then back again keeping the airbrush distance 3” to 6” from the car. I do the same with the roof and ends. On the roof the area between a latitudinal (lateral) running board and car end is an easy area to miss without paying special attention to it. I turn the car a various angles when moving across the freight car to spray all areas. The angles important to get areas as door edges covered properly. I also may make a vertical pass over the ladder areas for proper coverage.
 |
| Minneapolis & Northland Railroad Company Paint Shop. |
After I finish airbrushing a freight car or locomotive I help the drying process by using a hair dryer. The hair dryer is another well used paint tool in the Minneapolis & Northland Railroad Company Paint Shop.
 |
| M&N Paint Shop hair dryer. Note custom made holder. |
Not every paint project in the paint shop is successful. The airbrush and paint mix may cause a potential problem such as paint does not cover well which may be caused by too much thinner. Wilson’s book has a excellent “airbrushing troubleshooting” chart showing problems, potential causes and possible solutions.
Armed with the airbrush paint information I have provided here I hope I have added to your choosing a paint color, color mixing and airbrushing knowledge. As they say, “the bottom line” is “practice makes perfect.” Not always for me? And, “experience is a great teacher.”
Thank You for taking time to read my blog. You can share a comment in the section below if you choose to do so. Please sign your comment with your name if you choose to leave one. Please share the blog link with other model railroaders.
Lester Breuer
Plymouth, MN
.