Saturday, October 29, 2022

Minneapolis & St. Louis Gondola 30357

 When I became aware of the new 3D printed Minneapolis & St. Louis (M&STL) general service 42 foot gondola, resin kit 220801, produced by Northwoods Models, Soo Parts, I ordered two.   When the gondola kits arrived, one immediately went to the workbench and the other to the to build kits cabinet.  I wanted to build the 3D printed kit immediately to enter coal hauling service on my Minneapolis & Northland Railroad Company railroad as the gondolas did on the M&STL.  A second reason was to test the new Badger 3D Prime two step primer to fill striations on models.

M&STL Gondola 30315 in coal hauling service
Doug Harding Collection
(Click or tap on this or any image to enlarge)


The prototype Minneapolis & St. Louis (M&STL)  general service, drop bottom gondolas were purchased from General American Transportation Corp. in 1947.  The M&STL assigned the 249 built GS class gondolas to series 30001-30499, odd numbers only.  The gondolas per the 1953 January Official Railway Equipment Register (ORER) were 42 feet 4 inches in length, all steel with 16 drop bottom doors.  The cars had a unique inset on the bottom of the side sheet.  As delivered,  the gondolas were painted black with white lettering including slogan, “The Peoria Gateway.”  A nice prototype photo in the instructions and in the 1949-1951 Car Builders' Cyclopedia  (Simmons-Boardman Publishing Corporation, 1949) was used for the build and lettering.  In addition, Doug Harding provided photos and a car diagram for my build.


1949-1951 Car Builders Cyclopedia
Courtesy of Doug Harding


Gondola Diagram
Courtesy of Doug Harding


I began the build as with all kits reviewing the car body (well printed) and detail parts (well printed) to decide which I would use to build the model.  Even after flash is removed from the kit parts they are kept in the box to prevent entering the “black holes” surrounding my workbench.


Gondola kit parts before flash removal.


After I finished my parts review I removed underframe flash and installed the underframe.  I carved off the printed on piping for brake components.  The kit provided weight (neat kit feature) was installed into the gondola body. The car body with weight when placed on a digital postal scale showed  3.2 ounces.  An acceptable weight for the gondola when in operation on my Minneapolis & Northland Railroad Company.


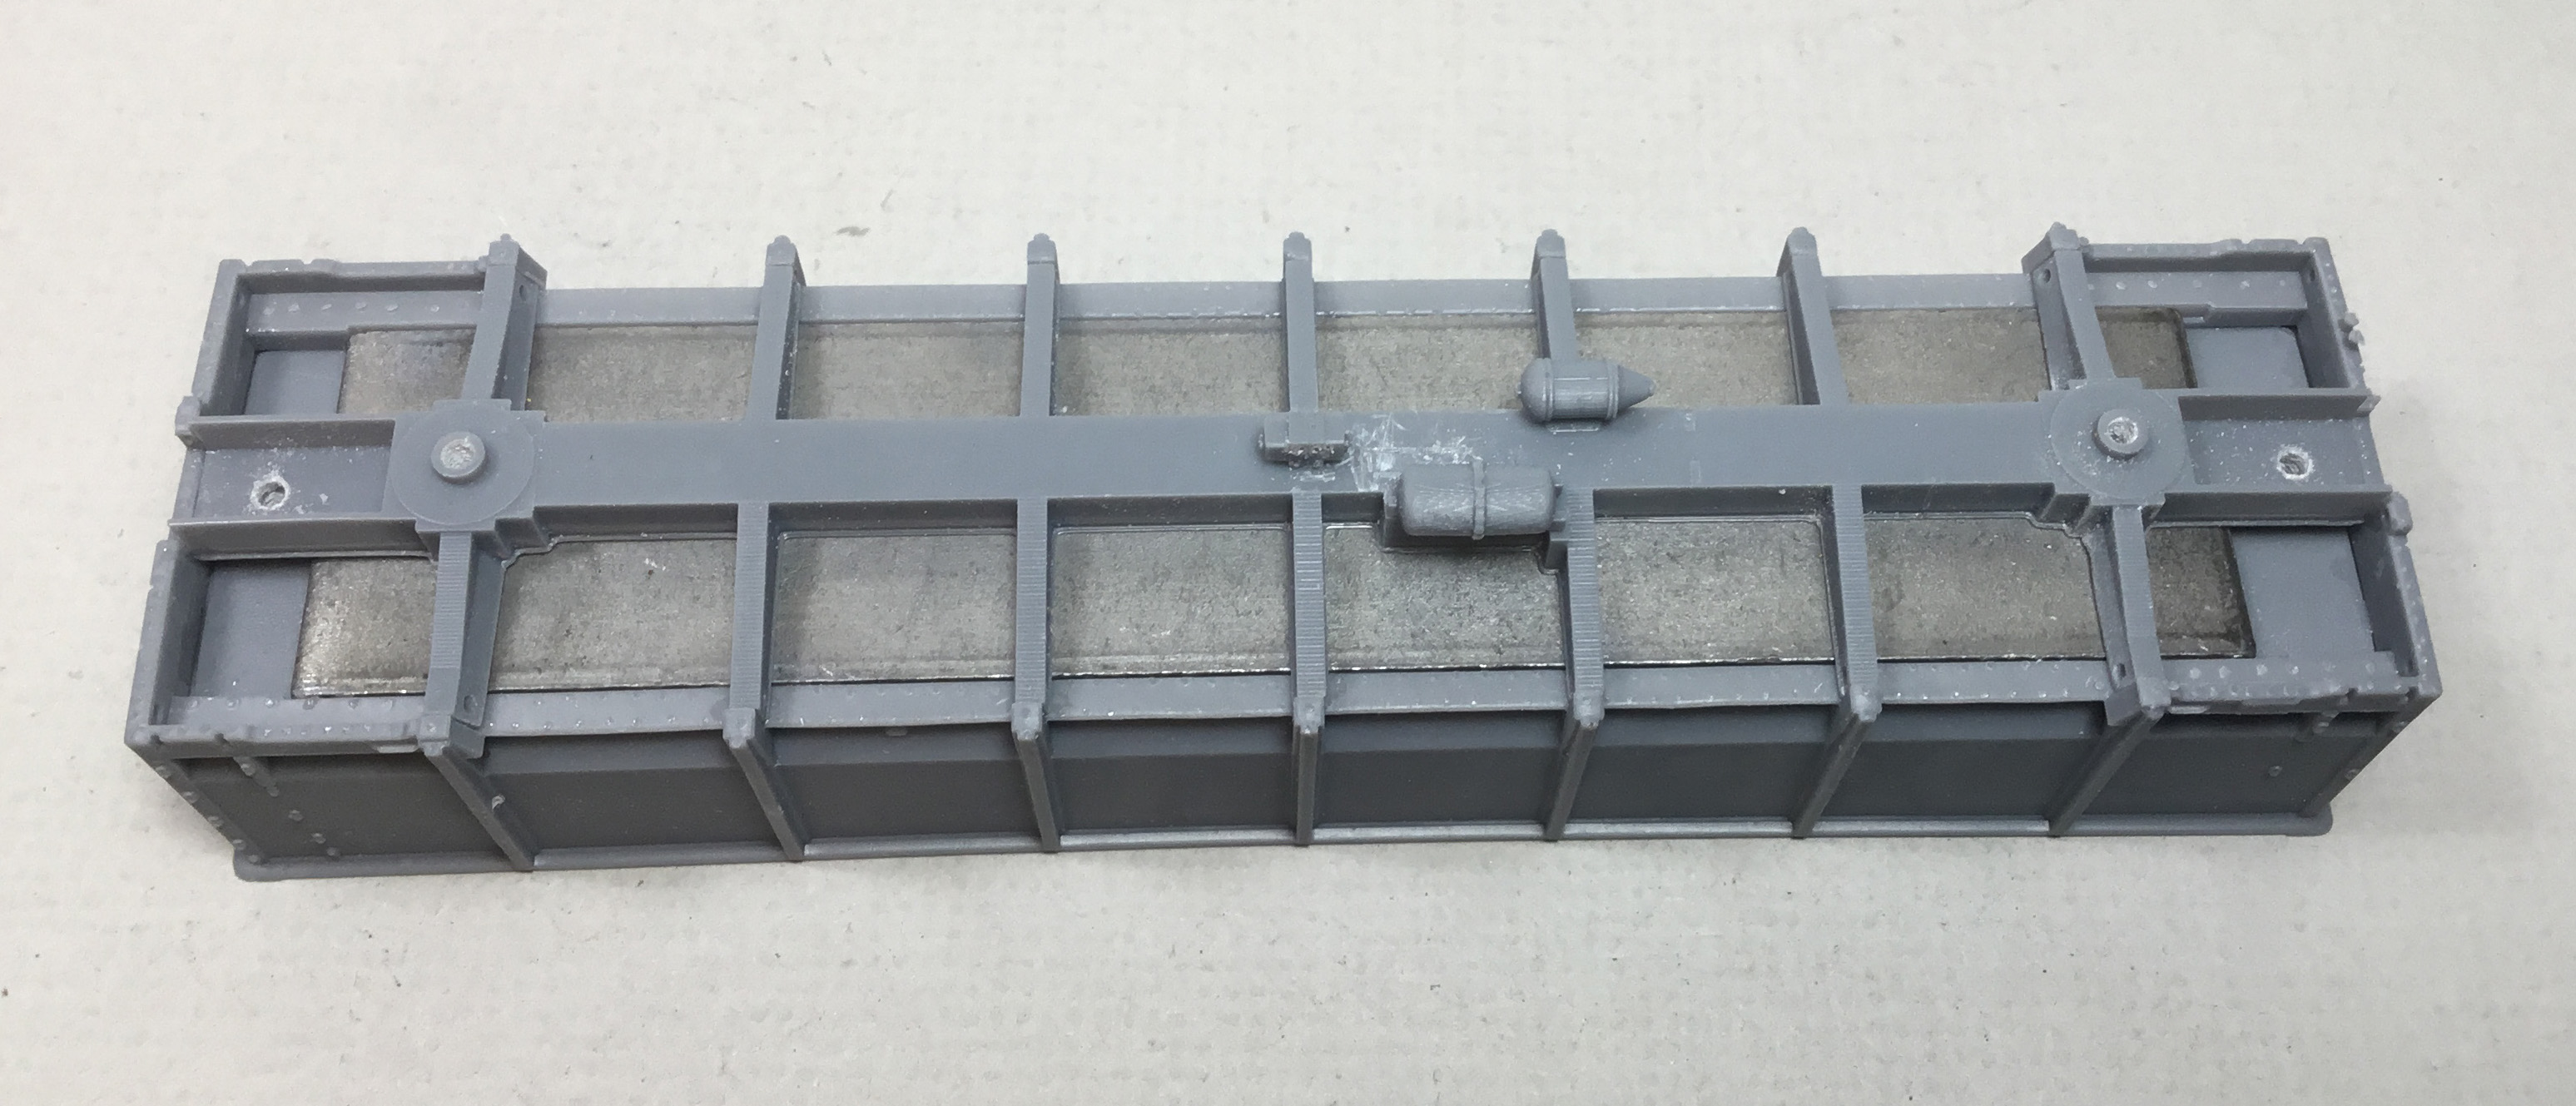
Gondola weight and underframe installed.


The underframe has brake components molded on the center sill which I would have preferred was not the case.  I cut the brake cylinder off to allow for drilling to install a brake cylinder piston from Tichy Train Group (Tichy) set #3013 and piping.  The same had to be done for the AB valve to drill for piping.  And, later the AB valve location had to be moved from the center to the edge of the center sill to properly position the brake rod between brake levers.


Piping install started.


The install of the interior floor to cover the kit installed weight followed.


Gondola interior floor installed.


I went back to the underbody work.  I drilled and tapped coupler pocket pads and bolster center plate for 2-56 screws.  The kit is designed for Kadee #178 couplers; however, they are not included.  Kadee #178 couplers and Accurail ARA cast steel with spring plank and InterMountain 33” metal wheels were installed.   Install of the following items not in the kit followed:


  • train line, .018” diameter floral wire
  • Brake cylinder lever, Evergreen #8108, 1” x 8” strip styrene 
  • Floating lever, Evergreen #8106, 1” x 6” strip styrene
  • Brake piping from air reservoir to control valve, Tichy #1101, .010” diameter PBW
  • PBW stands for phosphor bronze wire
  • Brake pipe from brake cylinder to control valve, Tichy #1106, .0125” diameter PBW 
  • Brake rods, Tichy Train Group (Tichy) #1106, .0125” diameter PBW
  • Brake rod clevises, MEK Goop
  • Chain, Precision Scale #48553, 34 links per inch
  • Bell crank and Clevis, Tichy set #3013.  Clevis has brake rod cut off.


Underbody brake work installed.


Installed brake work viewed from side.


Now I moved to the sides and installed the grab irons.  I did not use the 3D printed grab irons in the kit.   I used Tichy #3015, 18” drop type grab irons installed in #79 drilled holes instead.


Grab irons installed.


Upon completion of the underbody work I moved on to the “B” end work.  I carved off the printed on retainer valve and line.


Printed on retainer valve and retainer line
that I cut off.


Once the carving of retainer valve and line was done I installed the following details:


  • ladders (kit)
  • brake platform, Plano set #11322
  • Brake gear chain, Tichy set #3013
  • Brake rod, Tichy #1102 .015” diameter PBW
  • Retainer valve, Precision Scale #31796
  • Retainer line and brackets, Tichy #1100, .008” diameter PBW
  • End winch mechanisms (kit) on sill corners
  • Brake chain guide (kit) next to coupler pocket
  • Grab irons, straight and sill custom bent from Tichy #1106, .0125” diameter PBW
  • Brake wheel, kit


Majority of "B" end details installed.


Next back to the sides where I installed the chain winches (kit) on brass rods (kit).  In addition, I installed the kit printed sill steps.


Door winches and sill steps installed.


After install of the kit sill steps I broke one off.   So I cut off the remaining three and soldered up new brass sill steps.   I used Detail Associates #2524, .010” x .030” flat brass bar to solder up new sill steps and bend the angle on them with a pliers.  The newly made  brass sill steps were installed.  When I contacted Soo Parts regarding molded on brake components, I was told I could have had the sill step replaced upon request.


Sill steps made from brass and installed.


Next uncoupling levers were installed.  I bent my uncoupling levers from Tichy #1106, .0125” diameter PBW with styrene brackets fashioned from Plastruct #90502 1/16” styrene angle.


Uncoupling levers installed.


Note uncoupling lever bracket.


The build was finished except for paint and lettering, so off to the paint shop.  I was excited to be at this point as I was able to use the new Badger 3D Prime 2 step Translucent Surface Smoother (striation filler) for common 3D printed materials that I had purchased directly from Badger.  The instructions on the bottle label state, “apply with a .5 or larger nozzle airbrush at 20-30 psi ….holding airbrush 4-6” from item.”   The 3D Prime, part one, is to be airbrush ready; however, I found it was not.  I had to thin the product 50/50 with thinner to spray properly.   I did not have Badger thinner so I used Polly S airbrush thinner I had on hand.  I let the model dry overnight.


Car airbrushed with Badger 3D Prime part one.


The next day I airbrushed the dry gondola with 3D Prime part two.  As with part one, I had to thin the product 50/50 with thinner to spray properly.   After I let it dry and inspecting the gondola I found the printing striations were not filled as I believed they would be.  I believe, my having to thin the product and possibly not having Badger thinner produced the results I obtained.


Car airbrushed with 3D Prime part two.


After my inspection of the car body I airbrushed the car underbody Vallejo/Micro-Mark Model Air Tarnished Black #29022X2 and the car body Vallejo Model Color Black 70.950.  Once the paint was dry, the car body was sprayed Model Master Gloss Clear Acryl, #4638, to have a gloss base for decal application.  While the gloss finish  was drying I hand painted the trucks with Vallejo/Micro-Mark Model Air Tarnished Black #29022X2.  And, I reviewed the decals in the kit printed by Circus City Decals to choose the car number 303357.


Underbody airbrushed tarnished black.


Car body airbrushed Vallejo Model Color black.


Car body airbrushed Vallejo Model Color black.


After gloss finish was dry,  decals were soaked off in distilled water and applied to the car body where MicroScale Micro Set had been applied with a brush.  After decals were applied in the Micro Set and positioned the edges had MicroScale Micro Sol applied.  Any excess solution was sucked away with the torn edge of a paper towel.  When dry, car body was sprayed with Model Master Gloss Clear Acryl #4638, to better hide decals edges.  Again, the car body was sprayed with Model Master Flat Clear Acryl, #4636, flat to protect decals and provide a flat finish for weathering when applied.  Finally, the car body was airbrushed Vallejo Satin Varnish 70.522


Decals provided in kit applied.


Decals provided in kit applied.


My last step before putting Minneapolis & St. Louis gondola 30357 in  service was to weather the car with Pan Pastels.  Pan Pastels Paynes Grey Extra Dark 840.1  was used on the car body and lightly over safety appliances on car body.  Neutral Grey 820.5 was used as highlight on car body and interior areas.   Burnt Sienna Shade 740.3 was used to simulate the rust areas.


Car weathered with Pan Pastels.


Car weathered with Pan Pastels.


Car weathered with Pan Pastels.
.


Car weathered with Pan Pastels.


Minneapolis & St. Louis gondola 30357 was  ready for service on the Minneapolis & Northland Railroad Company, “Serving today, Shaping tomorrow.”  A car card was made for M&STL 30357, the final step to put the cars in service on the Minneapolis & Northland Railroad Company Railroad.


M&STL Gondola 30357 spotted at 
J.D. Owen Coal in Little Chicago, MN.


M&STL Gondola 30357 spotted at 
J.D. Owen Coal in Little Chicago, MN.


M&STL Gondola 30357 spotted at 
J.D. Owen Coal in Little Chicago, MN.


I want to say, “Thank You” to Doug Harding for providing photo and car diagram to help with this build and upgrade.   Definitely appreciated as without his help this build would have been more difficult.


Thank You for taking time to read my blog.  You can share a comment in the section below if you choose to do so.  Please sign your comment with your name if you choose to leave one.  Please share the blog link with other model railroaders.

Lester Breuer


.

Tuesday, October 11, 2022

Union Tank Car Comapny UTLX 74450

 I thought it was time to add a different design type tank car to the tank cars in the Minneapolis & Northland Railroad Company freight car fleet.  I pulled Southern Car & Foundry 8,000 gallon, 6 course radial tank car, kit 2005, from the not built freight car cabinet.   The tank car kit builds into a 6 course radial tank car with  unique bolsters and safety valve location that adds an unusual tank car design to the in service tank car fleet.


The prototype tank car was built by Standard Tank Car Company (STC) or (STCC) in 1917.  Richard Hendrickson tells us in his history ( in the kit instructions) The Standard Tank Car Company founded in 1915 quickly became the world largest manufacture of railroad tank cars.  And, STC developed standard designs for tanks and underframes and mass-produced thousands of tank cars of all types and sizes between 1916 and 1928.  Ted Culotta in his book Steam Era  Freight Era Cars Reference Manual Volume Two: Tank Cars (Speedwitch Media, 2006,2007,2008) tells us one notable feature of STC’s tank cars was the large built up bolsters with sections that sloped up towards the tank and had large diamond or clover leaf shaped openings on these sloped sections.  Another feature when looking at photos of these tank cars is the safety valves location.  The safety valves are located at the opposite sides of the dome.


Gulf Refining GRCX 2162
Richard Hendrickson Colletion Courtesy of Jon Cagle
(Click on this or any image to enlarge)


Now on to the build of Union Tank Car UTLX 74450.  My build followed the steps in the kit instructions most of the time and here I use a similar format to describe the build.  I will start with the frame.


FRAME


For the frame you choose the tank saddle support cover plates and fit these into the tank saddles.  The frame in the coupler pocket area is finished by adding etched strips of brass provided in the kit.  Timber tank pads/seat in kit are installed on the top of the tank saddle.  Here I deviated from kit instructions as I installed the running board casting resting flat on the frame at this time in the build.


Note cover plates with holes fit into tank saddles
 and brass etched strips along coupler pockets.


Couplers provided in the kit are installed.   I drilled and tapped the bolster center plate for 2-56 x 1/4” screws.  Accurail ARA cast steel trucks were installed now with Fastenal 2-56 x 1/4” screws and later replaced with Accurail #166 Andrews trucks.  Tank band anchor holes are drilled out with #74 drill and are installed on the frame.  Two tank band anchors are mounted on the frame between the trucks and one on each side of the bolster on the coupler box side.


Four tank band anchors are mounted on the frame.


BRAKE ASSEMBLY (underbody)


The kit instructions installed “K” brakes.   I wanted “AB” brakes since my Minneapolis & Northland Railroad Company is set in the late spring of 1955.  I installed Tichy Train Group (Tichy) AB brake components, set #3013.   I began by installing the AB brake system as found on different GATX tank car photos as the decals in the kit were for a GATX tank car.  Later the GATX  brake component locations were changed to those on tank car UTLX series 74427-74455.


I made the the brackets for the Tichy air reservoir from Evergreen #137 .030 x .156” strip styrene.  A Sunshine Models resin bracket from my parts drawer was used for the brake cylinder and the AB valve bracket is from Tichy #3013 set.  Other brakes system parts installed were as follows:


  • Brake cylinder lever, cut from #8108, 1 x 8” Evergreen strip styrene
  • Floating brake lever, cut from #8106, 1 x 6” Evergreen strip styrene
  • Brake lever hanger, bent from .012” diameter brass wire in kit
  • Piping, air reservoir to AB valve, bent from Tichy #1101, .010” dia. phosphor bronze wire (PBW)
  • Pipe on brake cylinder to AB valve, .012” diameter brass wire in kit
  • Brake rods, .12” diameter brass wire in kit
  • Train line, .020 diameter brass wire
  • Chain, A-Line #29219, black 40 links per inch


Before underbody for GATX tank car.


After underbody of UTLX 74450


Now I turned the underbody over and installed three (3) Model Die Casting (MDC) tank car weights from the parts box with Permatex silicone clear adhesive sealant to weight the tank car to 3.8 ounces.   I had the tank fitted and installed; however, not glued when the tank car was put on a postal scale to get the proper weight.


MDC tank car weights installed.


TANK CONSTRUCTION and TANK ATTACHMENT


The tank has two components that make it up, the bottom and upper course.  Once you are satisfied with how the two fit together the instructions state you can glue them together.   Here I did not follow the instructions.   I did not glue the two courses together until I had the above weights added and happy with the weight of the car.  Therefore, I test fit the two courses together and fit the tank to the frame and glued only the lower course to it.  After the weights were added I glued the upper course to the lower course already glued to the frame.  Now the kit molded manway cover and safety valves are installed on the dome top.


Manway and safety valves installed on dome top.


Next, grab irons were installed on both tank ends and dome top.  The grab irons were bent from .012” diameter brass wire supplied in the kit.


Grab irons installed on ends.


SILL STEPS ( stirrup steps)


The sill steps are etched brass parts that have to be bent into shape.   I will only show photos of the completed and installed sill steps.   You will have to follow the bending steps and images in the kit instructions to bend them.


Etched brass sill steps installed.


FINAL ASSEMBLY


Tank Anchor Straps, Handrail stanchions and handrails, dome platform and ladder, brake staff and end straps, uncoupling levers and placards complete the tank car build.


Tank Anchor Straps were cut from .010” x .040” styrene strip (kit) cut to lengths of 2-5/16” with resin cast bolt castings (kit) glued to each end.   I marked the middle of tank band and the location of each tank band on the tank in pencil.  I started each tank band a the top of the tank and applied glue a small section of the time until the cast bolt castings can be inserted into the tank band anchors that were installed during the frame build.


Tank bands installed.


Handrail stanchions are Tichy (in kit) located via prototype photo and a jig in the kit is provided to help with this task.  The stanchion handrail holes were enlarged with #76 drill to accept .019” diameter Detail Associates #2506 brass wire.   I used .019” diameter brass wire for the larger handrails used on tank cars rather than the .015” diameter wire in the kit.  The Tichy stanchions set has stanchions that are specifically molded for use on the tank ends.   I bent the handrails with the curves on the ends of the tank to extend past the stanchions on the ends and then cut them to final size to fit into the the end stanchion.


Handrails on ends go into end stanchion.


Handrail and stanchions on side.


Dome platform is the cast walkway plank in the kit.   The platform brackets are Tichy brackets from Tichy #3013 set.  The ladders provided in the kit were installed.  Since the kit ladders only reach the handrails, later the installed kit ladders were extended to the dome walkway with extra .010” x .040” strip styrene in the kit. 


Dome platform and brackets and ladders installed.


Brake staff is Tichy #1102, .015” diameter PBW with a brake wheel from Tichy set #3013.  I broke one of the resin cast end straps for the brake staff when removing the flash so I  made the parts from scrap .010” brass using the resin cast parts as a pattern.  Uncoupling levers and brackets are bent from .012” brass wire provided in the kit.


Resin end straps in kit.  Flash was being removed.


Brake wheel and shaft resting on
 end straps made with brass. And,
uncoupling levers installed.


PAINT and LETTERING

With the uncoupling levers being the final steps in this build, I hand painted all the installed parts PollyScale Undercoat Light Grey F414134.  PollyScale is off the market; however, the color is available as Vallejo/Micro-Mark Model Air  Undercoat Light Grey #29013X2 from Micro-Mark.


All added parts hand painted.


Once the paint was dry I moved the car to the Minneapolis & Northland Railroad Company paint shop.  The car was painted Vallejo Model Color Black, 70.950.  And, when paint was dry the car was airbrushed with Model Master #4638, Gloss Clear Acryl to provide a decal base.  After gloss finish was dry,  decals for a GATX tank car were soaked off in distilled water and applied to the car body where MicroScale Micro Set had been applied with a brush.  After decals were applied in the Micro Set and positioned the edges had MicroScale Micro Sol applied.  Any excess solution was sucked away with the torn edge of a paper towel.


Not having or being able to find a photo of a 6 course radial tank car with GATX lettering, I used various photos of GATX five (5) course radial tank cars to letter the painted tank car with the kit provided decals.  I should not have done that.  Why?


Tank car lettered for GATX


Once I knew I did not have or was not able to find a photo of a 6 course radial tank car with GATX lettering I posted a request for photo help on mainRealSTMFC.groups.io, an internet list.  The purpose of this list is to discuss all aspects of North American freight cars of the steam era [ 1900-1960 ]. The objectives include the sharing of information about railroad freight cars.  I was hoping someone would share a photo to use for this blog.


My post was responded to by Eric Hansmann, Steve Hile, Dave Parker, and Bruce Smith.  No one had a photo of a 6 course radial tank car in GATX paint.  In addition to reviewing his tank car collection, Dave Parker reviewed the Richard Hendrickson photo collection located at the Sacramento Railway Museum finding no photo of a 6 course radial tank car in GATX lettering.  Since no photo exits in these collections of GATX photos, a photo of a 6 course radial tank car in GATX paint unlikely.  So, what to do? 


Steve Hile wrote, “We do know that cars built by STC for Ohio Cities Gas Company and Hickok of the 6 course radial tank design became part of the Pure Oil fleet (with POX reporting marks) and, subsequently, migrated to UTLX.  Even though we don’t have a photo to back it up.”  “ So, I might suggest to retain the black paint, but letter the car for UTLX in the 74375-74455 series.”  Steve also stated the UTLX tank cars had AB brakes by 1953.  I felt this was the best solution as decals would not be available for other photos of 6 course radial tank cars as Gulf Refining GRCX 2162 in the prototype photo provided by Jon Cagle.  And, I decided still the best solution after I found the brake components location had to change.


I checked the Tank Car Capacities Tariff book issued September 13, 1955 (W.J. Reuter, agent), a reproduction showing capacities of tank cars after Freight Tariff 300-H issued and found that car series 74375 -74426 had a capacity of 100,000 pounds and 74427-74455 series of 80,000 pounds.


Now the lettering change to Union Tank Car Company UTLX 74450 began by removing the GATX 214218 lettering with Walthers Solvaset and scratch brush.  Next, the tank car was airbrushed with Vallejo Gloss Medium 70.470 to provide a new decal base. 


GATX lettering removed.
Note ladder extended to dome platform.


Once the Vallejo Gloss Medium was dry the brake components were moved to the proper location based on photo of 6 course tank car in UTLX Steam Era Tank Cars (Speedwitch Media, 2018).


Underbody of UTLX 74450


Now the tank car was lettered for the Union Tank Car Company with reporting marks UTLX and number I chose 74450 using National Scale Car decal set D109. 


When the decals were dry, car body was sprayed with Vallejo Gloss Varnish 70.510, to better hide decals edges.  Finally, the car body was sprayed with Model Master Flat Clear Acryl, #4636, flat to protect decals and provide a flat finish for weathering when applied.


Tank car lettered for Union Tank Car Company
UTLX 74450
Note trucks have been changed to Andrews.


End view of lettering on UTLC 74450


One more step before putting  Union Tank Car  UTLX 74450  in  service was to weather the car with Pan Pastels.  Pan Pastels Paynes Grey Extra Dark 840.1  was used on the tank body and Red Oxide Extra Dark 840.1 lightly over rivet lines and safety appliances on car body.


UTLX 74450 weathered with Pan Pastels.


UTLX 74450 weathered with Pan Pastels.


Union Tank Car UTLX 74450 was ready for service on the Minneapolis & Northland Railroad Company, “Serving today, Shaping tomorrow.”  A car card was made for UTLX 74450,  the final step to put the cars in service on the Minneapolis & Northland Railroad Company Railroad.


UTLX 74450 spotted at Meyer Oil in Northfield, MN


UTLX 74450 spotted at Meyer Oil in Northfield, MN


UTLX 74550 spotted at Meyer Oil in Northfield, MN


I want to say, “Thank You” to several individuals that provided information and photo help with this build and upgrade.   Definitely appreciated as without their help this build would not have happened.


A “Thank You,” to Jon Cagle, Eric Hansmann, Steve Hile, Dave Parker and Bruce Smith.


Thank You for taking time to read my blog.  You can share a comment in the section below if you choose to do so.  Please sign your comment with your name if you choose to leave one.  Please share the blog link with other model railroaders.


Lester Breuer

Plymouth, MN


.