After building state of the art plastic and resin kits in recent years, I felt it was time to build an “oldie” resulting in Ullrich, kit 931-1301, coming out of the to build inventory. The kit is a white metal kit with manufacturer painted sides and lettered for Milwaukee Road Gondola 93100. The gondola in this kit with changes builds into a very good stand in for the prototype since it does not have dreadnaught ends like the prototype.
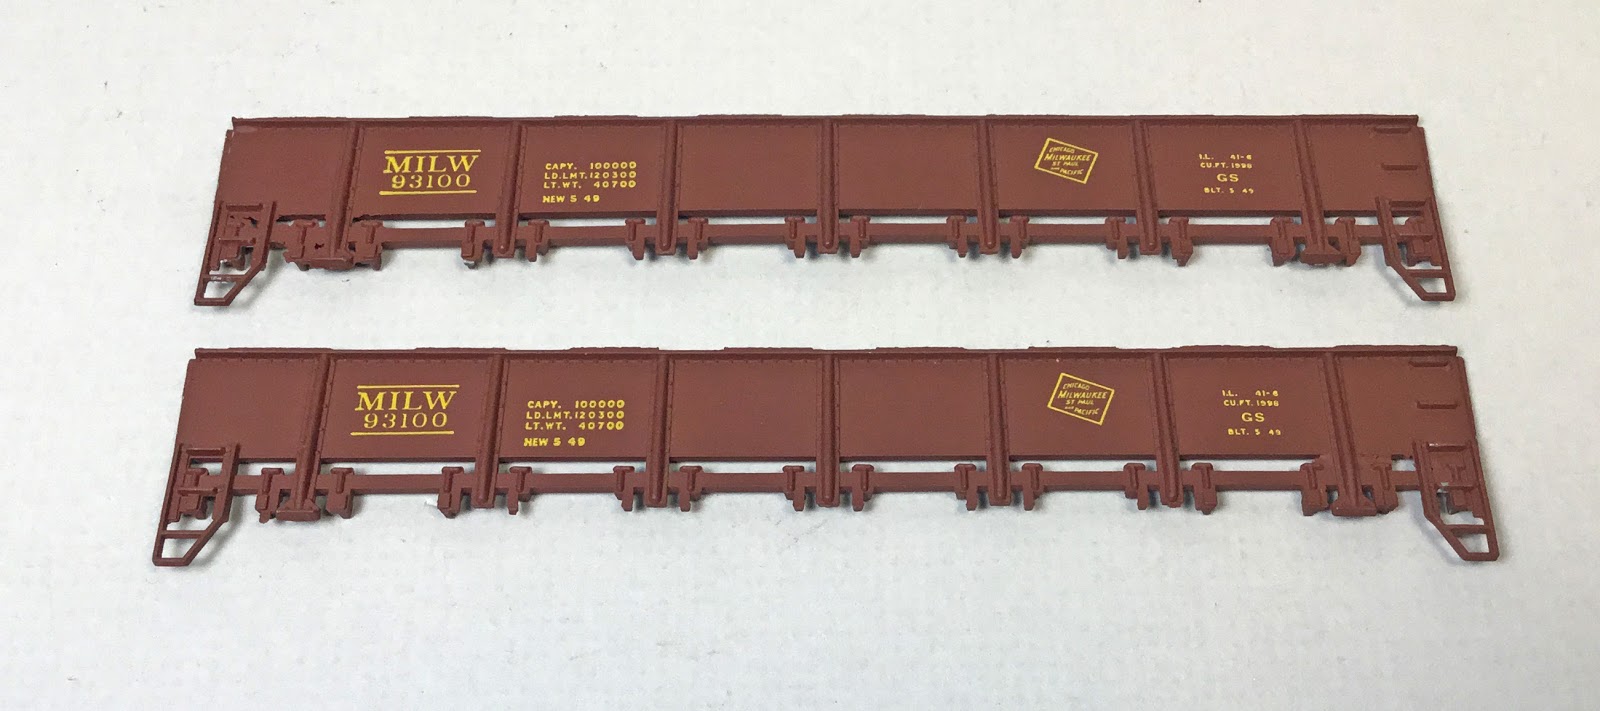 |
| Ulrich painted and lettered sides. (Click or tap on this or any photo to enlarge.) |
The prototype was one of Milwaukee Road (MILW), class GS, 200 all steel cars assigned to series 93007 to 93206. These cars had fixed sides and ends with sixteen (16) individually operated drop doors hinged at the center sill. In the early 1950’s the MILW converted some of these gondolas into low cost chip cars by adding wood extensions. A photo of a Milwaukee Road gondola in this series, MILW 93093, can be found in Milwaukee Road Color Guide to Freight and Passenger Equipment, Volume 2 (Morning Sun Books, Inc., 2000). A reproduction by the National Model Railroad Association of the January 1953 Official Railway Equipment Register shows 165 in general service.
No underframe to build as it is a white metal casting with ends attached. As with any kit the flash has to be removed. A scalpel with old blade, file and Dremel tools with diamond cutting disk and grinding bit were used to complete the task. I did wear eye protection while performing any cutting or grinding task. Once the flash was removed, I installed the insulated bushings into the metal underframe and tapped them for 2-56 screws.
 |
| Kit instructions show insulated bushings, underframe with ends and floor plate. |
Next, the drop doors were installed in a closed position on the floor pan with gel CA rather than the underframe as instructions show. The doors designed to actually operate can be installed as working doors if you design a method to keep them closed when car is in service. When all doors were installed the floor pan was glued to the underframe.
 |
| Drop doors glued to floor pan. |
 |
| Side view of floor pan glued to frame. |
Next, I installed Kadee #262 Narrow whisker snap-together grearboxes into the cast coupler pockets on the underframe after removal of mounting post for kit provided metal coupler cover. An easy install since the Kadee coupler box fit without further alteration to the metal coupler box. Accurail ARA cast steel with spring plank trucks with InterMountain 33” metal wheels were installed with Fastenal 2-56 x 1/4” screws.
 |
| Coupler boxes and trucks installed. |
Next I installed the sides which requires just a little bending to accomplish. With the sides in place, the car was placed on a digital scale to find the car’s weight. The digital scale read 4.6 ounces making the car on the heavy side.
 |
| Sides installed. |
Before starting to add the detail items to the car I wanted the white metal primed. Therefore, I hand brushed all non-painted white metal areas with Vallejo Surface Primer, 70.601. If I had wanted to spray the primer I would have done it prior to adding the sides.
 |
| Vallejo Surface Primer showing on floor pan with drop doors. |
The primer drys quickly so I was able to hand brush the primed areas except for the interior in a couple of hours. I was able to match manufacture’s paint with Vallejo Model Color Mahogany Brown 70.846, two drops in a water bottle cap to which was added a very tiny drop of Vallejo Model Color Calvary Brown 70.982. The tiny drop was that formed on the tip of a round toothpick inserted into one drop of the Calvary Brown placed into another water bottle cap. I mix paint in small batches using drops as I can create the same paint mix and very little paint is required to cover small areas or added details.
 |
| White metal primed areas painted. |
On the sides the sill steps were not correct per prototype photo so I cut off the rungs and straightened the remaining sides. I used Detail Associates #2524, .010” x .030” brass flat bar stock to make new rungs. Cast metal grab irons were ground off with grinding bit in Dremel tool. On the “B” end side Grandt Line #5124, Freight Car Ladders were installed. The same ladder is available as Tichy Train Group (Tichy) #3065 with 14” rung spacing. On the “A” end side Red Caboose plastic grab irons from the parts box were glued in place with gel CA.
 |
| Metal cast grab irons ground off and new sill steps installed. |
 |
| Ladders installed. |
I moved on to the “B” end work. A shorten Grandt Line #5124 Freight Car ladder was mounted first. In order to add the power brakes on this car I had to cut off the cast in mount for a vertical brake shaft and the slot in the brake step was cut deeper for the chain to pass through. A Tichy, set #3013, brake housing with chain installed was installed. I followed this by mounting the brake shaft step, Tichy #3013. To allow it to mount flush with the edge of the end the right angle bracket in Tichy set #3013 was glued to the car sill and the brake shaft step on top of it. A brake rod, Tichy #1102, .015” diameter phosphor bronze wire (PBW) was cut to fit between chain and bottom of the brake shaft step. The last detail item, the brake wheel from Tichy set #3013. I did not grind off all the end grab irons and replace them during this build. Maybe a future upgrade? Onto underbody work....
 |
| "B" end details added. Cast grabs not yet removed and replaced with plastic grab irons. |
 |
| Note the brace behind the brake shaft step. |
On the underbody I completed the following tasks:
- metal brake component mounting pads were cut off with diamond cut off wheel in Dremel
- air reservoir and brake cylinder, InterMountain spare parts, installed
- control valve and brackets, Tichy #3013, installed
- brake lever hangers, Red Caboose plastic grab irons from spare parts
- brake levers cut from, Evergreen strip styrene #8108 1” x 8” and # #8106 1” x 6”
- floating lever adjuster, styrene angle
- piping control valve to air reservoir, Tichy #1101 .010” diameter PBW
- brake rods, Tichy #1106, .0125” diameter PBW
- brake rod clevises, MEK Goop (plastic melted in MEK)
- drop door support bars, Evergreen #261, .060” channel
- plastic kit sprue used to make plugs to fill holes in cast underframe
- plastic kit sprue used to make plugs to fill holes in cast underframe
 |
| Underbody details installed. |
MILW gondola 93100 was ready for paint. I hand painted all primed areas and added details parts using Vallejo Mahagony Brown with a tiny drop of Model Color Calvary Brown stirred in. On the gondola ends Vallejo Gloss Medium #70.470, was applied to provide a gloss base for decals.
 |
| MILW gondola 93100 painted. |
 |
| Underbody painted. |
End reporting marks and number decals, provided in the kit were coated with MicroScale Liquid Decal Film due to age to prevent any breakup problem while being soaked off backing paper. Once dry, decals were soaked off in distilled water and applied to the car body ends where MicroScale Micro Set had been applied with a brush. After the decal was applied in the Micro Set and positioned the edges had MicroScale Micro Sol applied. Any excess solution was sucked away with the torn edge of a paper towel. When decals were dry, the car body was sprayed with Vallejo Matt Varnish 70.580 to protect decals and paint during handling and for weathering.
 |
| MILW gondola 93100 "B" end in paint and plastic grab irons installed. |
 |
| MILW gondola 93100 painted and lightly weathered. |
Light weathering was applied using eye shadow makeup and Pan Pastels Payne’s Grey Extra Dark 840.1, applied with makeup brush, cotton swabs and micro applicators. MILW gondola 93100 was ready for the display case rather than putting MILW 93100 in service on my Minneapolis & Northland Railroad Company.
The yellow lettering on this gondola would have been applied in the early 1960’s which is beyond my railroad timeframe of late spring 1955. Red Caboose produced this MILW gondola with number 93187 with correct dreadnaught ends and white lettering that is in service on my Minneapolis & Northland Railroad Company.
 |
| Ulrich MILW 93100 with incorrect end on left. Red Caboose MILW 93187 with correct end on right. |
 |
| Ulrich MILW 93100 interior on left. My preference. Red Caboose MILW 93187 interior on right. |
 |
| MILW gondola 93100 and MILW gondola 93187, not weathered, sitting side by side at Soonor wye. |
 |
| MILW gondola 93100 and MILW gondola 93187, weathered, sitting side by side at Soonor wye. |
After building the Ulrich white metal MILW gondola 93100, I know I will not be building many more white metal kits due to the cutting and grinding time involved. I will go back to plastic and resin kits with a greater appreciation of how easy the material in these kits is to work with to build a finer model.
Thank You for taking time to read my blog. You can share a comment in the section below if you choose to do so. Please share the blog link with other model railroaders.
Lester Breuer
Thanks for the 'step by step' upgrade of this old kit. I have 3 assembled kits and two more still in the box. I guess maybe it is time to move up to the 'build' pile...
ReplyDeleteJim Bernier