Having an operating railroad, the Minneapolis & Northland Railroad Company, ever so often I am asked, “How do you clean the wheels on freight cars and locomotives?” After answering the previous question, usually the next question that follows is, “ How do you clean the track?” While preforming these tasks for a monthly operating session I thought I would share my methods of how I complete these tasks of cleaning wheels and track with you here.
First let me show you with photos of how I perform the freight car and locomotive wheel cleaning and tools I use. I have a “cleaning station” on the railroad that consists a light duty table I built with a cleaning track installed and a commercial purchased cabinet with drawers to hold supplies. Both of these units have casters installed to allow them to be rolled under the railroad when not in use. Why my cleaning station? I purchased and used several manufactures items to clean wheels or track that I felt all did a poor job.
 |
| Cleaning Station pulled from under railroad. |
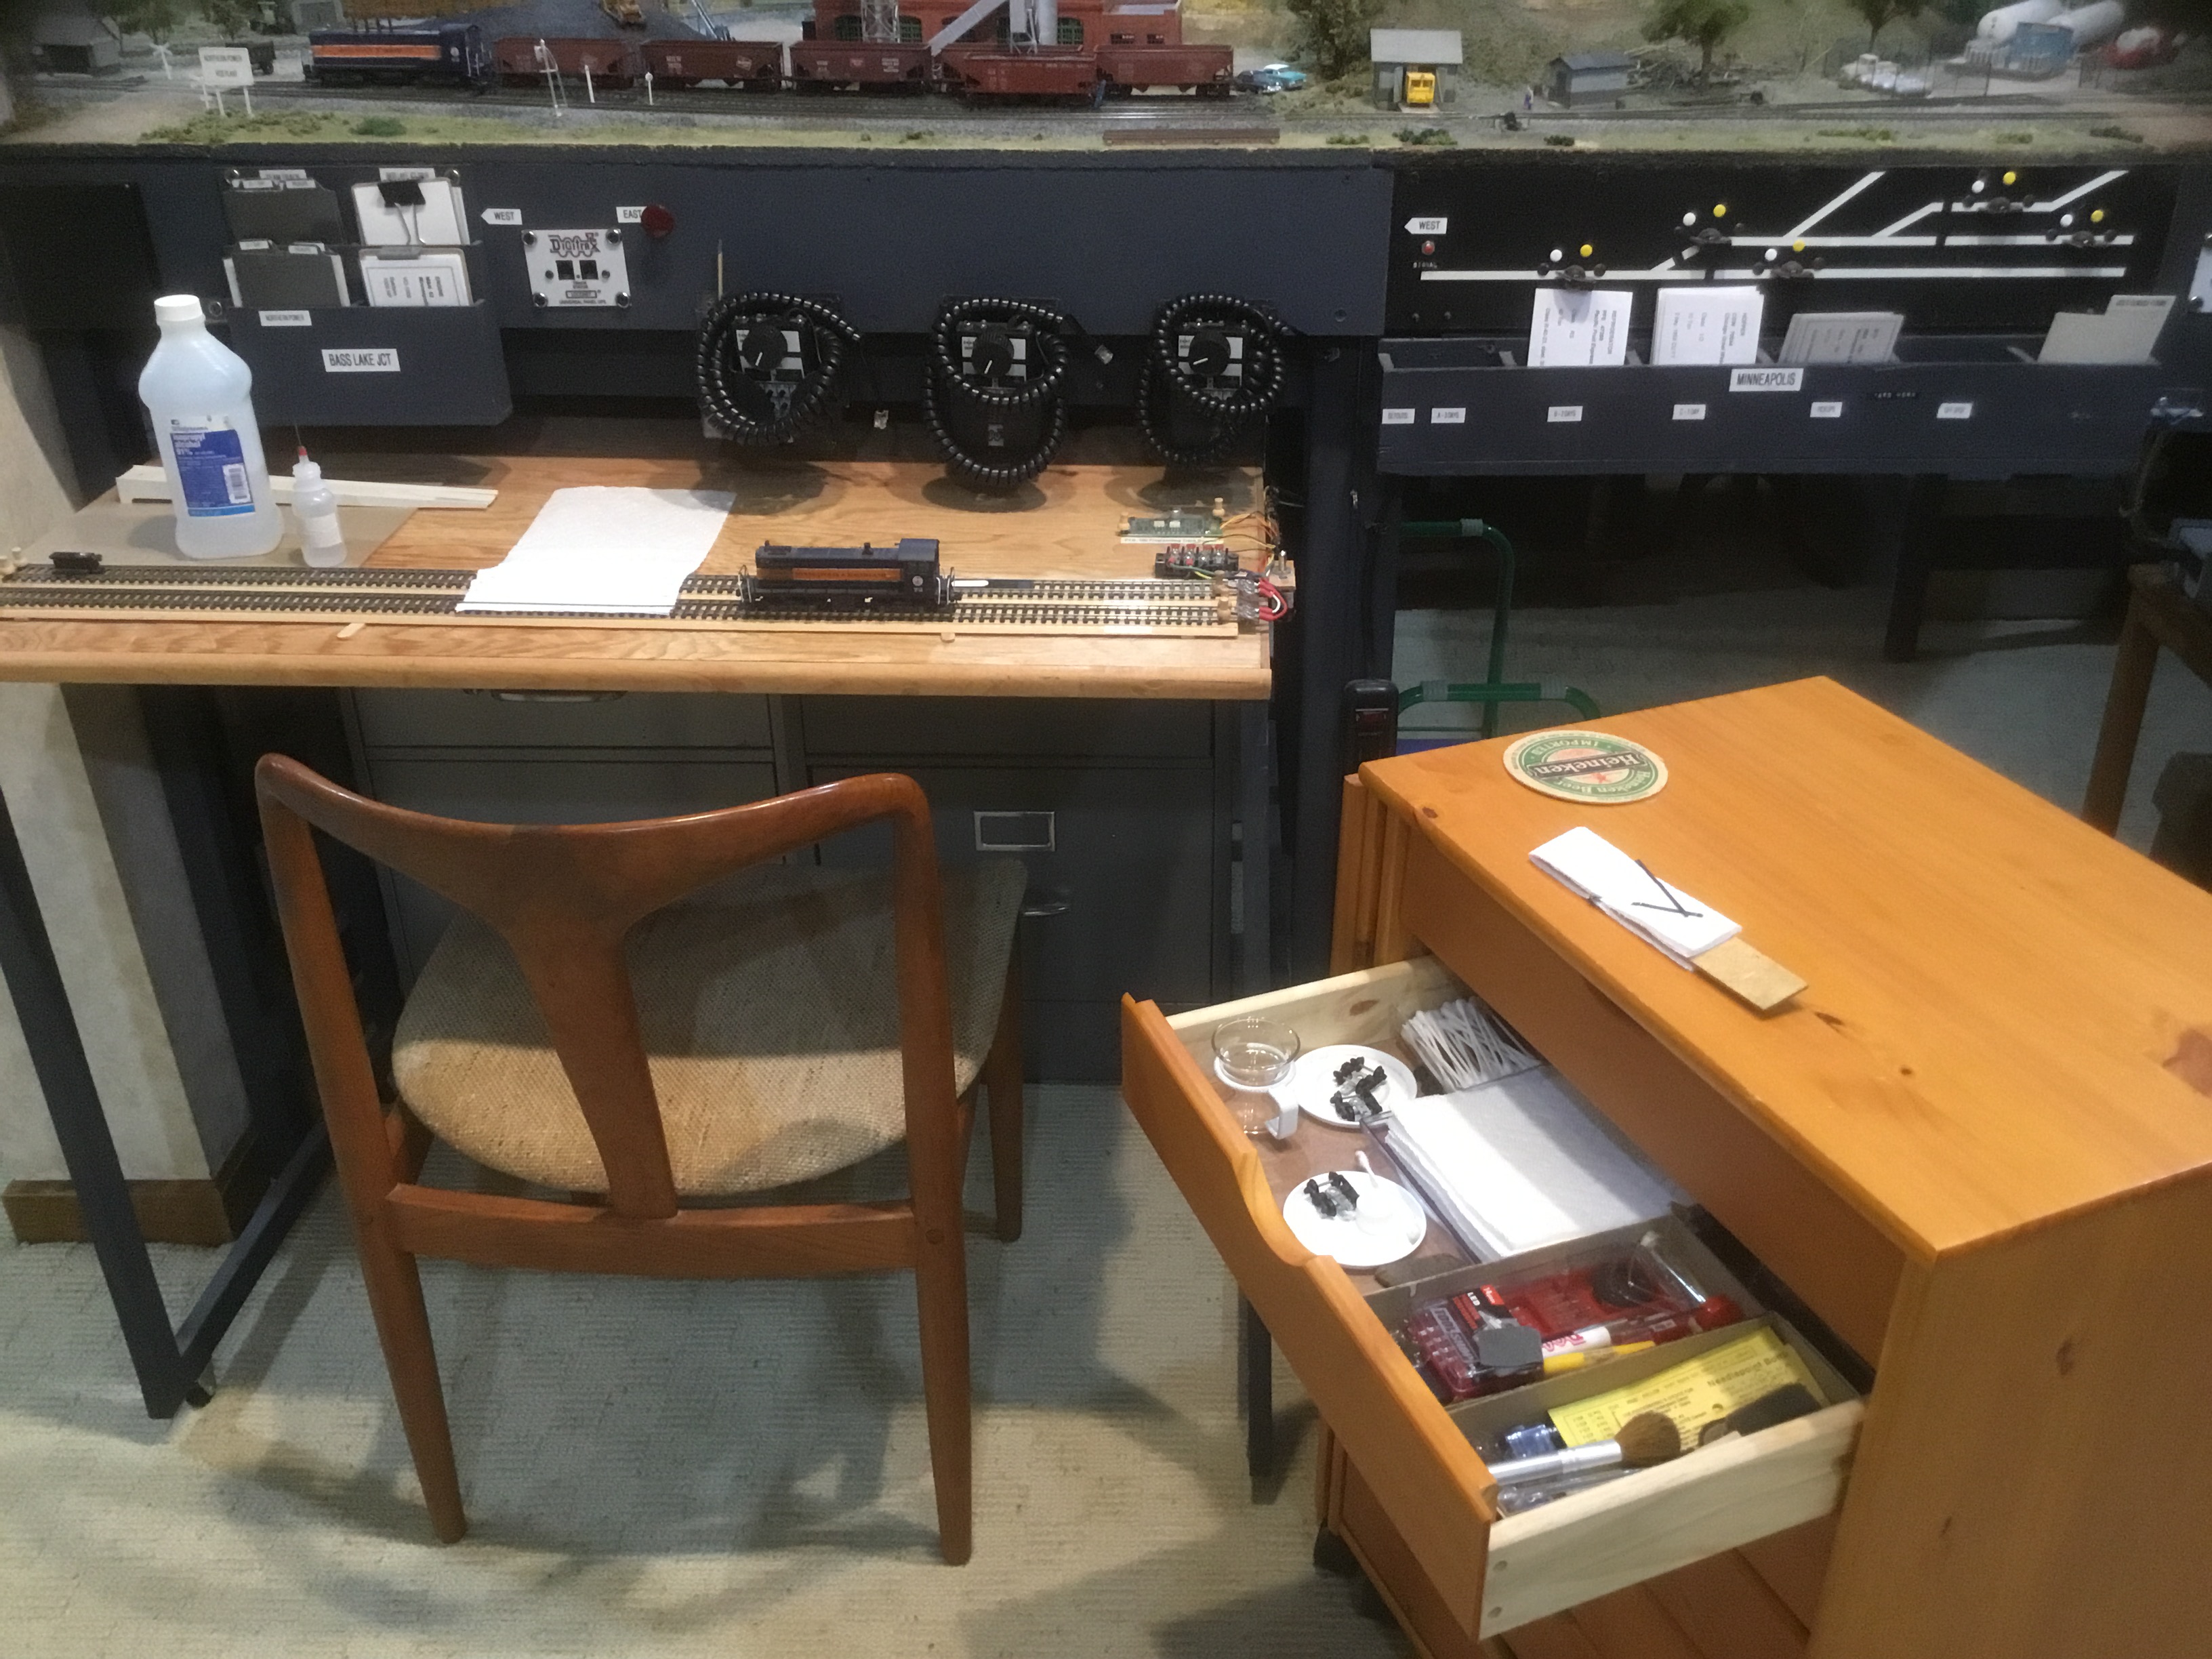 |
| Cleaning station ready for use. |
On the table I have installed two tracks: a cleaning track at the front and a programming track in the rear. Two three foot pieces of commercial track are mounted on some old Tru Scale unstained wood road bed.
 |
| Two tracks are installed on front of table. |
The cleaning track has track feeders as any other track on the railroad to enable it to be powered when the railroad power is turned on. The programming track has an on and off toggle installed in the track feeders as I wanted it and programmer to be turned off when not in use.
 |
| Track feeders and Programmer |
In the center of the cleaning track you see the cleaning pad, a half sheet of Bounty paper towel held in place by a piano wire. The piano wire, .042” diameter (could be larger) wire the length of the width of a half sheet of Bounty paper towel, with a right angles bent at each end that are inserted into holes drilled between the ties in the track roadbed and table to hold the paper towel on the track. One end of the wire has track spikes holding it from rising. The other wire end allowed to be lifted slightly to allow paper towel to be inserted under it.
 |
| Cleaning track paper towel cleaning pad. |
 |
One end raised to allow paper entry. |
Other items I have on the cleaning table are cleaning items stored in the drawer in the cabinet next to it. The items are as follows:
- Bounty paper towel that allows a half sheet to be used
 |
| Bounty paper towel half sheet. |
An old freight car truck with wheels with unusable deep flanges; however, very usable to hold the paper towel to the rails.
 |
| Truck with deep flanges. |
- A dispenser, my choice a bottle with needle applicator, for cleaning fluid - my choice 91% isopropyl alcohol.
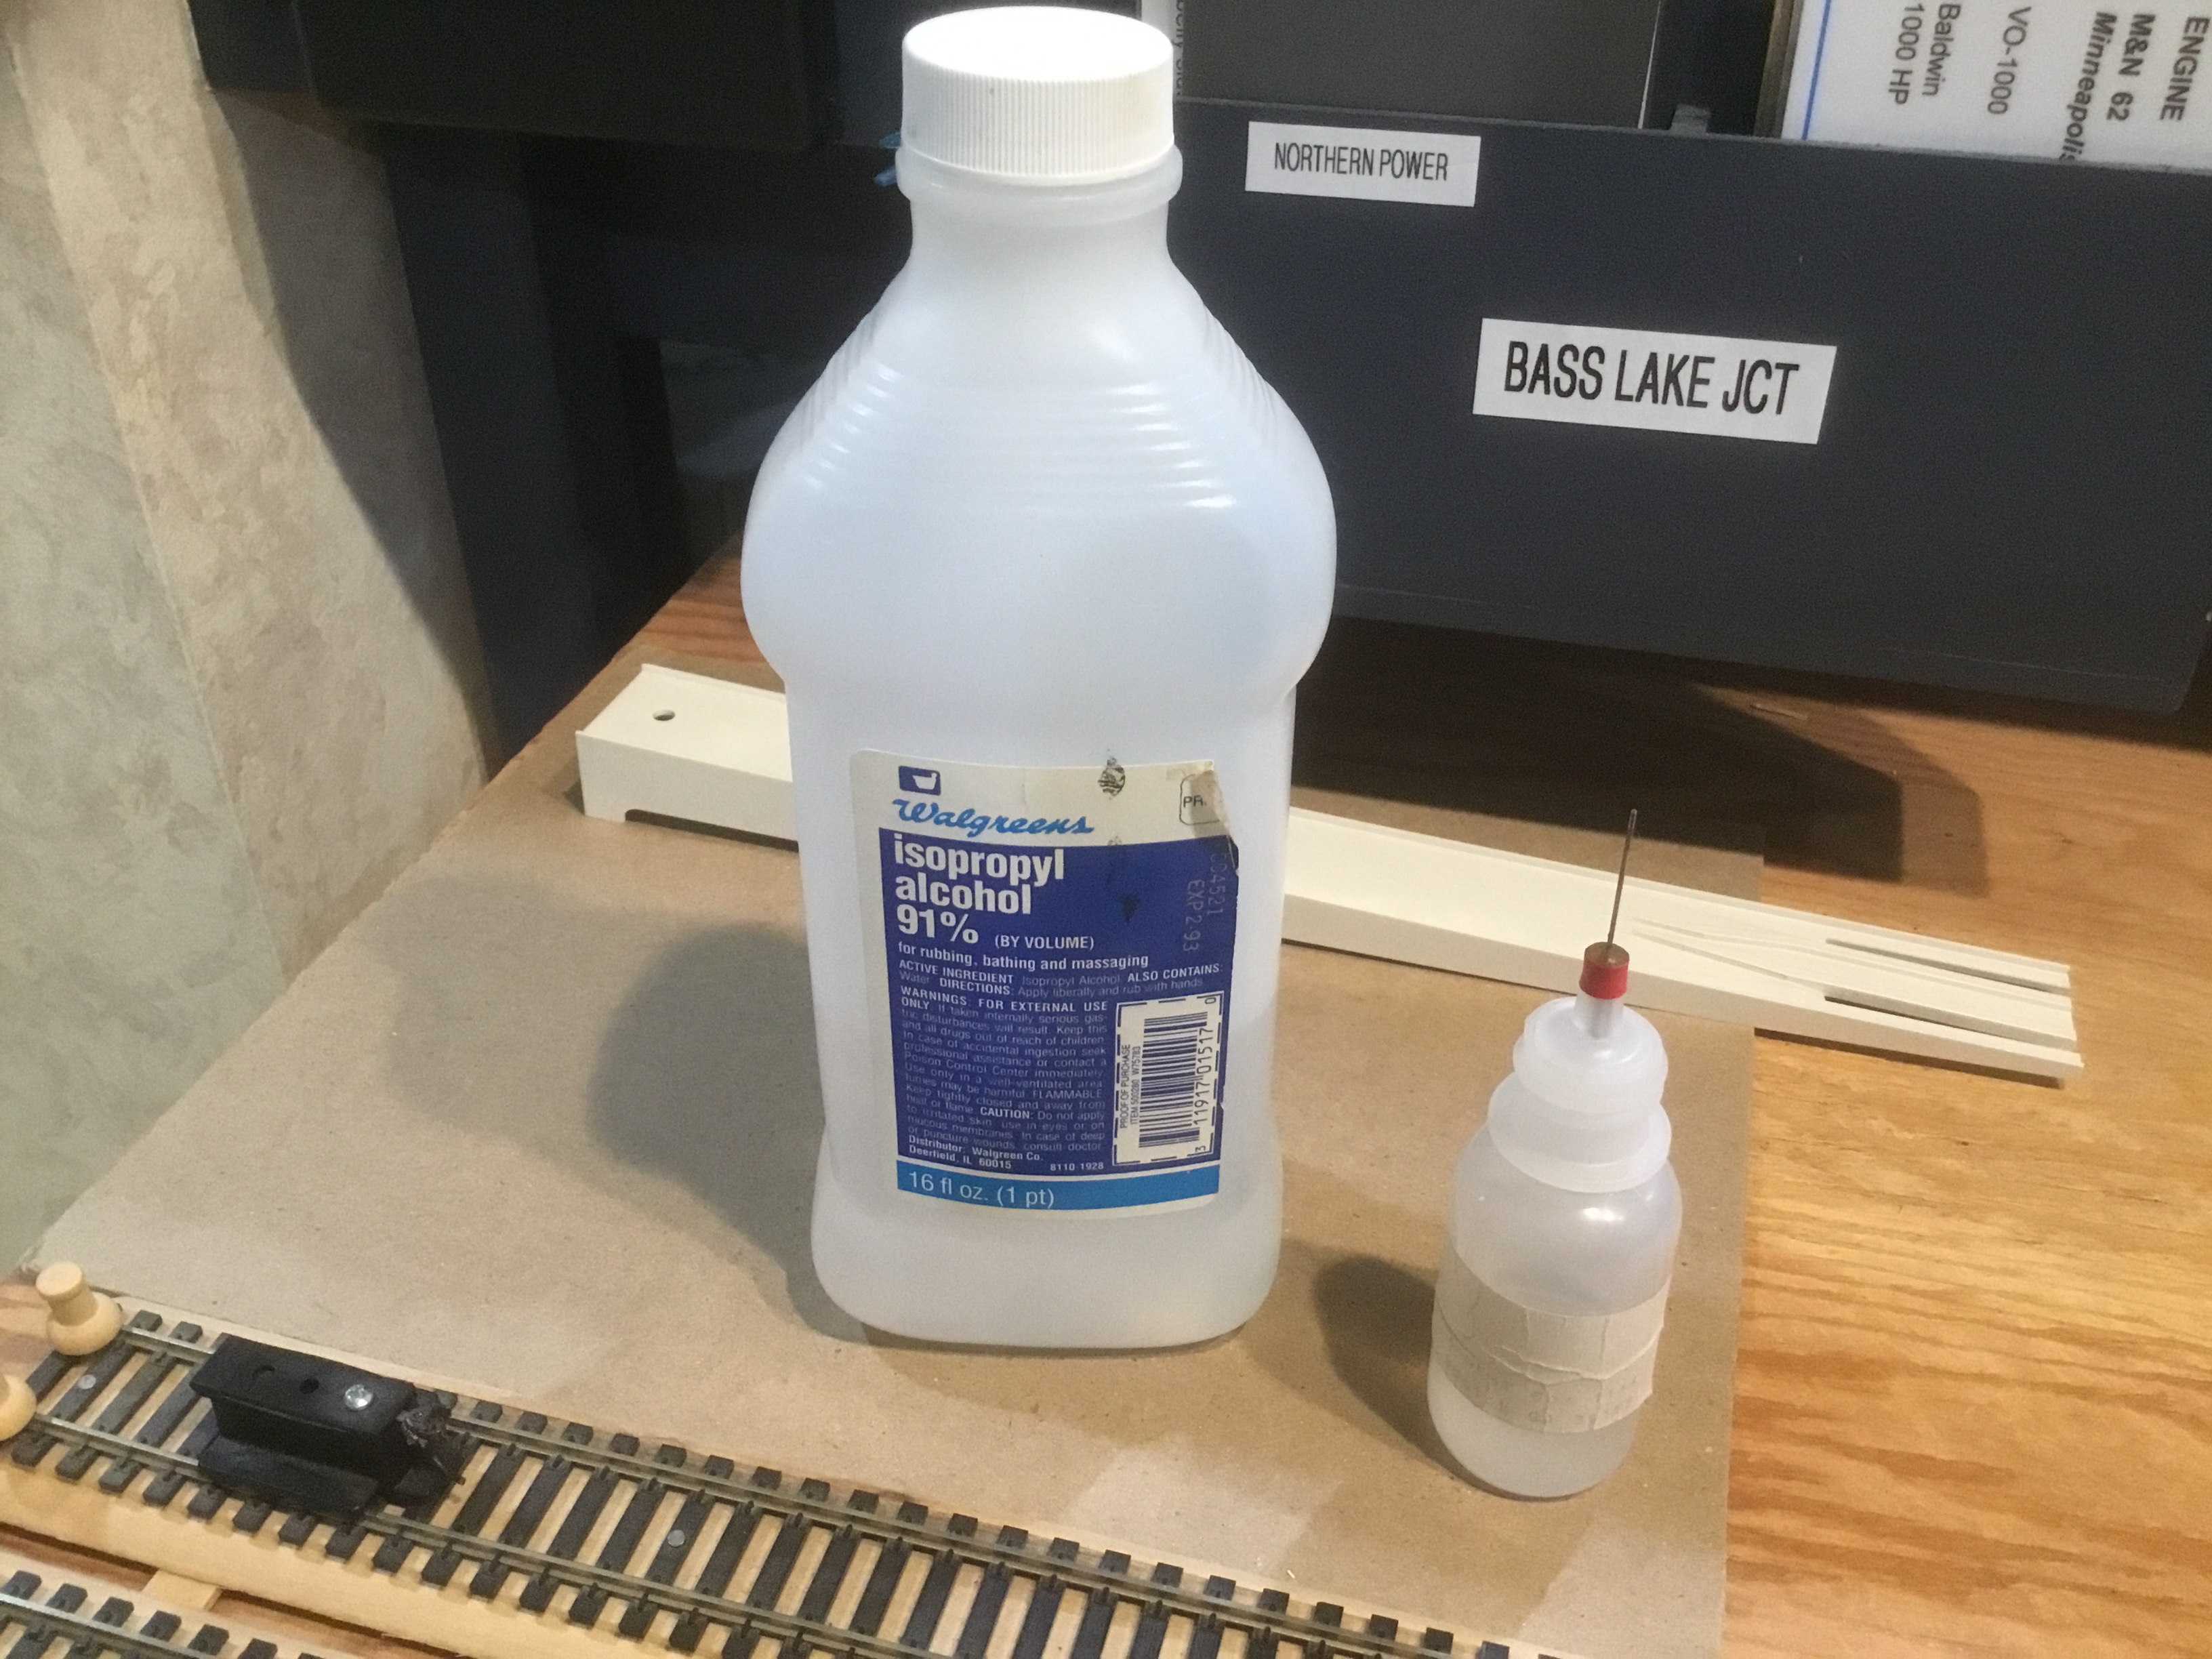 |
| Applicator bottle with needle applicator filled with 91% isopropyl alcohol. |
- A Kadee plastic track gauge tool for checking coupler height on cars having wheels cleaned.
- A couple of retailers if needed to help put freight cars on the tracks.
Now lets look at the cleaning process. Once you have the paper towel inserted on the track under the wire.
 |
| Paper towel half under wire. |
The freight car truck with the deep car flanges is rolled back and forth over the paper towel to secure the paper towel to the rails.
 |
| Freight car truck with deep flanges being rolled back and forth over paper towel. |
Next the bottle with needle applicator is used to apply the 91% isopropyl alcohol to the paper towel.
 |
| 91% isopropyl alcohol being applied. |
Once the paper towel has 91% isopropyl alcohol applied, a freight car whose wheels are to be cleaned is placed on the track on either side of the paper towel. I then hold the car while I roll it back and forth across the wet paper towel pad. If there is dirt on a wheel it will come off.
 |
| Freight car placed on cleaning track. |
 |
| Freight car rolled back and forth on paper towel. |
 |
| Freight car rolled back and forth on paper towel. |
You will be amazed at the grime that comes off on the wet paper towel from a dirty freight car wheel. After grime has accumulated on the paper towel, you stop and pull the paper forward to get a clean area and repeat the process. You continue to do this until no grime comes off on the wet paper towel.
 |
| Paper towel cleaning pad pulled forward to have a clean wheel cleaning area. |
To clean locomotive wheels the preparation for the wheel cleaning is the same except instead of the freight car a locomotive is placed on the track. And, the track power has to be turned on. A throttle is used to run the locomotive front wheels onto the wet paper towel.
 |
| Loco moved to paper towel with throttle. |
I hold the locomotive by its back to allow the wheels to spin while I turn on the throttle knob to almost full throttle allowing the spinning front wheels to deposit the grime on them on the wet paper towel.
 |
| With throttle turned on I hold the loco to allow locomotive to allow wheels to turn on the paper towel. |
I move the locomotive rear wheels to the other end of the paper towel and place my hand on the track in front of the locomotive to hold the locomotive in that position until rear wheels have released their grime on the wet paper towel.
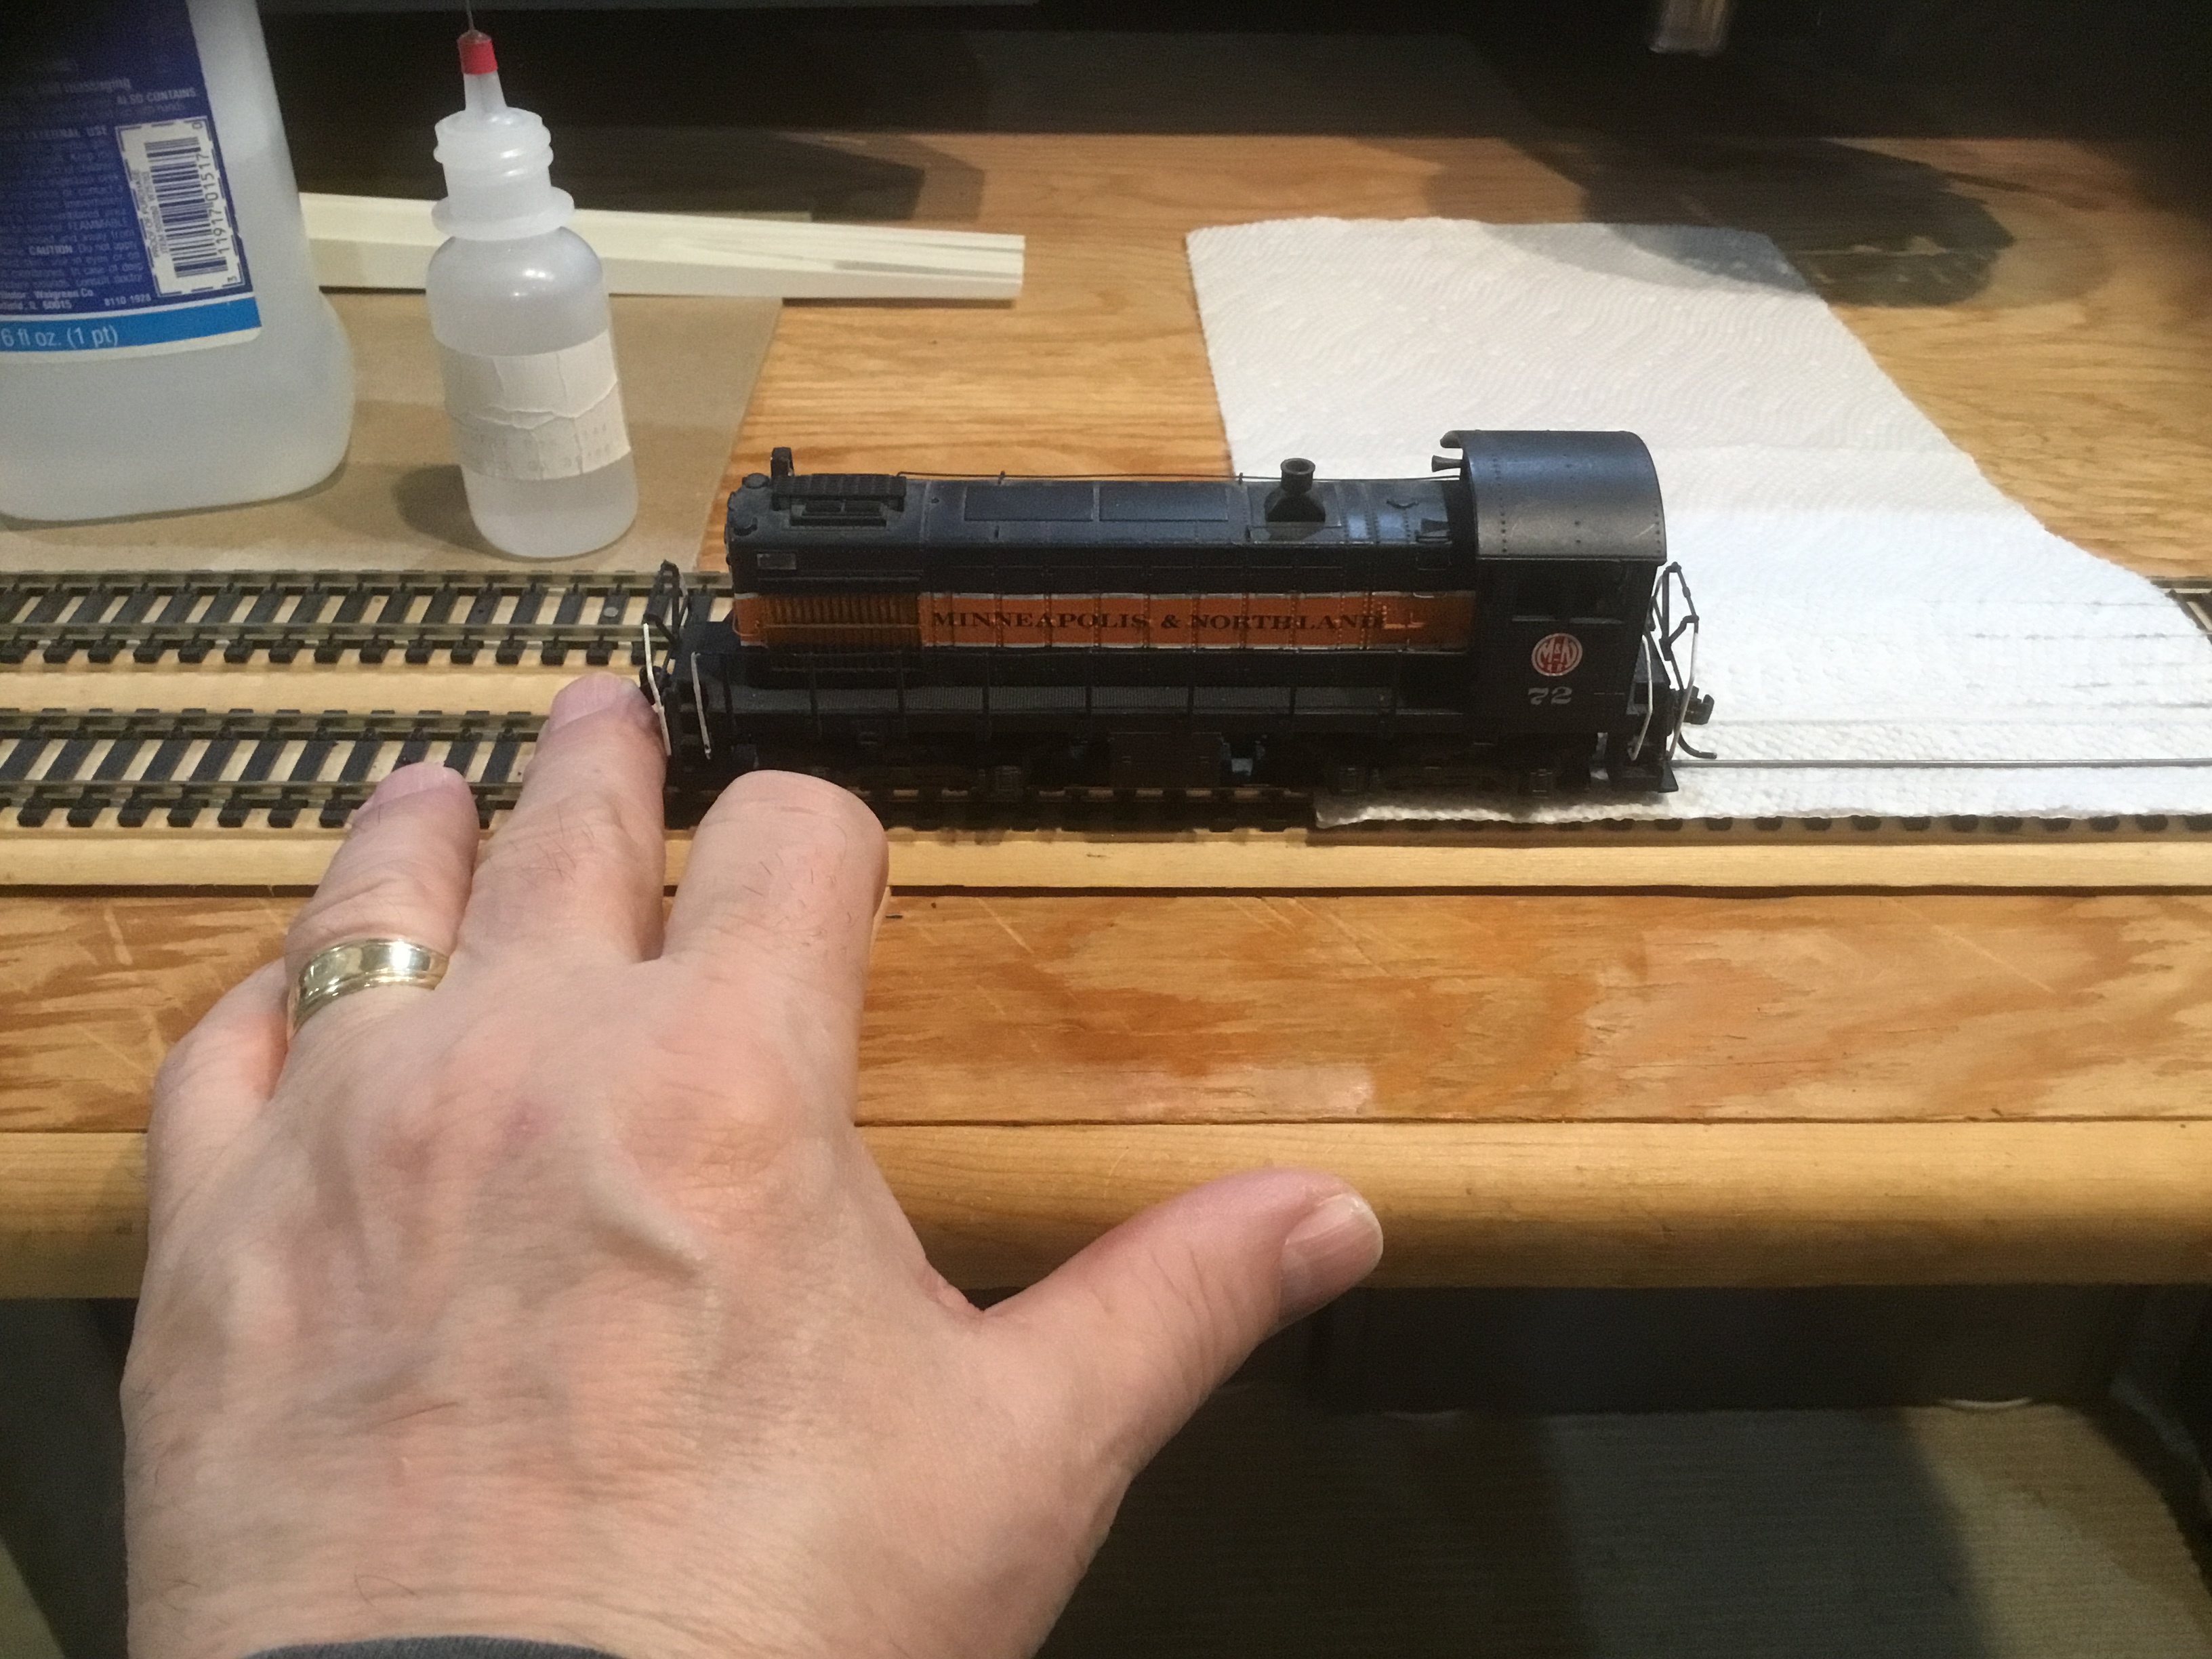 |
| Back wheels on locomotive being cleaned. |
Of course, you do not need a wheel cleaning table to use this method. The cleaning track could be a section of track on your railroad or a section of track mounted on a piece of lumber as a 2 x 4.
With freight car and locomotive wheels clean we want clean track to run them on. To clean track I use a piece of Masonite fiberboard (hardboard) cut to 1 1/1/4 inches in width and 7 3/4 inches in length.
 |
| Masonite fiberboard in middle. |
Again Bounty paper towel is folded to create the cleaning pad to wipe down the track. A half sheet of Bounty paper towel will be folded to make cleaning pad.
 |
| Half sheet of paper towel. |
The half sheet of paper towel is folded in half.
 |
| Half sheet paper towel folded in half. |
And, once more in half again to create the cleaning pad.
 |
| Paper towel folded in half once again. |
The folded paper towel cleaning pad is now attached to the Masonite holder with two hairpins.
 |
| Folded paper towel attached to masonite holder with two hairpins. |
The two hairpins can easily be removed to move the paper towel cleaning pad to obtain a clean section on the end.
 |
| Paper towel cleaning pad moved to obtain a clean area to wipe track. |
The end of the paper towel pad can be wet with the 91% alcohol with the needle applicator or used dry to clean the track. Now only one’s hand is needed to hold and apply the track cleaner to the track.
 |
| Track cleaning tool in use. |
Ok, that may be great for cleaning track in open access area; however, what about track through tunnels or bridges. Well, to accomplish that task you add an extension handle of appropriate length to get the track clean. My handle is an old broom handle with a slot cut in it to friction fit the Masonite holder.
 |
| Track cleaning tool with extension handle. |
Once you have tools to clean wheels and track they have to be put in service. On an operating railroad as on the prototype it is a good practice to have a freight car and locomotive maintenance schedule. On the Minneapolis & Northland Railroad Company each month freight cars, normally 25 to 30 cars, entering the railroad on the Great Northern, Chicago And Northwestern, Milwaukee Road and the Chicago Great Western interchanges have wheels cleaned, coupler heights checked and inspected for any other problems as loose trucks. Freight cars that do not leave the railroad via the interchanges such as cabooses have wheels cleaned every fourth operating session.
 |
| Great Northern Interchange in Minneapolis, MN |
 |
| CNW Interchange in Little Chicago, MN. |
 |
| MILW Interchange in Eureka Center, MN. |
 |
| CGW Interchange in Randolph, MN. |
M&N Locomotives cleaned each month are the switchers in Minneapolis, Little Chicago, Northfield and MILW locomotive in Eureka Center. Mainline locomotives and doodlebug have wheels cleaned as needed or a number of them have wheels cleaned with the switchers each month.
 |
| Minneapolis, MN. engine house. Note caboose track along side of hill to road. |
 |
| Roundhouse in Northfield, MN. |
 |
| Doodlebug at station platform in Northfield, MN. |
I hope my methods and tools can help you get your freight car and locomotive wheels clean as well as the track they run on.
Thank You for taking time to read my blog. You can share a comment in the section below if you choose to do so. Please sign your comment with your name if you choose to leave one. Please share the blog link with other model railroaders.
Lester Breuer
.