Since I model spring 1955 I have a coal facility located in the town of Little Chicago on my Minneapolis & Northland Railroad Company. I always felt I should also have small tank facility as the one I modeled which I saw in many small towns during railfan trips.
 |
| Doug Harding Collection (Click on this or any photo to enlarge) |
This past winter I started to look for an area that might hold a small tank facility in Little Chicago on my railroad. At first I thought land (a space) was not available; however, one day the “light bulb” went on. I could see a location. An area, 5 x 6 inches, between the stock pens and backdrop that would work.
 |
| Area for tank facility next to backdrop |
First the few trees and bushes on the sight were moved to new locations on the railroad. The ground was scraped, painted with a tan latex paint I like to use under ground cover and a fine sifted common sand from a local road was shifted with a a tea strainer over brushed on white glue. The tanks were added next.
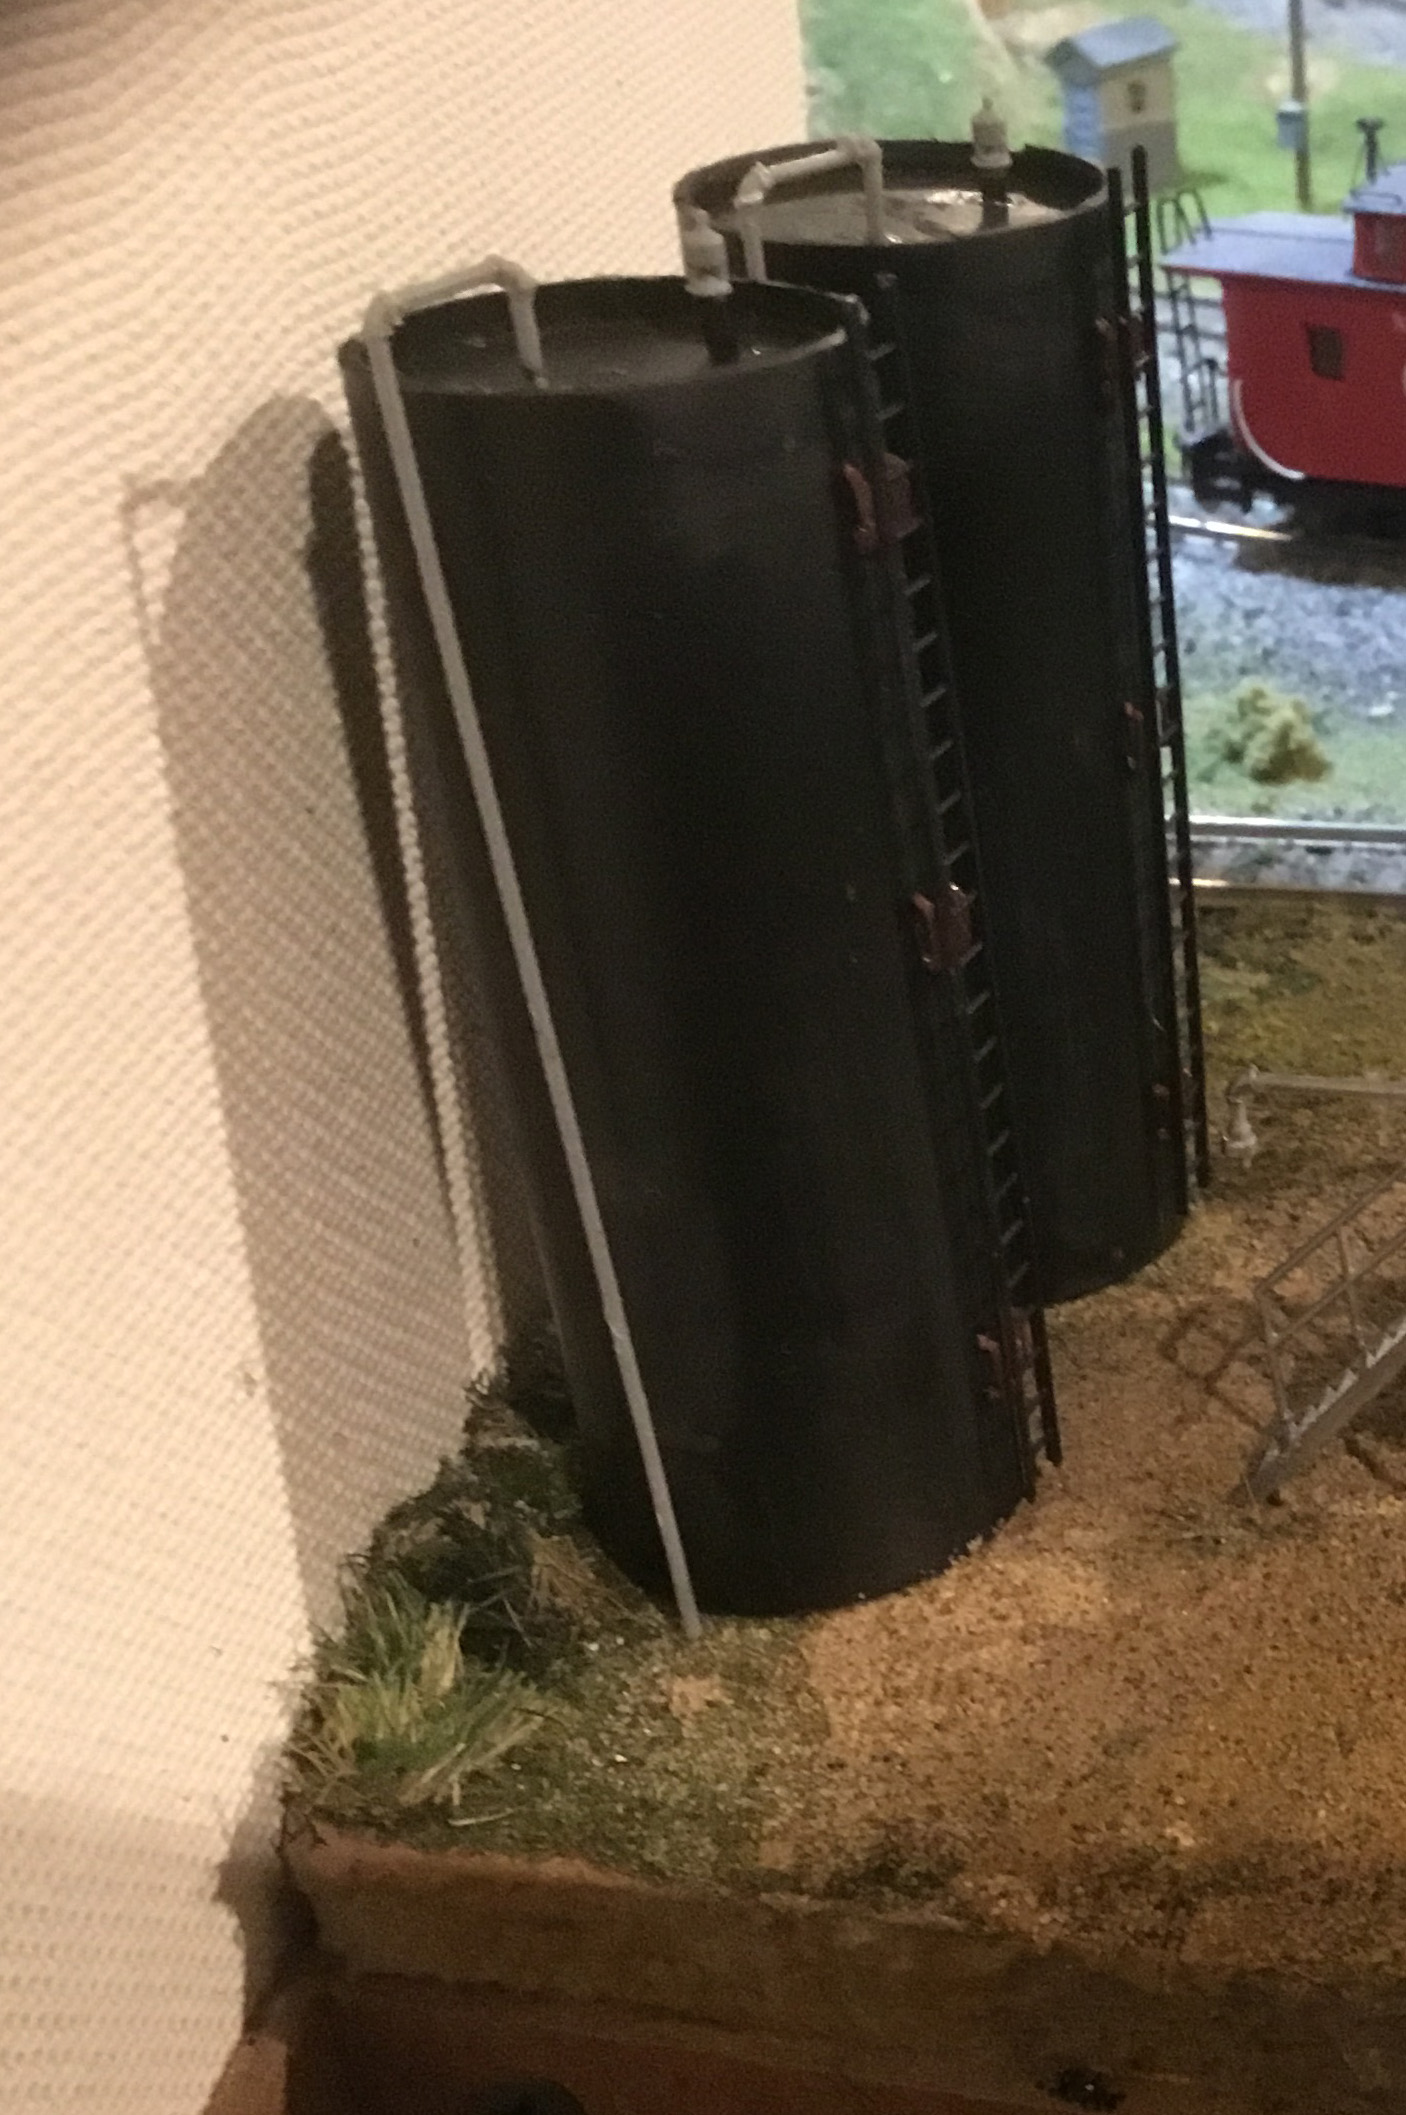
 |
| Prepared area for tank facility and basic tanks. |
The tanks were cut from old Roundhouse tank car kits I have had in freight car inventory since 1982. The tanks were in inventory as too modern for the railroad. And, maybe the lettering? The lettering on the tank cars was removed by light sanding with fine grit sandpaper. After sanding the tanks were wiped down with isopropyl alcohol to remove all residue.
 |
| Roundhouse Tank Car Kit Used for tanks. |
The details added to tanks came next. I added Walthers ladders and Williams Brothers (I believe no longer available) pipes and valves. Walthers piping (available) would work as well.
 |
| Piping and fittings used. |
 |
| Piping and valves added to tanks. |
Standpipes for unloading tank cars were needed at the facility. Photos of appropriate standpipes for unloading tank cars a this type facility were received from friends. In addition to photos, plans from a May 1997 RailModel Journal were provided to aid in the build. Standpipes (prototype I measured 2 1/2 inches in diameter) were built with Williams Brothers piping and fittings. A piece of scribed balsa wood was used for the base. The scribing represents the boards used to form the cement base.
 |
| Standpipes installed. |
 |
| Closer view of standpipes. |
The final items needed to finish the facility were a pump house and truck loading platform. I used measurements I took of these structures at small three tank facility in Buffalo, Minnesota in the early 1970s to build these structures. The facility is no longer in existence.
I built the pump house (prototype 8 x 10 ft. x 8 ft. high with door 3 feet wide 7 feet tall) using parts from my box of left over kit parts. The rounded corrugated roof had a prototype distance of 1 foot 5 inches at it high center point above the door.
The truck loading stand (prototype 3 feet 10 inches wide by 8 feet long) was scratch built. On a prototype I measured, the truck loading stand was located 2 feet 8 inches from the pump house. Components for the truck loading stand were as follows: the floor a scrap piece of styrene, Plastruct railings, Walthers stairs ( prototype 1 foot 6 inches by 2 feet 4 inches wide), Walthers stair railing and Williams Brothers pipes and fittings.

During railfan trips most of the small tank facilities I visited had the tanks painted white. Therefore, I painted the tanks in my new tank facility an enamel white using a rattle can.
 |
| Tanks painted white. |
I felt a tank sign was needed to identify the tank facility. A search of 1955 signs on the internet produced a Mobile sign I liked. A print screen, and image crop with Photoshop Elements produced a sign ready for sizing. I asked a friend to down size my image to a HO scale 5 feet wide sign which he did. I printed the digital Mobile image on white letter computer paper, cut it out, and applied it to the entrance tank with Elmers white glue.
 |
| Sign glued to tank with white glue. |
The final step was to enhance the backdrop behind the tanks. I painted the masonite backdrop area behind the tank facility with a latex sky blue color used on all my backdrops. I had the Sky Blue color mixed at the local paint store to match sky color from photos taken. I used a photo I took of an open grass area with trees in the distance to provide depth behind the tanks on the backdrop. I printed the photo on letter size computer and cut it to fit the backdrop. I sprayed the back of the printed backdrop photo with 3M Scotch Super 77 Multi-Purpose spray adhesive and applied it over the sky blue painted backdrop.
 |
| Backdrop behind tanks added. |
Now all I have left to do is create tank car movements in my card system to the new tank facility for operating sessions.
I want to say, “Thank You” to Doug Harding and Ron Christensen for the photos they provided to help me with the build of my tank facility. And, another “Thank You, Thank You and Thank You” to Doug Harding for providing the prototype photo, the standpipe plans and reducing the Mobile sign I sent him to scale for use on the tank.
Thank You for taking time to read my blog. You can share a comment in the section below if you choose to do so. Please sign your comment with your name if you choose to leave one. Please share the blog link with other model railroaders.
Lester Breuer
That looks really great, Lester.
ReplyDeleteThank You. Appreciated.
ReplyDeleteEnjoyed the documentary comments. I will use some of the techniques on the new site of the UMRR.
ReplyDeleteMauszycki - CEO of the UMRR
Tom Thank You. Glad some techniques could be of help.
Delete